DIY Firewood Rack Plans: Easy, Sturdy, and Budget-Friendly Designs
Are you tired of stacking your firewood in messy piles that take up too much space? Imagine having a sturdy, organized firewood rack that keeps your wood dry and easy to access all winter long.
With the right DIY firewood rack plans, you can build a simple, affordable solution tailored just for your needs. This guide will walk you through easy steps to create your own rack, saving you money and hassle. Ready to transform your firewood storage?
Let’s get started!
Benefits Of Building Your Own Firewood Rack
Building your own firewood rack offers many advantages. It lets you save money and create a rack that fits perfectly in your space. You control the materials and design, making a strong and lasting rack. This project suits many skill levels and gives a sense of pride.
Here are some key benefits of making your own firewood rack.
Cost Savings Compared To Store-bought Racks
Store-bought racks can be expensive. Building your own rack uses basic materials that cost less. You avoid high retail prices and shipping fees. Using leftover wood or recycled materials cuts costs further. This makes a DIY rack budget-friendly and practical.
Customization For Space And Style
Store racks have fixed sizes and styles. Making your own lets you design it to fit your space exactly. Choose the height, width, and shape that suit your needs. You can match the rack to your home’s style or outdoor decor. This adds a personal touch and saves space.
Durability And Material Choices
Buying racks means limited material options. Building lets you pick strong, weather-resistant wood or metal. You control the quality and thickness of the materials. This creates a rack that lasts many seasons. Properly built racks hold wood safely and stay stable in wind or snow.
Essential Tools And Materials
Building a firewood rack is a smart project that keeps your wood dry and organized. Having the right tools and materials makes the job easier and the rack more durable. This section covers the essentials you need before starting your DIY firewood rack.
Basic Tools Needed
Start with simple hand tools. A saw is necessary to cut wood to size. A drill helps make holes for screws. Measuring tape ensures your cuts are accurate. A hammer is useful for nails and small adjustments. Sandpaper smooths rough edges for safety. A square helps keep your angles right. These tools are common and easy to find.
Choosing The Right Wood
Pick wood that resists weather and decay. Cedar and redwood are great choices. They last longer outside without rotting. Pine is cheaper but needs sealing to protect it. Use thick boards for a strong frame. Avoid soft, thin wood that bends or breaks. Proper wood keeps the rack stable and safe.
Hardware And Fasteners
Use screws instead of nails for better strength. Galvanized or stainless steel screws resist rust. Corner brackets add extra support to joints. Wood glue can help hold pieces together. Make sure all hardware is weatherproof. Good fasteners keep your rack sturdy through seasons.
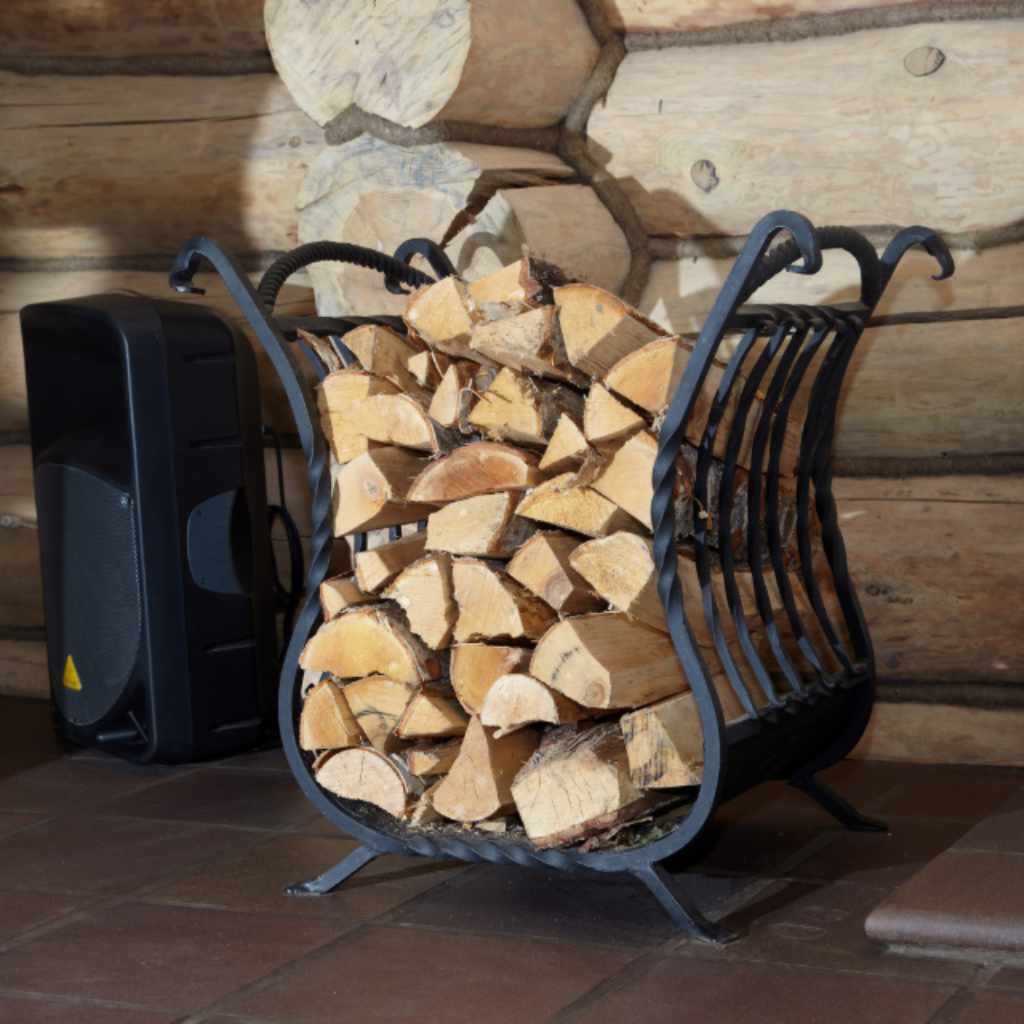
Design Ideas For Firewood Racks
Firewood racks keep your wood dry and organized. Choosing the right design helps save space and looks nice outdoors. Simple racks suit small spaces. Larger racks hold more wood for long winters. Each style fits different needs and areas.
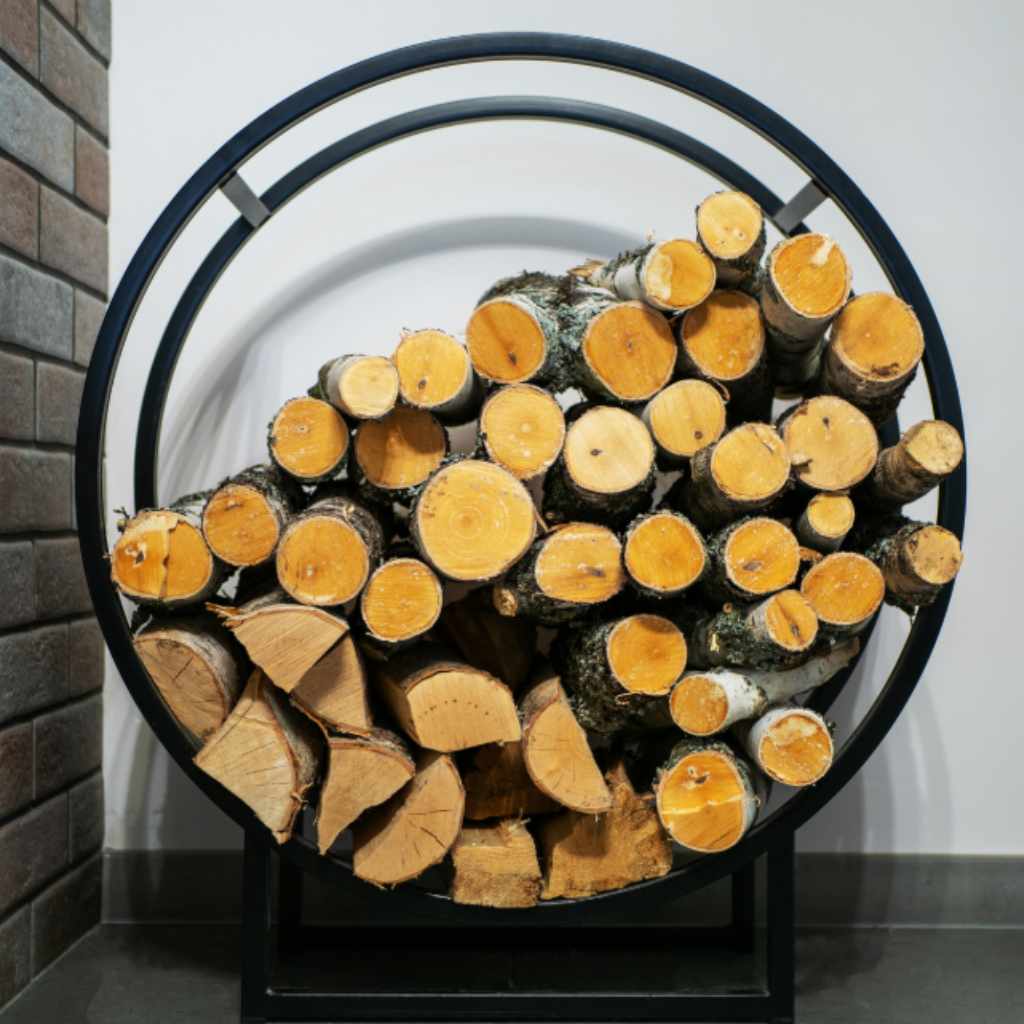
Simple Vertical Rack
Vertical racks are easy to build and save floor space. Stack wood upright against a wall. Use strong boards or metal rods to hold the wood. This design works well for small yards or patios. It keeps firewood neat and easy to grab.
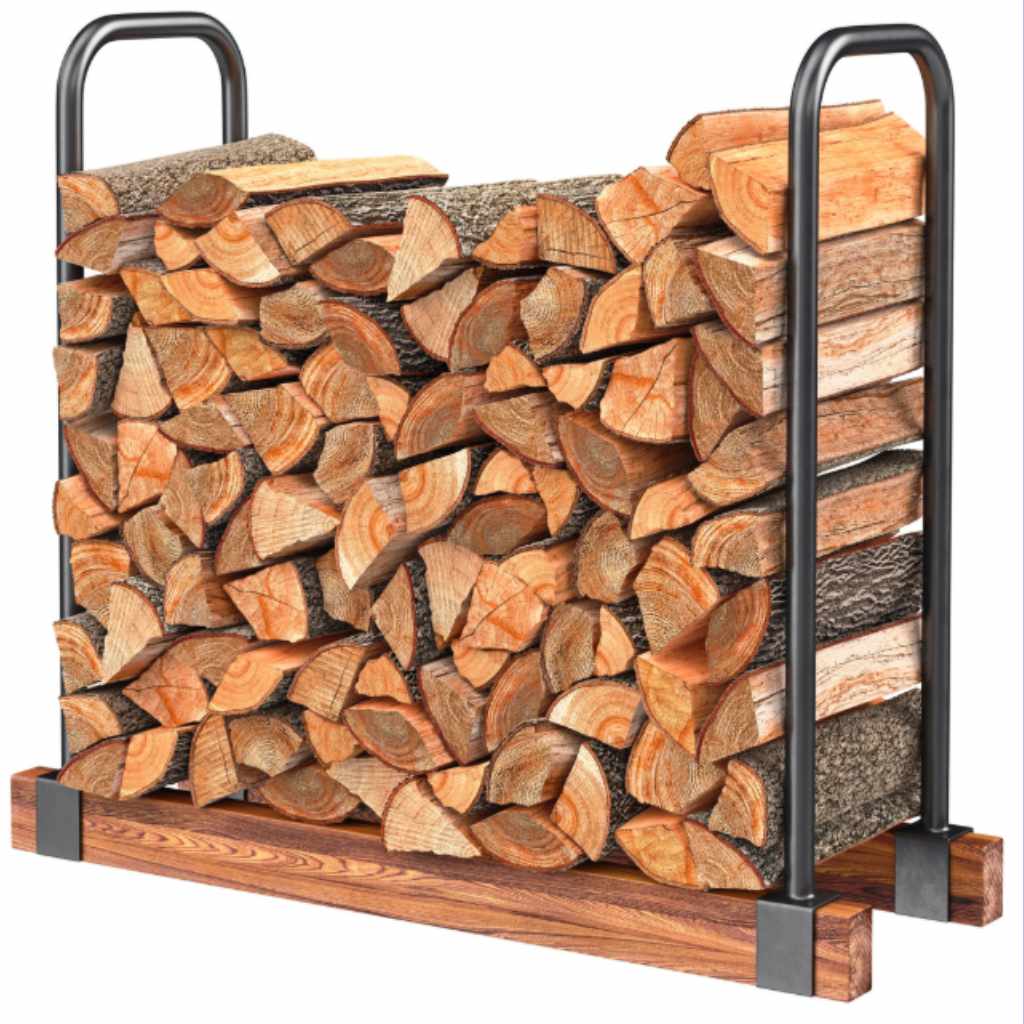
Horizontal Stacking Rack
Horizontal racks lay wood in rows, one log on top of another. Build a frame with side supports to keep wood from falling. This design helps air flow through the wood, drying it faster. It is great for larger amounts of firewood.
Corner Firewood Rack
Corner racks use unused space efficiently. Place them in a backyard or porch corner. The wood stacks neatly along two walls. This design fits small areas and keeps wood covered from rain. It adds a tidy look to tight spots.
Multi-tiered Storage Rack
Multi-tier racks store wood in several layers. Build shelves or platforms to stack wood higher. This saves ground space and holds more firewood. It works well in garages or under covered porches. Easy to access wood on any level.
Step-by-step Building Instructions
Building your own firewood rack is a smart and rewarding project. These step-by-step instructions make the process clear and simple. Follow each step carefully to create a sturdy rack that lasts.
Measuring And Cutting Wood
Start by measuring the wood pieces needed for your rack. Use a tape measure for accuracy. Mark the wood with a pencil at the right lengths. Cut the wood using a saw, making clean, straight cuts. Organize the pieces by size to keep your workspace tidy.
Assembling The Frame
Lay out the cut wood pieces on a flat surface. Begin by joining the side panels with screws or nails. Use a drill to make pilot holes, preventing the wood from splitting. Connect the top and bottom pieces to form a rectangular frame. Check that the frame is square before tightening all screws.
Adding Supports And Reinforcements
Add horizontal support beams inside the frame for extra strength. Attach vertical braces at the corners to keep the rack stable. Use wood glue along with screws for a stronger hold. Double-check all connections to ensure the rack can bear the weight of firewood.
Finishing Touches And Weatherproofing
Sand all surfaces smooth to avoid splinters. Apply a weatherproof sealant or outdoor paint to protect the wood. Let the finish dry completely before using the rack. Place your firewood rack in a dry, ventilated area to extend its life.
Tips For Maintaining Your Firewood Rack
Maintaining your firewood rack helps keep your wood dry and ready to burn. Proper care extends the life of the rack and protects your wood supply. Follow these simple tips to keep your rack in good shape and your firewood well stored.
Protecting Wood From Moisture
Keep the firewood off the ground to stop moisture from seeping in. Use a cover that lets air pass but blocks rain. Avoid plastic tarps that trap humidity and cause mold. Place the rack in a sunny spot to speed drying. Moisture ruins wood quality and makes it hard to burn.
Regular Inspections And Repairs
Check your firewood rack often for loose nails or broken parts. Fix any damage quickly to prevent further problems. Tighten screws and replace worn boards as needed. A sturdy rack holds wood safely and avoids collapse. Regular care saves money on repairs later.
Optimizing Storage For Airflow
Stack wood loosely to allow air to circulate well. Good airflow dries wood faster and stops mold growth. Keep space between the rack and walls for ventilation. Avoid stacking wood too high to prevent tipping. Proper airflow keeps firewood ready to burn cleanly.
Budget-friendly Alternatives And Upgrades
Building a firewood rack does not have to be expensive. There are many ways to save money and still create a strong, useful rack. Small upgrades can make your rack last longer and work better. These budget-friendly ideas help you build a great rack without spending too much.
Using Reclaimed Wood
Reclaimed wood is wood that was used before in other projects. It is often cheaper or free. This wood can add character and strength to your firewood rack. Look for old pallets, fence boards, or scrap wood. Make sure the wood is dry and not rotten. Sand the wood to avoid splinters and make it safe to use.
Adding Wheels For Mobility
Adding wheels to your firewood rack makes it easy to move. This is helpful if you want to store wood in different places. Use strong wheels that can hold heavy weight. Attach the wheels securely to the bottom of the rack. Choose wheels that lock to keep the rack stable when needed.
Incorporating A Cover Or Roof
A cover or roof protects your firewood from rain and snow. This keeps the wood dry and ready to burn. Use simple materials like a tarp or metal sheet. Attach the cover to the top of the rack with nails or screws. Make sure the cover slopes so water can run off easily.
Frequently Asked Questions
What Materials Are Best For Diy Firewood Racks?
The best materials are treated wood, cedar, or metal. These resist weather and last longer. Choose materials that suit your climate and budget for durability and strength.
How Do I Build A Simple Firewood Rack?
Start with a sturdy base, vertical supports, and crossbars. Use screws for stability. Keep the design open for airflow to dry the wood properly.
What Size Firewood Rack Should I Build?
Build a rack that holds one to two cords of wood. Size depends on your storage space and firewood needs. Ensure it’s tall enough to keep wood off the ground.
How Can I Protect My Firewood Rack From Weather?
Use waterproof sealant or paint on wooden racks. Place the rack under a covered area or add a tarp. Proper protection extends rack life and keeps wood dry.
Conclusion
Building your own firewood rack saves money and adds style. You control the size and shape to fit your space. Using simple tools and plans makes the task easy. Storing wood properly keeps it dry and ready to burn. Enjoy the warmth and comfort of well-stacked firewood all season.
Give these DIY firewood rack plans a try today. Small effort brings long-term benefits for your home and family.