DIY Coffee Table Woodworking: Genius Designs
Transform your living room with a custom DIY coffee table! This guide provides beginner-friendly blueprint ideas, tool essentials, and simple techniques for creating stunning, affordable, and durable coffee tables. Learn to craft a piece that perfectly matches your style and space.
Ever looked at your living room and thought, “It’s missing something?” Often, that something is the perfect coffee table. But custom or even decent store-bought ones can be surprisingly expensive. If you’re a beginner with a desire to build something beautiful and functional, the thought of DIY woodworking for a coffee table might feel a bit daunting. You might worry about tricky joints, fancy tools, or ending up with something wobbly. But don’t worry! With the right guidance, creating a stylish and sturdy coffee table is absolutely within your reach. This guide breaks down simple, genius designs that are perfect for beginners. We’ll walk through everything, making woodworking accessible and rewarding.
Why Build Your Own Coffee Table? The Amazing Benefits
Diving into DIY coffee table woodworking isn’t just about saving money, though that’s a big plus! It’s about the incredibly rewarding feeling of creating something with your own hands. You get a piece of furniture that’s perfectly suited to your space and style, unlike anything you’ll find on a showroom floor.Plus, you’ll learn valuable skills that open up a world of other DIY projects. Every cut, every joint, every finish is a step towards building confidence and a deeper appreciation for craftsmanship. It’s a fun, practical way to personalize your home.
Getting Started: Essential Tools for Your First Coffee Table
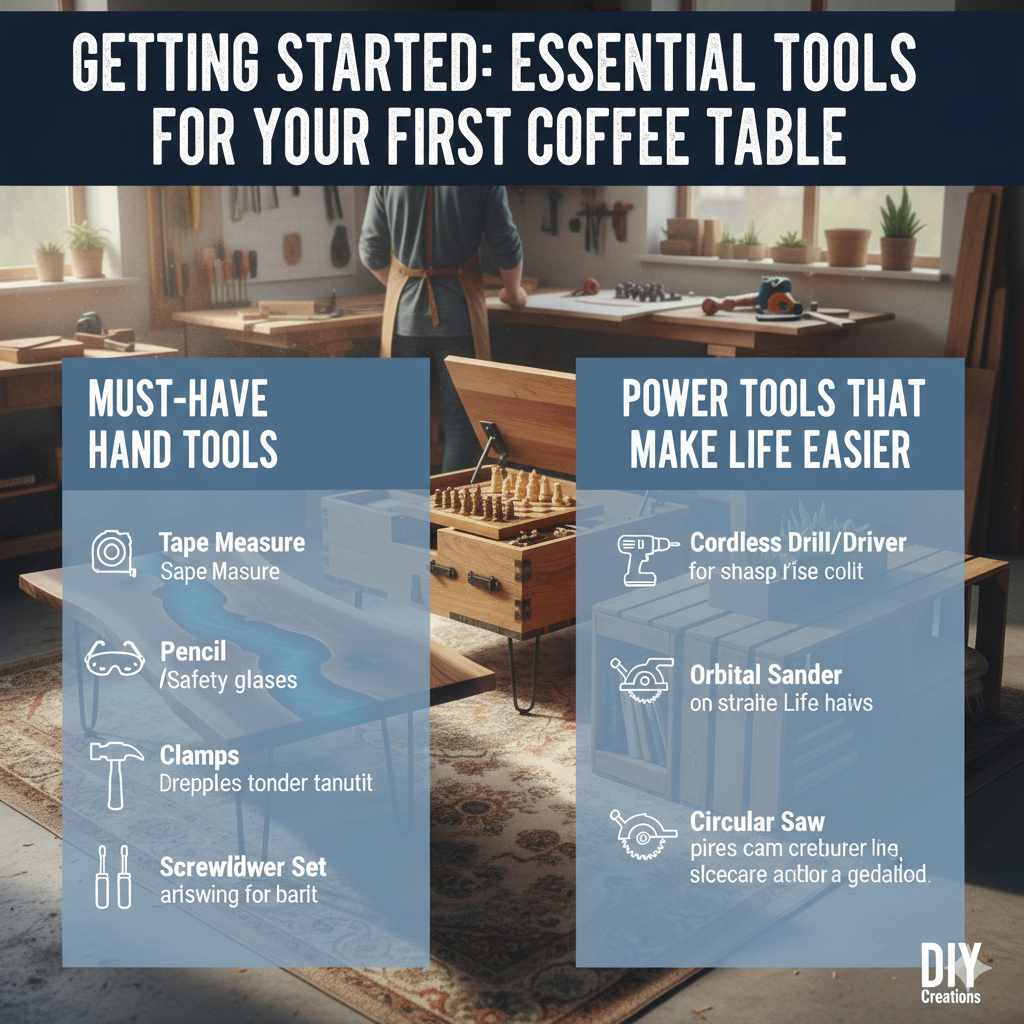
Don’t let a long tool list scare you! For most beginner DIY coffee table projects, you can get by with a few core items. Starting with the right tools makes the process smoother and safer. Think of these as your foundational toolkit for many woodworking adventures to come.
Must-Have Hand Tools:
- Tape Measure: Accuracy is key in woodworking. A good quality tape measure is your best friend for precise measurements.
- Pencil: For marking cuts and assembly points.
- Safety Glasses: Non-negotiable! Always protect your eyes. You can find great ones at most hardware stores.
- Clamps: Essential for holding pieces together while glue dries or while you’re fastening. Bar clamps and C-clamps are very versatile.
- Hammer: For tapping pieces into place or driving nails for certain projects.
- Screwdriver Set: For driving screws. A set with various sizes and types (Phillips, flathead) is practical.
- Level: To ensure your table isn’t wonky.
Power Tools That Make Life Easier (Optional but Recommended):
- Cordless Drill/Driver: Drills pilot holes and drives screws with ease, saving a lot of time and effort. Look for one with variable speed.
- Orbital Sander: For smoothing out surfaces. Even a cheap one makes a huge difference compared to sanding by hand.
- circular saw: If you plan to cut your own lumber, a circular saw is a great starting point for a power saw. For very precise cuts, a miter saw is a step up, but a circular saw can get the job done for basic projects.
Remember, you can always start with the basics and add more tools as your skills and projects grow. Always prioritize safety. Check out resources like CDC’s guidance on construction safety for general best practices that apply to woodworking as well.
Beginner-Friendly Coffee Table Designs: Genius Ideas
The beauty of DIY is customization. Here are a few designs that balance simplicity, style, and ease of construction, perfect for your first woodworking project. These ideas focus on straightforward joinery and common lumber sizes.
Design 1: The Simple Plank & Leg Table
This is a classic for a reason. It looks great and requires minimal joinery. It’s essentially a sturdy tabletop made from a few planks, attached to simple legs.
Why it’s Genius for Beginners:
- Easy Material Sourcing: You can often find perfect planks at your local lumberyard or even salvage beautiful reclaimed wood.
- Minimal Cuts: Mostly straight cuts on planks for the top and legs.
- Simple Assembly: Legs can be attached using screws, pocket holes, or metal brackets for maximum stability with minimal fuss.
How to Build It (Simplified Steps):
- Cut Your Planks: Decide on the length and width of your table. Cut your chosen lumber (e.g., 1×6 or 2×6 boards) to the desired lengths for the tabletop.
- Assemble the Tabletop: Lay the planks side-by-side on a flat surface. You can join them by attaching a few cross braces (e.g., 1×3 boards) to the underside of the planks using wood glue and screws. For a cleaner look, consider using pocket holes installed on the cross braces before attaching the main planks.
- Cut the Legs: Cut four identical lengths of lumber for the legs. You can use 2x2s, 2x4s cut down, or even larger stock for a bolder look.
- Attach the Legs: This is where you have options.
- Brackets: Metal L-brackets are the easiest. Screw them to the inside corner of each leg and then to the underside of the tabletop’s cross braces.
- Pocket Holes: If you have a pocket hole jig, drill pocket holes into the top of each leg and then screw the legs into the cross braces from the inside.
- Direct Screwing (less common for stability): If using very sturdy lumber for the legs and cross braces, you could potentially screw directly through the cross braces into the legs, but this often looks less clean and can be less stable. Always pre-drill to prevent splitting.
- Sand and Finish: Once assembled, sand all surfaces smooth, starting with coarser grit sandpaper and moving to finer grits. Apply your choice of stain, paint, or protective finish like polyurethane.
Design 2: The Crate-Inspired Coffee Table
This design gives a rustic, farmhouse, or industrial modern vibe. It’s achieved by building simple box-like structures that are then joined together.
Why it’s Genius for Beginners:
- Modular Design: You’re essentially building a few simple boxes, which breaks down the project into manageable parts.
- Forgiving Construction: Slight imperfections are often hidden or even add to the charm of the “crate” look.
- Versatile Look: Can be adapted with different wood types, colors, and even by adding caster wheels.
How to Build It (Simplified Steps):
- Plan Your Size: Decide if you want a single large “crate” table, or two smaller ones you can arrange together.
- Cut Your Wood: You’ll primarily use 1×6 or 1×8 boards. For a basic box, you’ll need:
- Two pieces for the long sides.
- Two pieces for the short sides.
- One piece for the bottom (optional, but adds strength).
- One piece for the top (can be a solid piece or planks, similar to Design 1).
- Assemble the Box(es): Use wood glue and screws to attach the side pieces to each other. If adding a bottom, attach it flush to the exterior of the assembled sides. For a true crate look, you can even add decorative (non-structural) battens or straps on the outside.
- Build the Top: Like Design 1, you can use a single piece of plywood for a sleek look, or join planks together for a more rustic feel.
- Attach the Top: You can rest the top on the box and secure it from underneath with screws through the top edges of the box walls, or use pocket holes for a cleaner attachment.
- Add Details (Optional): Screw on caster wheels to the bottom for mobility and an industrial touch. You can also add decorative trim pieces.
- Sand and Finish: Sand everything smooth, paying attention to edges. Apply your chosen finish. Stains that give a slightly distressed or weathered look work wonderfully with this design.
Design 3: The Minimalist Floating Shelf Table
This design is all about clean lines and a modern aesthetic. It looks like the tabletop is floating, often achieved by a hidden support structure or by simply having very clean, simple leg attachments.
Why it’s Genius for Beginners:
- Sleek Appearance: Minimalist design means fewer complex details to worry about, focusing on clean cuts and smooth finishes.
- Adaptable to DIY Skills: Can be built with basic cuts and screw joinery, or elevated with pocket holes or more advanced techniques if desired.
- Versatile Style: Works well in modern, minimalist, or even Scandinavian-inspired rooms.
How to Build It (Simplified Steps):
- Create the Tabletop: This design shines with a smooth, solid-looking top. Use a single piece of quality plywood (like birch plywood, which has nice edge grain) or join several planks together very tightly, ensuring the seams are almost invisible.
- Prepare the Legs: Cut four identical legs from a sturdy wood like 2x4s or 2x3s, or even 4x4s for a bolder look. Decide on the height.
- Create an Inner Frame (Optional but Recommended for Stability): For a “floating” look and to add strength, build a rectangular frame on the underside of the tabletop using narrower boards (like 1x3s). This frame should be slightly smaller than the overall tabletop dimensions, inset from the edges. This creates a lip where you can attach the legs to the frame instead of directly to the outer edge of the tabletop, enhancing the clean look.
- Attach the Legs to the Frame: Use pocket holes to attach the legs to the inner frame from the inside. Position them at the corners, perhaps angled slightly inwards for a modern look.
- Alternatively (Simpler): If you skip the inner frame, you can attach legs directly to the underside of the tabletop using heavy-duty L-brackets or by carefully attaching them with screws through well-placed pilot holes from the outside of the leg into the tabletop’s underside. This is less “floating” but still clean.
- Sand Meticulously: Because this design emphasizes clean lines, thorough sanding is crucial. Go through multiple grits of sandpaper for a glass-smooth finish.
- Apply a Clean Finish: A clear coat of lacquer or polyurethane, a satin paint finish, or a light natural stain will enhance the minimalist aesthetic.
Choosing Your Wood: What to Look For
The type of wood you choose significantly impacts the look, weight, durability, and cost of your coffee table. For beginners, focusing on readily available and easy-to-work-with woods is best.
Common Beginner-Friendly Woods:
- Pine: Inexpensive, very light, and easy to cut and sand. It’s softer, so it can dent more easily, but a good choice for practice and budget projects. Great for a rustic or painted look.
- Poplar: Also affordable and relatively soft, but a bit harder than pine. It takes paint very well and holds up a little better to dings.
- Fir: Similar to pine in workability and cost, often used for its strength.
- Oak (Red or White): A hardwood, meaning it’s much more durable and heavier than pine. It’s more expensive and a bit harder to work with but provides a beautiful, classic finish that’s great for staining. If you want a table that will last generations, oak is a fantastic choice.
- Plywood: Excellent for a modern or industrial look, especially for tabletops or solid panels. Birch or Maple plywood offers nice edge grain details. It’s very stable and less prone to warping than solid wood.
When buying lumber, look for boards that are as straight as possible, with minimal knots or cracks. Inspect them closely at the store.
Finishing Touches: Elevating Your DIY Coffee Table
The way you finish your coffee table can completely change its character and protect it for years to come. Don’t rush this step – it’s where your craftsmanship truly shines!
Sanding Best Practices:
- Start with a coarser grit (e.g., 80 or 100 grit) to remove any imperfections or mill marks.
- Move to a medium grit (e.g., 150 grit) to smooth out the surface.
- Finish with a fine grit (e.g., 220 grit) for that furniture-smooth feel.
- Always sand in the direction of the wood grain.
- Wipe away dust between grits with a tack cloth or a damp rag.
Popular Finishing Options:
- Stain: Enhances the natural beauty of the wood. Apply evenly with a brush or rag, then wipe off the excess.
- Paint: A great way to add a pop of color or achieve a specific look. Use a good quality primer first for best adhesion, especially on softer woods like pine.
- Polyurethane/Varnish: Provides a durable protective clear coat. Available in matte, satin, or gloss finishes. Apply thin, even coats, sanding lightly with very fine sandpaper (320+ grit) between coats for a smooth finish.
- Wax: Offers a softer, more natural sheen and can be applied over stain or paint. It’s less durable than polyurethane but easy to reapply.
For a coffee table subjected to spills and heavy use, a few coats of polyurethane are highly recommended for maximum durability. You can learn more about finishing techniques from resources like Woodsmith magazine’s finishing basics.
Troubleshooting Common Beginner Issues
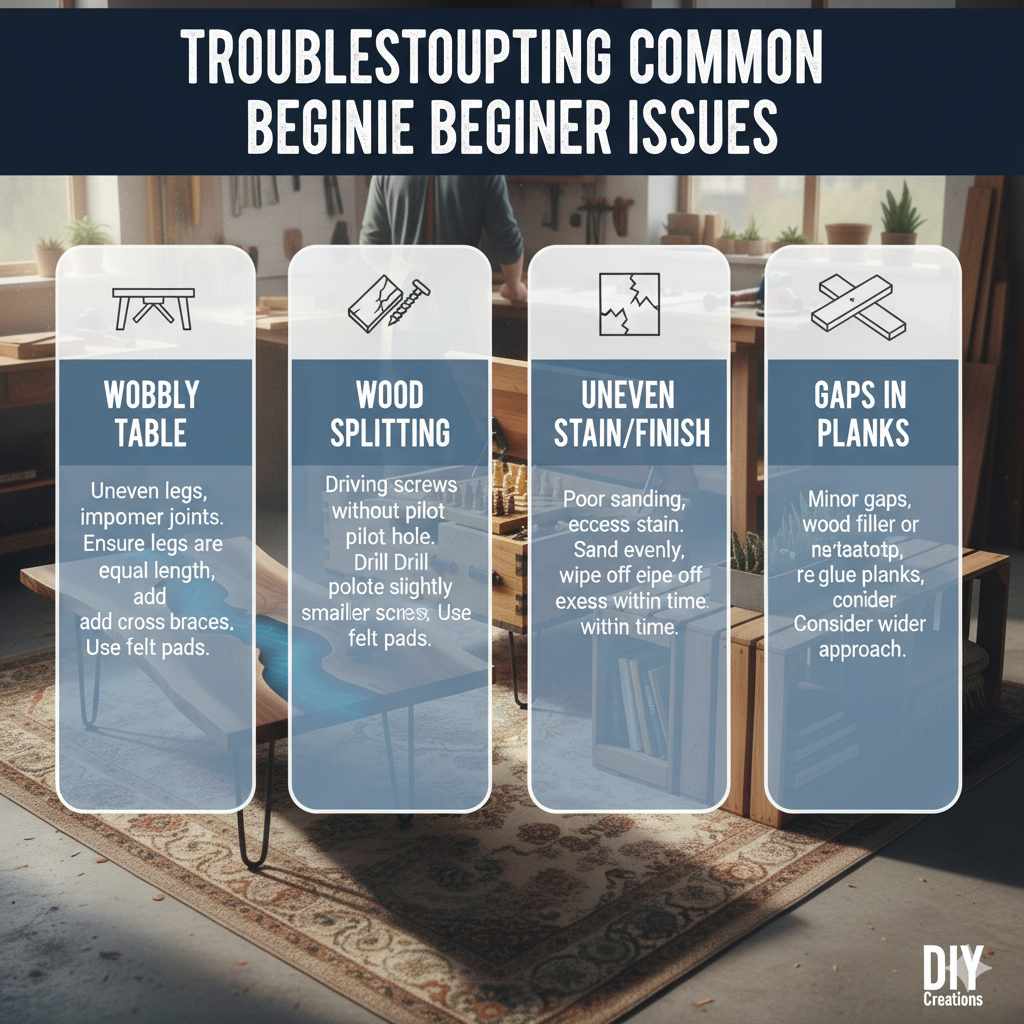
It’s completely normal to run into a few snags when you’re starting out. Here’s how to handle some common problems:
- Wobbly Table: This is often due to uneven leg lengths, improper joint assembly, or a lack of bracing. Ensure all legs are cut to the exact same length. Check that your apron pieces (if you have them) are square and securely attached. Adding cross braces under the tabletop can also help. Sometimes, just adding a small felt pad to one leg can level it out on an uneven floor.
- Wood Splitting: This usually happens when driving screws into wood without a pilot hole. Always drill a pilot hole that’s slightly smaller than the screw’s diameter in harder woods or close to the edge.
- Uneven Stain/Finish: This can occur if the wood isn’t sanded evenly, or if excess stain isn’t wiped off properly. Ensure you’ve sanded through all the grits and wiped off all dust. When staining, work in manageable sections and wipe off the excess within the manufacturer’s recommended time.
- Gaps in Planks: When joining planks for a tabletop, small gaps can appear. If they’re very minor, wood filler or even a darker stain can minimize their visibility. For larger gaps, you might need to re-glue the planks or use a wider approach for the tabletop.
FAQ: Your DIY Coffee Table Woodworking Questions Answered
Q1: How much wood do I typically need for a basic coffee table?
A1: For a standard coffee table (around 40×20 inches), you might need about 20-30 linear feet of 1×6 or 1×8 lumber for a plank top and legs, plus a few feet of 1×3 for support braces. This can vary greatly depending on the design.
Q2: What’s the easiest way to join the legs to the tabletop?
A2: For beginners, using metal L-brackets screwed securely to both the leg and the underside of the tabletop (or its support frame) is often the simplest and most stable method.
Q3: Should I use screws or nails?
A3: Screws generally provide a stronger, more secure long-term hold than nails, and they are less likely to loosen over time. Always pre-drill pilot holes when using screws, especially in hardwoods or near edges, to prevent splitting.
Q4: How do I make the tabletop smooth?
A4: Proper sanding is key! Start with 80-100 grit sandpaper for initial smoothing, move to 150 grit, and finish with 220 grit. Always sand in the direction of the wood grain. An orbital sander can speed up this process significantly.