How Do You Cut Marble Tile? Step-by-Step Guide
How Do You Cut Marble Tile? Use a wet saw with a diamond blade for clean, safe, straight cuts every time—perfect for beginners!
Cutting marble tile can feel scary at first. Marble looks so elegant and expensive. What if it chips or breaks? Many new DIYers worry about ruining a tile and wasting money. But do not worry. With the right tools and simple steps, you can make perfect cuts safely. This guide shows you how. We focus on easy methods that work for home projects. You will feel confident in no time. Next, we cover tools, safety, and step-by-step instructions.
Why Cutting Marble Tile Is Different
Marble is natural stone. It is harder than ceramic tile but can chip easily if you force it. You cannot score and snap marble like softer tiles. It needs a full cut through. Water helps cool the blade and reduce dust. That is why a wet saw works best for straight cuts. An angle grinder helps for curves. Always go slow and steady.
Safety First: Protect Yourself
Safety matters most in the workshop. Marble dust can harm your lungs. Loud tools hurt ears. Sharp blades cut skin.
- Wear safety goggles to shield eyes from chips.
- Use a dust mask or respirator for fine dust.
- Put on ear protection like plugs or muffs.
- Wear work gloves for better grip.
- Use a GFCI outlet near water.
Work in a well-vented area. Keep kids and pets away.
Tools and Materials You Need
Gather these before starting. Good tools make clean cuts easy.
| Tool/Material | Purpose | Beginner Tip |
|---|---|---|
| Wet tile saw | Best for straight cuts | Rent one if you do not own it—cheap for a day |
| Diamond blade (continuous rim) | Cuts marble smoothly | Choose one for natural stone |
| Angle grinder | For curves or small jobs | Use with diamond blade |
| Measuring tape and square | Accurate marks | Measure twice! |
| Wax pencil or marker | Marks on tile | Wax works on wet surfaces |
| Masking tape | Reduces chipping | Place over cut line |
| Rubbing stone or sandpaper | Smooths edges | Start coarse, finish fine |
A good diamond blade matters. Continuous rim blades give smooth cuts on marble without chips. Check resources like Family Handyman for more tips.
Choosing the Best Tool: Wet Saw vs. Angle Grinder
| Method | Pros | Cons | Best For |
|---|---|---|---|
| Wet Saw | Clean straight cuts Less dust Cools blade Minimal chipping | Needs water setup Bigger tool | Most cuts, floors, backsplashes |
| Angle Grinder | Portable Good for curves Handles small spots | More dust Harder control Risk of chips | Curves, outlets, edges |
Beginners should start with a wet saw for straight cuts. It is safer and easier.
Step-by-Step: Cutting with a Wet Saw
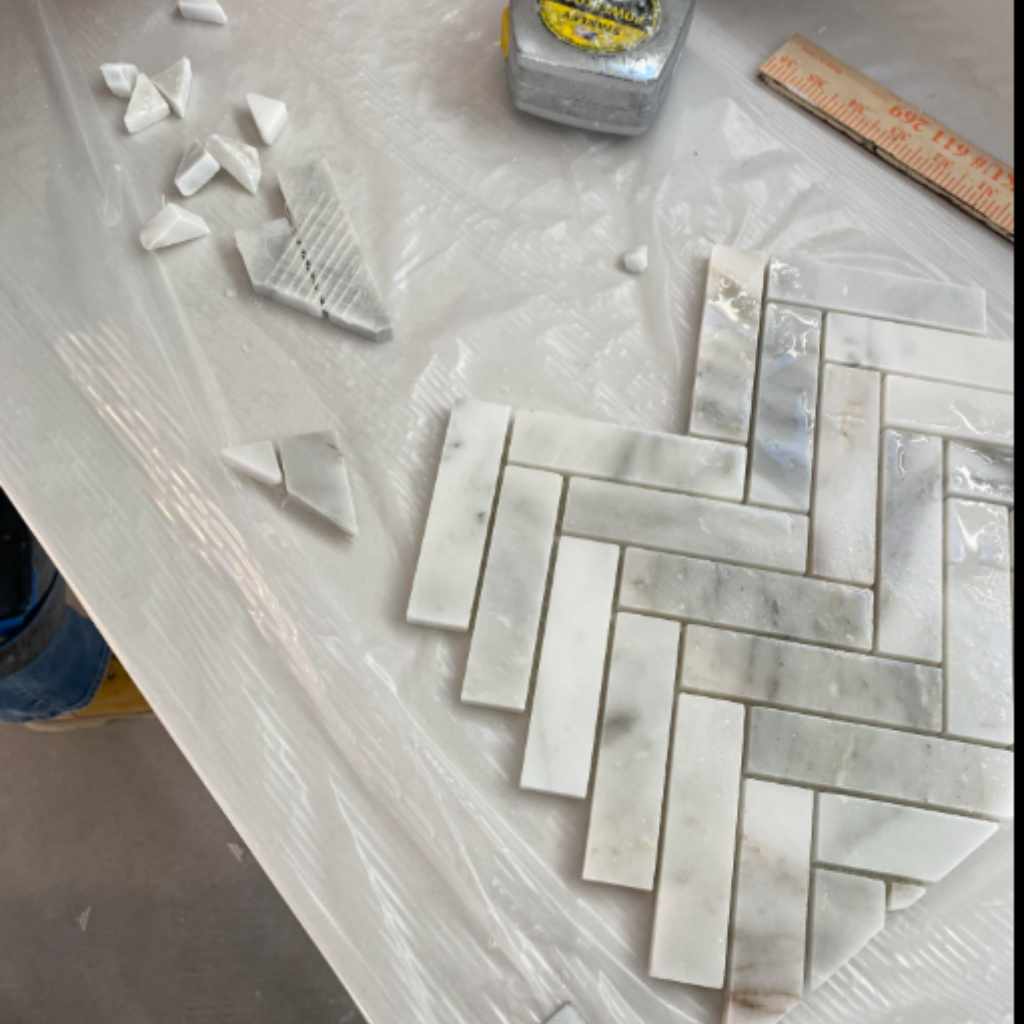
- Plan your layout. Dry-fit tiles first. Mark cuts needed.
- Measure and mark. Use a square for straight lines. Mark on the good side. Add masking tape over the line to prevent chips.
- Set up the saw. Fill water tray. Install diamond blade tight. Plug into GFCI.
- Practice on scrap. Test on extra tile. Adjust speed and pressure.
- Align the tile. Place good side up. Line mark with blade. Use fence for straight cuts.
- Make a relief cut (optional). Flip tile. Cut 1-2 inches from back to prevent breakout.
- Cut slowly. Turn on saw. Push tile steadily. Let blade work—do not force.
- Finish and smooth. Rub edges with stone or sandpaper.
Go slow. Rushing causes chips. Steady hands give pro results.
Cutting Curves or Holes with an Angle Grinder
For outlets or pipes:
- Mark the shape.
- Use masking tape.
- Cut relief lines first.
- Grind slowly to the line.
- Smooth edges.
Practice first. Water attachments help reduce dust.
Common Mistakes and How to Avoid Them
- Forcing the tile: Let blade cut naturally.
- Wrong blade: Use diamond for stone.
- No water: Overheats and chips.
- Poor marks: Measure twice, cut once.
- No safety gear: Always protect yourself.
Start slow. You will improve fast.
Tips for Perfect Cuts Every Time
- Face good side up on wet saw.
- Use fresh sharp blade.
- Support tile fully.
- Clean saw after use.
- Seal marble after install for protection.
Check This Old House for more stone tips.
Finishing Your Cuts
After cutting, smooth rough edges. Use a rubbing stone or diamond pad. Start with coarse grit. Finish fine for polish. This step makes tiles look pro and feel safe.
FAQ
Can I cut marble tile without a wet saw?
Yes, but not best. An angle grinder works for small jobs. It makes more dust and risks chips. Rent a wet saw for better results.
What blade do I need for marble?
A continuous rim diamond blade for natural stone. It gives smooth, chip-free cuts.
How do I prevent chipping?
Use masking tape on the line. Cut good side up. Go slow and steady. Make a back relief cut.
Is marble dust dangerous?
Yes, silica dust harms lungs. Always wear a mask. Use wet cutting to reduce dust.
Can beginners cut marble tile?
Absolutely! Follow steps, practice on scraps, prioritize safety. You will do great.
How do I cut holes for outlets?
Mark the shape. Drill starter holes if needed. Use angle grinder to cut curves carefully.
Do I need to seal cut edges?
Yes, seal whole tile after install. Cut edges absorb more, so extra sealer helps.
Conclusion
Cutting marble tile is achievable for any DIY enthusiast. With the right tools, safety focus, and patient steps, you can create beautiful, professional results. Remember: measure carefully, cut slowly, and always protect yourself. Your project will turn out stunning and durable. Enjoy the process—seeing those perfect fits is so rewarding. Happy tiling! You have got this.