DIY Firewood Rack With Roof: Easy Steps for Durable Storage
If you love cozy fires but hate dealing with messy, wet firewood, building your own DIY firewood rack with a roof is the perfect solution. Imagine having your wood neatly stacked, dry, and ready to burn whenever you need it.
Not only will this save you time and effort, but it also protects your wood from rain and snow, so you get the most heat from every log. In this guide, you’ll discover simple steps and smart tips to create a sturdy, weatherproof rack that fits your space and style.
Ready to keep your firewood in top shape and make your outdoor area look great? Let’s get started!
Benefits Of A Firewood Rack With Roof
A firewood rack with a roof offers many practical benefits for anyone who uses wood for heating or cooking. It keeps wood dry, organized, and ready to use. This simple addition saves time and effort in managing firewood throughout the year.
Wood stored with a roof stays in better condition, making it easier to burn. It also helps keep your outdoor space neat and tidy. Below are some key benefits of having a firewood rack with a roof.
Protecting Wood From Elements
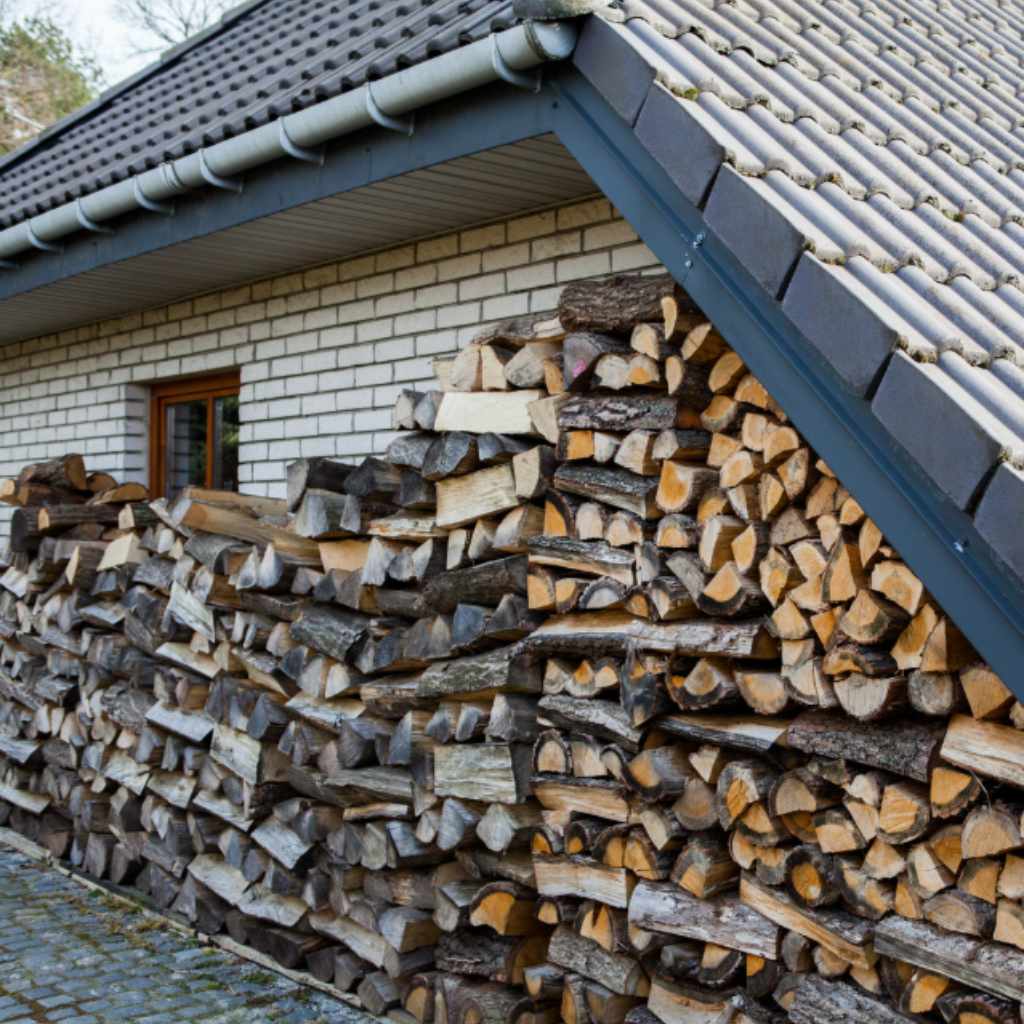
A roof shields firewood from rain, snow, and direct sunlight. Wet wood is hard to light and burns poorly. The roof keeps moisture away, ensuring wood stays dry and ready to use. It also prevents wood from rotting or growing mold. This protection improves the quality of your firewood.
Extending Firewood Lifespan
Dry wood lasts longer than wood left exposed to weather. A roof slows down decay and damage caused by water and sun. This means you can store firewood for months without losing its quality. It reduces the need to buy wood frequently. Your firewood supply will stay fresh and useful for a longer time.
Organizing Firewood Efficiently
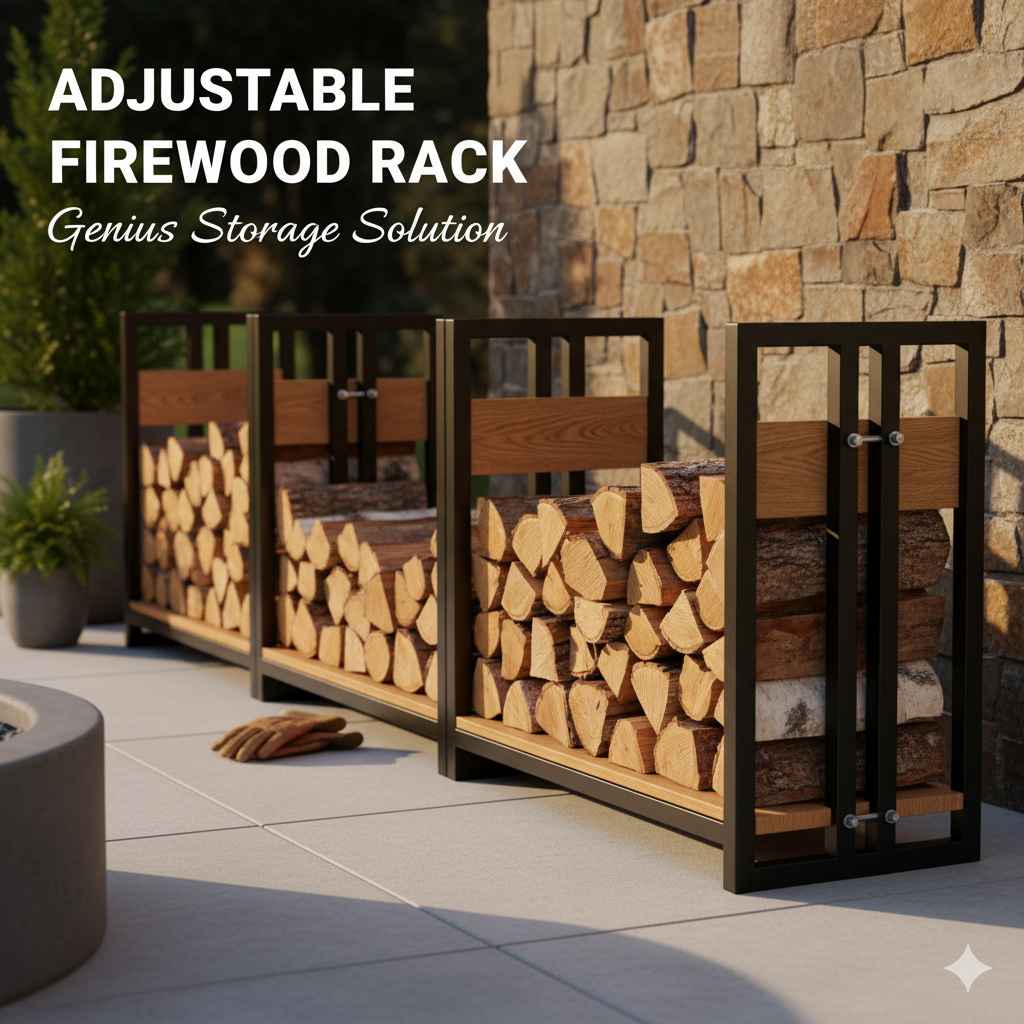
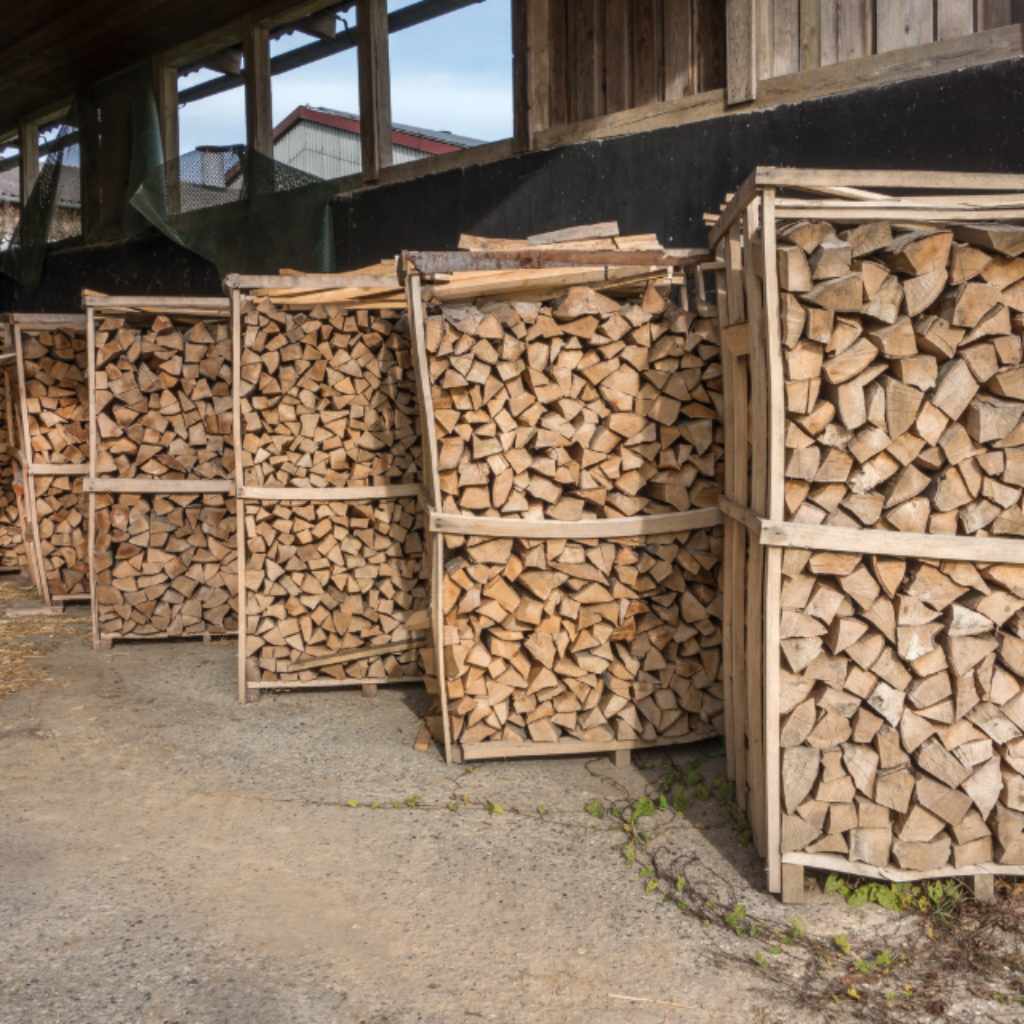
A firewood rack with a roof helps keep wood stacked neatly. It creates a designated space for wood storage, preventing clutter. This organization makes it easier to find and access wood quickly. You can store more wood in less space. A tidy wood pile also improves safety around your home.
Choosing Materials For The Rack
Choosing the right materials is key to building a strong firewood rack with a roof. The materials affect the rack’s durability, stability, and weather resistance. Picking good wood, reliable hardware, and suitable roofing helps protect your firewood for a long time.
Selecting Durable Wood Types
Choose wood that resists rot and insects. Cedar and redwood are top choices. They last long outdoors without much care. Pressure-treated pine is also common. It is affordable and resists moisture well. Avoid softwoods that easily decay. Hardwood like oak works but can be costly.
Hardware And Fasteners Needed
Use galvanized or stainless steel screws and bolts. These resist rust and hold up in wet weather. Nails can work but screws provide a stronger hold. Choose fasteners long enough to secure thick wood pieces. Hinges or brackets help attach the roof securely. Make sure all hardware is weatherproof.
Roofing Material Options
Metal roofing sheets offer strong protection from rain and snow. They are light and easy to install. Asphalt shingles give good coverage and look nice. Corrugated plastic panels allow light through while blocking rain. Choose roofing that fits your budget and climate. The roof keeps firewood dry and ready to use.
Tools Required For The Project
Building a DIY firewood rack with a roof needs specific tools. These tools help make your work safe and easy. Having the right tools saves time and effort. It also ensures your rack is strong and lasts long.
Basic Carpentry Tools
Start with a hammer for nails and a screwdriver for screws. A cordless drill helps speed up the work. Use a saw to cut wood pieces to size. Clamps hold wood steady during assembly. A level checks if your rack is straight and balanced.
Safety Equipment
Wear safety goggles to protect your eyes from dust and debris. Gloves keep your hands safe from splinters and cuts. Ear protection reduces noise from power tools. Use a dust mask to avoid breathing sawdust. These items keep you safe during the project.
Measuring And Cutting Tools
A tape measure is essential for accurate wood measurements. A carpenter’s square ensures right angles for clean corners. Marking tools like pencils help guide your cuts. Use a handsaw or circular saw for precise cutting. Proper measuring and cutting improve the rack’s fit and finish.
Planning The Firewood Rack
Planning a firewood rack with a roof is an important first step. Good planning helps build a sturdy and useful rack. It saves time and materials during construction. Consider size, design, and location before starting your project.
Careful thought will make your firewood dry and easy to access. This section guides you through key points to plan your firewood rack well.
Determining Size And Capacity
Think about how much firewood you need to store. Count how many cords of wood you usually use. One cord is about 128 cubic feet of wood. Choose a size that fits your wood supply. Leave some space for air to flow and dry the wood. A rack too small means extra stacking or moving wood later. A rack too big wastes space and materials.
Designing The Roof Structure
The roof protects wood from rain and snow. Pick a simple roof style, like a slant or gable roof. Use durable, weather-resistant materials such as metal or shingles. Make sure the roof is wide enough to cover all wood. Design the roof to allow good air circulation. Keep the roof height enough for easy stacking and access.
Choosing Location And Placement
Place the rack in a dry, sunny spot. Sunlight helps dry the wood faster. Avoid low areas where water collects. Keep the rack away from your house or fence. Leave room around the rack for air to move freely. Ensure easy access for carrying wood to your home.
Step-by-step Assembly Guide
Building a firewood rack with a roof is a smart way to keep wood dry and organized. Follow this step-by-step guide to assemble your rack. Each part is simple to build. Take your time and check your progress as you go. This guide helps you create a sturdy and long-lasting rack.
Building The Base Frame
Start by cutting four wooden beams to the desired length. Lay two beams parallel on the ground. Connect them with two shorter beams, forming a rectangle. Use screws to join the beams firmly. Check that the frame is square using a carpenter’s square.
Constructing Vertical Supports
Cut four vertical support beams of equal height. Attach each support to the corners of the base frame. Secure with screws and brackets for strength. Make sure the supports stand straight and level. This structure holds the weight of the roof and wood.
Installing Roof Supports
Measure and cut horizontal beams for the roof supports. Attach these beams across the tops of the vertical supports. Space them evenly for good roof support. Use screws and metal brackets to fix them tightly. Confirm the supports are level and stable.
Attaching Roofing Material
Choose roofing material like metal sheets or wooden planks. Cut the material to fit the roof frame. Secure it with nails or screws, starting from one side. Overlap edges to prevent water leaks. Make sure the roof is firmly attached and covers the rack well.
Securing The Rack For Stability
Place the rack on a flat, firm surface. Use ground anchors or stakes to secure it. Tighten all screws and check for wobbling. Add diagonal braces if needed for extra strength. A stable rack keeps your firewood safe and dry.
Finishing Touches
Finishing touches make your DIY firewood rack with roof last longer. They protect the wood from weather and add useful features. These final steps improve the rack’s look and function.
Applying Weatherproof Treatments
Use a weatherproof sealant to protect the wood. Choose a product made for outdoor use. Apply it evenly on all surfaces, including corners and edges. Let the sealant dry fully before using the rack. This step prevents water damage and wood rot. It keeps the rack strong through rain and snow.
Adding Optional Features
Consider adding small extras to improve the rack. Hooks can hold tools or gloves. A small shelf on the side stores kindling or matches. Paint the roof with waterproof paint for extra protection. These features make the rack more useful and neat. Keep additions simple to avoid extra work.
Maintaining The Rack Over Time
Check the rack regularly for signs of wear. Look for cracks, loose nails, or peeling paint. Clean off dirt and leaves to prevent mold growth. Reapply weatherproof treatments every year or as needed. Fix small problems early to avoid bigger repairs. Proper care keeps your rack safe and strong for years.
Frequently Asked Questions
What Materials Are Needed For A Diy Firewood Rack With Roof?
You need sturdy wood, screws, nails, waterproof roofing material, and wood sealant. These ensure durability and weather protection for the rack.
How Do I Build A Firewood Rack With A Roof Step-by-step?
Start by cutting wood to size, assemble the frame, attach the roof, and finish with sealant. Follow safety guidelines and measure accurately.
Why Add A Roof To A Firewood Rack?
A roof protects firewood from rain and snow, keeping it dry. Dry wood burns efficiently and reduces smoke.
How Much Space Is Required For A Diy Firewood Rack?
Allow at least 4 feet in length and 2 feet in depth. This size holds a good amount of firewood safely.
Conclusion
Building a DIY firewood rack with a roof keeps wood dry and ready. It saves space and protects your firewood from rain and snow. You can customize the size to fit your needs. This project is simple and helps you stay organized.
A sturdy rack lasts for many seasons. Enjoy warm fires without the hassle of wet wood. Give this idea a try and see how useful it can be. A small effort brings great benefits. Easy, practical, and effective.