DIY Entertainment Center With Bookshelves: Genius Storage
Build a DIY entertainment center with bookshelves to stylishly organize your media and books, creating a functional and beautiful focal point for your living room. This guide offers clear, beginner-friendly steps to achieve professional-looking results safely and affordably.
Tired of cluttered living rooms with stray remotes, scattered DVDs, and stacks of books that seem to multiply overnight? Many of us dream of a tidy, organized space that doubles as a cozy spot for movie nights. But custom entertainment centers can be incredibly expensive, and finding something off-the-shelf that perfectly fits your needs and style is a challenge. What if you could build your own, tailored exactly to your space and budget? This guide shows you how to craft your very own DIY entertainment center with bookshelves – a smart solution that brings beauty and order to your home. We’ll walk through each step, making woodworking approachable and fun.
Why Build Your Own Entertainment Center with Bookshelves?
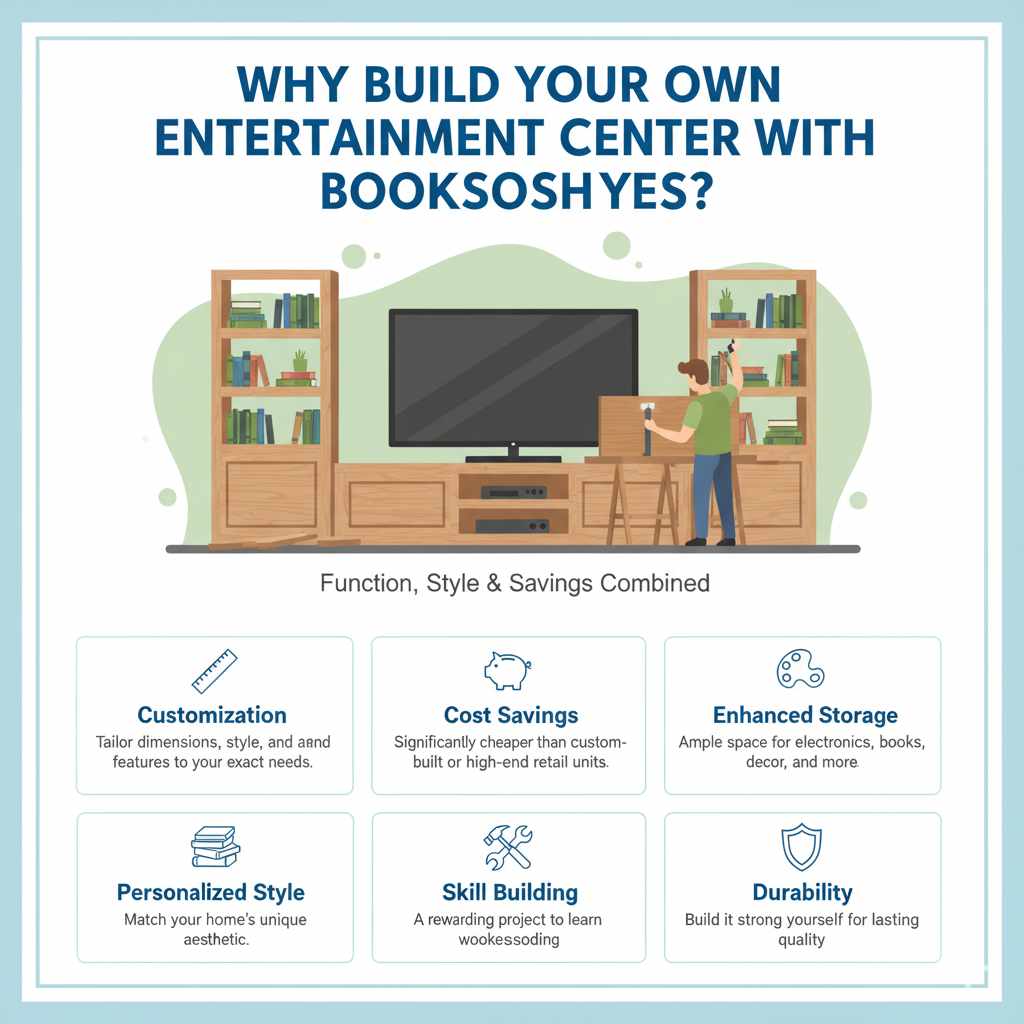
Creating a DIY entertainment center with integrated bookshelves is a fantastic idea for several reasons. It’s not just about saving money (though that’s a big plus!). It’s about customization. You get to decide the exact dimensions to fit your TV and your room perfectly. You can choose the style, the wood type, and the finish to match your existing decor. Plus, the added bookshelves offer incredible storage for your favorite reads, decorative items, or even storage bins. It’s a project that combines function and personal style, and the sense of accomplishment when you see your finished piece is truly rewarding.
Benefits at a Glance:
- Customization: Tailor dimensions, style, and features to your exact needs.
- Cost Savings: Significantly cheaper than custom-built or high-end retail units.
- Enhanced Storage: Ample space for electronics, books, decor, and more.
- Personalized Style: Match your home’s unique aesthetic.
- Skill Building: A rewarding project for beginners to learn woodworking.
- Durability: Build it strong yourself for lasting quality.
Planning Your DIY Entertainment Center: Design and Materials
Before we grab any tools, a little planning goes a long way! Think about the heart of your living room: your television. Measure its diagonal screen size and its width, height, and depth. This will determine the main opening size for your TV. Next, consider how much storage you need. How many shelves do you envision? What will you store on them? Books? Blu-rays? Decorative baskets? Measure the approximate size of these items. Don’t forget to think about cable management! Holes or channels for cords will keep things looking neat.
Your room also plays a role. Measure the wall space where the entertainment center will live. You want it to feel proportionate – not too overwhelming, not too small. Sketching out your ideas on paper is super helpful. Don’t worry about artistic perfection; simple boxes and lines will do. Mark the dimensions and think about the overall look. Do you prefer a clean, modern design, or something more rustic?
Choosing Your Materials
For a beginner-friendly project, plywood is an excellent choice. It’s stable, relatively affordable, and comes in large sheets that make building bigger pieces manageable. Poplar or pine are also good options for solid wood elements, though they can be more prone to dents. MDF (Medium Density Fiberboard) is budget-friendly but can be heavy and doesn’t hold screws as well as plywood or solid wood. Consider the finish you want. For a painted finish, MDF or a knotty pine might be perfect. For a stained look, a good-quality plywood or a hardwood like oak (if your budget allows) will give beautiful results.
Key Materials to Consider:
- Plywood: ¾-inch (18mm) for main structure, ½-inch (12mm) for backing or internal shelves. Look for cabinet-grade plywood for a smoother finish.
- Solid Wood (Optional): For trim, face frames, or decorative elements. Pine or poplar are budget-friendly choices.
- Screws: Wood screws of appropriate length (e.g., 1 ¼-inch for joining ¾-inch material).
- Wood Glue: Essential for strong joints.
- Sandpaper: Various grits (e.g., 120, 180, 220) for smoothing.
- Finish: Paint, stain, polyurethane, or sealant of your choice.
- Edge Banding (Optional): For hiding exposed plywood edges for a cleaner look.
Essential Tools for the Job
Don’t let a long tool list discourage you! Many basic tools are versatile and can be used for countless DIY projects. If you’re just starting, focus on the essentials. Safety first is always the best approach. Investing in good safety gear is non-negotiable.
My Recommended Tool List:
- Safety Gear: Safety glasses and hearing protection are paramount. A dust mask is also a good idea.
- Measuring Tape: Accurate measurements are key.
- Pencil: For marking cuts and measurements.
- Circular Saw or Miter Saw: For making straight, accurate cuts. A circular saw with a guide, or a miter saw for repeatable angles and lengths, are invaluable. If you plan to have the lumberyard cut your plywood, you might only need a jigsaw for smaller adjustments.
- Drill/Driver: For pre-drilling holes and driving screws. Cordless is most convenient.
- Clamps: Essential for holding pieces together while glue dries or while screwing. Various sizes are helpful.
- Orbital Sander: For smoothing surfaces efficiently. A sanding block can work for smaller areas if you don’t have a power sander.
- Level: To ensure your project is plumb and level.
- Square: A combination square or speed square is useful for marking straight lines and checking 90-degree angles.
For a more polished look and easier assembly, consider these optional but helpful tools:
- Router: For decorative edges or creating dados (grooves for shelves).
- Pocket Hole Jig: Creates strong, hidden joints, perfect for beginners. (Highly recommended for clean joinery!)
- Jigsaw: For cutting curves or openings, like for cables.
Step-by-Step: Building Your Entertainment Center
Now for the fun part! We’ll break this down into manageable steps. Remember to always measure twice, cut once, and work safely. If you’re using a lumberyard or home improvement store, many will cut your plywood to size for a small fee, which can be a huge time-saver and accuracy booster for beginners. Just bring them a clear cut list!
Step 1: Create Your Cut List and Prepare Your Materials
Based on your design sketch, create a detailed cut list. This list specifies the dimensions of each piece of wood you’ll need and how many. For example:
- (2) Side Panels: 72 inches (H) x 16 inches (D) x ¾ inch (T)
- (1) Top Panel: 60 inches (W) x 16 inches (D) x ¾ inch (T)
- (1) Bottom Panel: 60 inches (W) x 16 inches (D) x ¾ inch (T)
- (3) Fixed Shelves: 57 inches (W) x 14 inches (D) x ¾ inch (T)
- (1) Back Panel: 72 inches (H) x 60 inches (W) x ½ inch (T)
(Note: Dimensions are examples. Adjust to your specific TV and wall size.)
Once you have your lumber, lay out your pieces and make your cuts. If you have a large sheet of plywood, using a straight edge guide with your circular saw will help ensure straight cuts. Cut all pieces before starting assembly.
Step 2: Assemble the Main Box Structure
This is where your entertainment center starts to take shape. You’ll be building the main carcass, which typically includes the sides, top, and bottom. If you’re using a pocket hole jig (which I highly recommend for beginners!), drill pocket holes on the edges of your top and bottom panels that will attach to the side panels. Apply wood glue to the joining edges and clamp the pieces together, then drive screws through your pocket holes (or pre-drilled pilot holes if not using pocket holes).
Ensure everything is square as you assemble. Use your square to check the corners. Attach the top and bottom panels to the side panels to form a sturdy box. Let the glue dry completely according to the manufacturer’s instructions. For extra strength, consider adding a central vertical divider if your unit is wide, especially if you plan to place it on the floor.
Step 3: Install Fixed Shelves and Dividers
Now, add your fixed shelves. These provide structural integrity and define the different sections. Again, if using pocket holes, drill them on the edges of the shelves that will attach to the sides. If you’re not using pocket holes, you can mark your shelf locations on the inside of the side panels, pre-drill through the sides into the shelf ends, apply glue, and screw them in place. Make sure these shelves are level!
If your design includes a central divider between the TV opening and bookshelves, now is the time to install it. It will attach to the top, bottom, and any horizontal shelves it intersects. This divider is crucial for stability.
Step 4: Attach the Back Panel
The back panel is vital for squaring up the entire unit and preventing racking (wobbling). It’s usually made from thinner material like ½-inch plywood. Apply a bead of wood glue along the back edges of the side, top, bottom, and any fixed shelf edges. Position the back panel and secure it with short screws or brad nails every 6-8 inches. Ensure the unit is perfectly square before you attach the back panel – the back panel will lock in that squareness.
Tip: If you plan to mount your TV on the wall above this unit, you’ll need to reinforce the back panel in those areas with thicker plywood or solid wood blocking. For now, we’re attaching the back panel directly to the unit.
Step 5: Sanding for a Smooth Finish
This is where your project starts to look more professional. Begin with a coarser grit sandpaper (like 120-grit) to smooth out any rough edges, glue squeeze-out, or minor imperfections. Then, move to a finer grit (e.g., 180-grit) to further refine the surface, and finish with 220-grit for a silky-smooth feel. Pay attention to all edges and corners. If you’re going to paint, a smooth surface is essential. If staining, a smooth, clean surface will ensure the stain is absorbed evenly.
Wipe down the entire unit with a tack cloth or a damp rag to remove all dust before applying any finish. Dust is the enemy of a good finish!
Step 6: Apply Your Finish
This is the moment you start seeing the true beauty of your work.
For Staining: Apply wood stain according to the product directions. Usually, you wipe it on with a rag and wipe off the excess. Let it dry completely.
For Painting: Apply a coat of primer first, especially if using a dark wood or for a super smooth finish on plywood. Let it dry. Then, apply your paint color in thin, even coats, allowing sufficient drying time between coats. Light sanding with 220-grit sandpaper between coats can help achieve a very smooth finish.
For Protection: After staining or painting, apply a clear protective coat like polyurethane or a polycrylic. This seals the wood and protects it from moisture and wear. Apply 2-3 thin coats, sanding lightly with 220-grit sandpaper between coats.
Always work in a well-ventilated area and follow the manufacturer’s instructions for your chosen finish. Don’t rush the drying times!
Step 7: Add Doors, Drawers, or Adjustable Shelves (Optional)
If your design includes adjustable shelves, now is the time to install shelf pins. You can drill holes for shelf pins at consistent intervals on the inside of your bookshelf sections, or you can install dados (grooves) for fixed shelves that can be adjusted during the build phase. For doors or drawers, this would involve more advanced joinery, so for a first project, sticking to open shelves is perfectly fine!
You can also add a face frame to the front of the unit for a more finished look. This involves attaching strips of wood (often 1×2 or 1×3 lumber) around the front edges of the cabinet to cover the plywood edges and create a more traditional furniture appearance. This is often attached with glue and brad nails or pocket holes.
Step 8: Cable Management
Nobody likes a mess of wires! Before placing your entertainment center in its final spot, drill one or two holes in the back panel (or in a shelf if it’s behind your TV) for cables to pass through. You can use a hole saw for a clean, round opening. Alternatively, you can use a specialized cable grommet, which looks much cleaner. If you’re feeling ambitious, you can create a channel behind the unit to neatly route all your cables. Consider drilling holes at different heights for different devices like game consoles, soundbars, or streaming boxes.
For organizing cords, consider some cable management solutions.
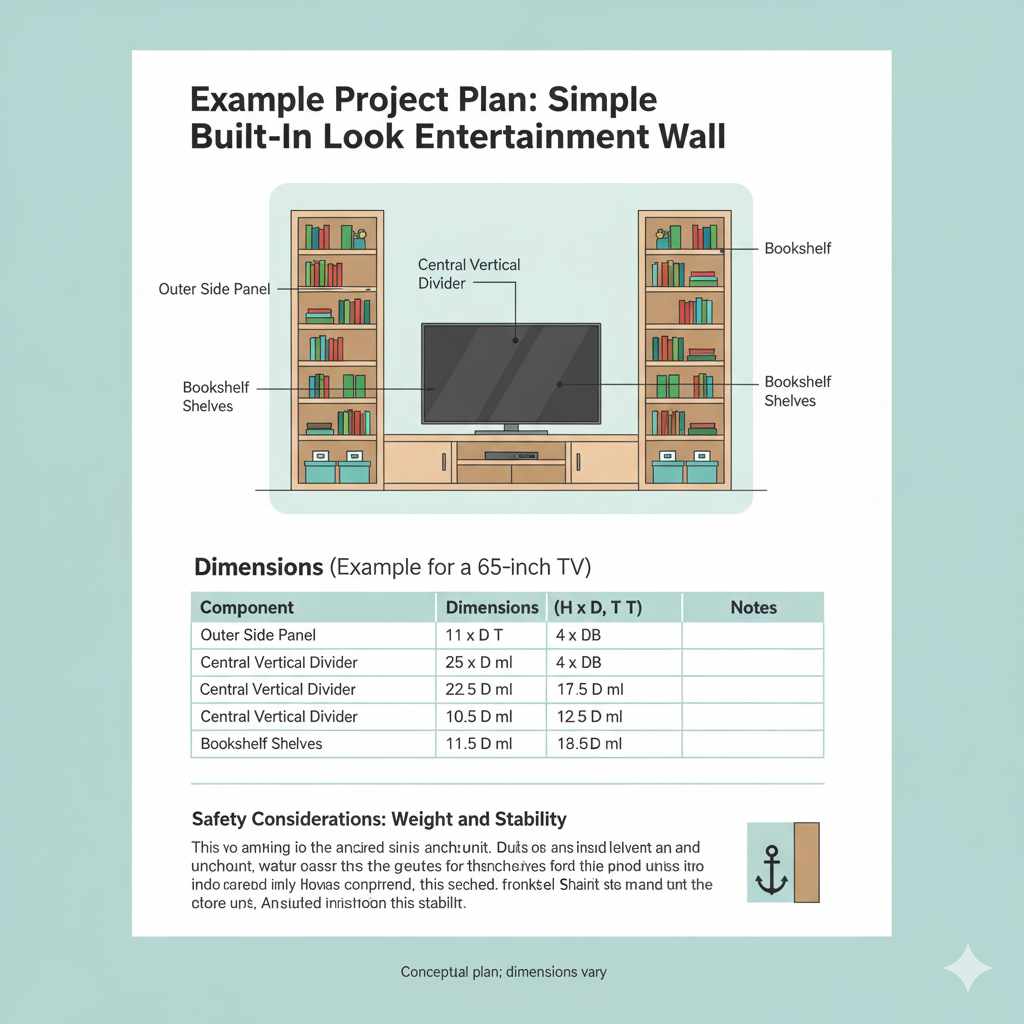
Example Project Plan: Simple Built-In Look Entertainment Wall
Let’s visualize a popular design: a wide unit with a central area for the TV and bookshelves on either side. This design offers massive storage and a striking visual impact.
Dimensions (Example for a 65-inch TV):
| Component | Dimensions (H x D x T) | Notes |
|---|---|---|
| Outer Side Panels | 72″ x 16″ x ¾” | Qty: 2 |
| Central Vertical Divider | 72″ x 16″ x ¾” | Qty: 1 |
| Top & Bottom Panels | 96″ x 16″ x ¾” | Qty: 2. This width spans the entire unit, including bookshelves. |
| TV Opening Shelves | Approx. 30″ x 16″ x ¾” | Qty: 2 (one above, one below TV opening). These would be installed on cleats or with pocket holes. Actual width depends on stud placement and TV size. |
| Bookshelf Shelves | Approx. 28.5″ x 14″ x ¾” | Qty: 6 (3 per side). Width is calculated from outer edge to central divider. |
| Back Panel | 72″ x 96″ x ½” | Qty: 1. Can be multiple pieces if needed for easier handling. |
This is a conceptual plan. Actual dimensions will vary based on your TV, desired shelf spacing, and room size. Proper support for the TV opening shelves is crucial, especially if they span a wide area. Using cleats attached to the side panels and central divider provides excellent support.
Safety Considerations: Weight and Stability
It’s critical to build your entertainment center with stability and weight-bearing capacity in mind. Bookshelves, in particular, can become very heavy when loaded with books. Ensure your cabinet is securely fastened to the wall, especially if it’s tall or narrow. Use sturdy wall anchors or mounting hardware that goes directly into wall studs. The U.S. Consumer Product Safety Commission (CPSC) recommends anchoring furniture to prevent tip-overs, especially in homes with children or pets.
For the main structure, using ¾-inch plywood is recommended for rigidity. Reinforce joints with glue and screws. If you’re concerned about shelf sag, consider adding internal support cleats beneath shelves or using stronger materials like ¾-inch hardwood plywood.
Frequently Asked Questions (FAQ)
Q1: What is the easiest wood to use for a beginner DIY entertainment center?
Plywood is generally the easiest and most forgiving material for beginners. It’s stable, comes in large sheets, and is readily available at most home improvement stores. ¾-inch cabinet-grade plywood is excellent for the main structure, offering both strength and a smooth surface for finishing.