DIY Axe Throwing Target Wood: Proven Essential
Build your own durable, effective axe throwing target wood with this guide. Learn the best wood types, construction steps, and safety tips for a fantastic DIY project that guarantees great axe-catching performance.
Dreaming of axe throwing fun but looking at expensive pre-made targets? You’ve come to the right place! Building your own DIY axe throwing target wood isn’t just cost-effective; it’s a really rewarding project. Many beginners find themselves overwhelmed by the options or unsure where to start. That’s completely normal! But with a little guidance, you’ll be amazed at how simple it is to create a target that not only looks great but also sticks your axes perfectly. We’ll break down everything you need, from choosing the right wood to assembling a target that will last. Get ready to become the hero of your next backyard gathering!
Why Build Your Own Axe Throwing Target?
Making your own axe throwing target wood offers a fantastic blend of savings, customization, and satisfaction. Store-bought targets can be pricey, and honestly, sometimes they aren’t built with the best materials for catching axes. When you build it yourself, you control the quality. You can select wood that’s known for great “stick” – meaning your axe embeds securely without bouncing out. Plus, you can design it to fit your space perfectly and add your own personal flair. It’s a project that’s achievable even for those new to woodworking. Imagine the pride of throwing your first axe into a target you built with your own two hands!
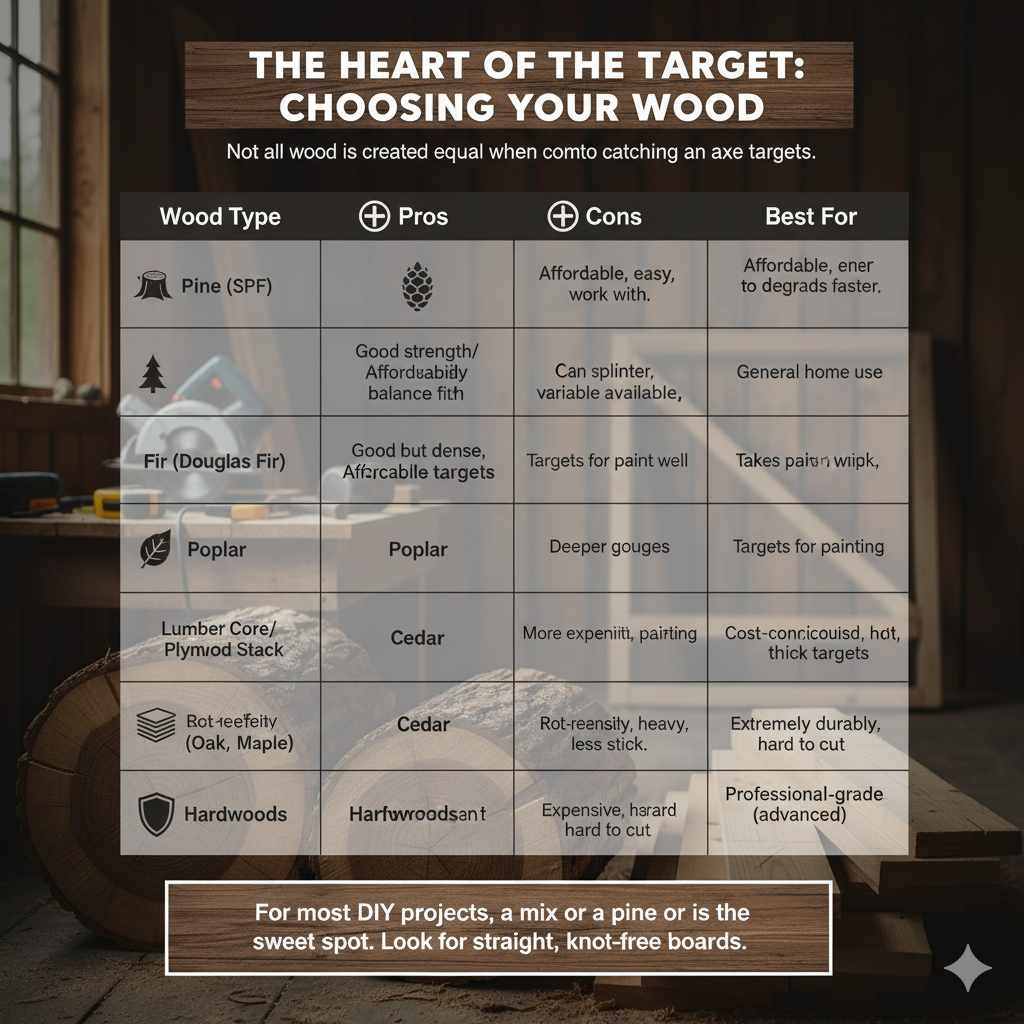
The Heart of the Target: Choosing Your Wood
The most crucial element of any axe throwing target is the wood. Not all wood is created equal when it comes to catching an axe. The best woods are dense enough to withstand repeated impacts but also have a grain that allows the axe to penetrate and “stick.” We want wood that won’t splinter excessively or cause your axe to ricochet. For DIY axe throwing target wood, your primary goal is finding something that offers a good balance of durability and stickiness without breaking the bank.
Here are some top wood choices, along with their pros and cons:
| Wood Type | Pros | Cons | Best For |
|---|---|---|---|
| Pine (SPF – Spruce-Pine-Fir) | Readily available, affordable, easy to cut and work with. | Softer, can degrade faster with heavy use, may require more frequent replacement. | Beginner budget targets, practice boards, temporary setups. |
| Fir (Douglas Fir) | Good balance of strength and affordability, better durability than standard pine. | Can still splinter, availability might vary by region. | General all-around targets, good for home use. |
| Poplar | Relatively soft but dense, takes paint well, affordable. | Can be prone to deeper gouges than harder woods. | Targets where aesthetics (painting) are important. |
| Cedar | Naturally rot-resistant, lightweight, pleasant scent. | Can be more expensive, may not offer the best “stick” compared to true hardwoods if not dense enough. | Outdoor targets, targets where longevity and resistance to elements are key. |
| Lumber Core/Plywood Stack (Interior) | Can be a cost-effective way to build a thick target. | Edges can chip, glue lines can be weak points, more complex to build a truly solid feel. | Cost-conscious builders looking for thickness. |
| Hardwoods (Oak, Maple) | Extremely durable, excellent “stick” and longevity. | Expensive, very heavy, difficult to cut and work with for beginners. | Professional or tournament-grade targets (often not recommended for first DIY builds due to complexity and cost). |
For most DIY axe throwing target wood projects, especially for beginners, a mix of pine or fir is often the sweet spot. They are forgiving to work with and provide good performance for the cost. You can often find these at your local lumberyard or big-box home improvement stores. Look for boards that are straight and free of large knots, as knots can be weak points.
Essential Tools for Your Project
You don’t need a professional workshop to build a fantastic DIY axe throwing target. With a few basic tools, you can get the job done safely and effectively. Here’s a list of what you’ll likely need:
- Measuring Tape: For accurate cuts and assembly.
- Pencil: To mark your measurements.
- Saw: A circular saw or even a hand saw will work. For straighter cuts, a circular saw is very helpful.
- Drill/Driver: For pre-drilling holes (to prevent splitting) and driving screws.
- Screws: Deck screws or other exterior-grade screws are recommended for durability.
- Clamps: To hold pieces together while you screw them in.
- Safety Glasses: Absolutely essential for protecting your eyes.
- Work Gloves: To protect your hands.
- Level: To ensure your target is plumb and level when mounted.
- Optional: Sandpaper (for smoothing edges), primer and exterior paint (for decoration and protection).
Remember, safety is key! Always wear your safety glasses and gloves when cutting or assembling. If you’re unsure about using a power tool, check out manufacturer guides or safety videos. For instance, the Occupational Safety and Health Administration (OSHA) provides extensive safety standards for tool usage.
Step-by-Step: Building Your DIY Axe Throwing Target Wood
Let’s get hands-on! This guide outlines a common and effective method for building a sturdy DIY axe throwing target wood. We’ll focus on creating a “bullseye” style target that’s a staple in the sport.
Step 1: Plan Your Target Dimensions
A standard axe throwing target is typically 24 inches in diameter and at least 4 inches thick. For beginners, it’s often easier to construct a square or rectangular target first, then work towards a circle if desired. A common DIY approach uses 2×6 lumber. For a square target, you might aim for something like 24 inches x 24 inches. The thickness is critical for good axe adhesion. Stacking boards is the best way to achieve this.
Considerations:
- Throwing Distance: Longer distances might benefit from a slightly larger target face.
- Space Availability: Measure where you plan to place it.
- Wood Dimensions: Plan how you’ll cut and assemble your lumber to reach your desired size and thickness.
Step 2: Cut Your Lumber
For a 24″ x 24″ target, around 4 inches thick, you’ll need enough 2×6 lumber to achieve that depth. Let’s say you’re using 8-foot long 2×6 boards. You’ll need to cut them into smaller pieces that will be arranged to form the full target. A common strategy is to cut boards to your desired width (e.g., 24 inches) and then stack them side-by-side and end-to-end to build up the thickness.
Example for a 24″x24″x4″ Target (using 2x6s):
A 2×6 board is actually about 1.5 inches thick and 5.5 inches wide (nominal dimensions). To get a 4-inch thickness, you’ll be stacking them. Let’s aim for a 24″x24″ face and a depth of around 5.5″ (the width of a 2×6).
- You’ll need boards to create a 24″ height. Since 2x6s are 5.5″ wide, you’ll need about 4.5 boards to make 24″ (24 / 5.5 ≈ 4.36).
- You’ll cut these boards to a length of 24 inches.
- You will arrange these 24″ long pieces side-by-side to form one layer.
- To get the depth, you’ll then stack another layer of these 24″ pieces on top, securing them together.
So, you’d need approximately 9 boards cut to 24 inches in length (4.5 boards per layer x 2 layers) to make a 24″ x 24″ target with a depth of about 11 inches (2 x 5.5 inches), which is excellent for sticking.
- Safety First: Measure twice, cut once. Ensure your wood is stable when cutting.
- Precise Cuts: Aim for as square a cut as possible.
Step 3: Assemble the Target Body
This is where your DIY axe throwing target wood starts to take shape. The goal is to create a solid, monolithic piece of wood. You’ll be screwing your cut lumber pieces together.
- Lay out the first layer: Arrange your 24-inch pieces of 2×6 end-to-end and side-by-side to form a 24″ x 24″ square (or as close as your wood dimensions allow).
- Secure the first layer: Apply a small amount of wood glue (optional but recommended for added strength) along the edges where boards meet. Then, use your drill to drive screws through the faces of the boards into the adjacent boards. Space screws every 8-10 inches.
- Add the second layer: Place your second set of 24-inch pieces on top of the first layer. Stagger the joints if possible so that the end-grain joints of the top layer don’t perfectly align with the end-grain joints of the bottom layer for better strength.
- Secure the second layer: Glue and screw the second layer of boards to the first layer. Drive screws through the top layer into the bottom layer. Ensure screws are long enough to penetrate well into both layers.
- Continue stacking: Repeat this process until you achieve your desired thickness. For a 24″ x 24″ target, a thickness of 8 to 12 inches is common and provides excellent sticking power.
Pro Tip: Pre-drilling pilot holes, especially near the ends of boards, will prevent the wood from splitting when you drive in screws. Use a drill bit slightly smaller than the screw’s shank diameter.
Step 4: Add a Face Board (Optional but Recommended)
For a cleaner look and a more consistent throwing surface, you can add a thin face board. This is typically a 1/4″ or 1/2″ plywood or a thin plank of pine.
- Cut the face board to the exact dimensions of your assembled target (e.g., 24″ x 24″).
- Attach it to the front of your target using wood glue and small screws or brad nails. Ensure the fasteners are flush or countersunk so they don’t obstruct the axe.
- This surface is where you’ll draw your bullseye and scoring rings.
Step 5: Create Your Bullseye and Scoring
This is where your DIY axe throwing target wood gets its personality! You can use stencils, paint, or even wood burning to create the bullseye and scoring zones.
- Use a compass or string method: To draw perfect circles. For a 24″ target, you might have an outer ring for 1 point, a second ring for 3 points, a third for 5 points, and a central bullseye (often split into 6 points).
- Paint: Use exterior-grade paint for durability. Prime the surface first.
- Consider a protective clear coat: An outdoor polyurethane or spar varnish can help protect the wood and paint from the elements.
For official league rules and dimensions, you can refer to resources like the World Axe Throwing League (WATL) Rulebook, which details standard target dimensions and scoring areas.
Step 6: Mounting Your Target
Proper mounting is essential for safety and stability. Your target should be securely attached so it doesn’t wobble or fall.
- Post Mounting: This is common for backyard setups. Attach a sturdy wooden post (e.g., a 4×4 or 6×6 treated post) to the ground using concrete or a heavy-duty metal anchor. Then, attach the target securely to the post using lag bolts. Ensure the target is plumb using a level.
- Frame Mounting: Build a simple wooden frame to hold the target. This can be freestanding or attached to a wall.
- Height: The standard recommended height for the center of the bullseye is 5 feet from the ground.
Always ensure there is ample clear space behind and around the target. Safety zones are critical to prevent accidents. A good rule of thumb is at least 12-15 feet of throwing distance, with a 10-foot wide safety zone on either side of the line of throw.
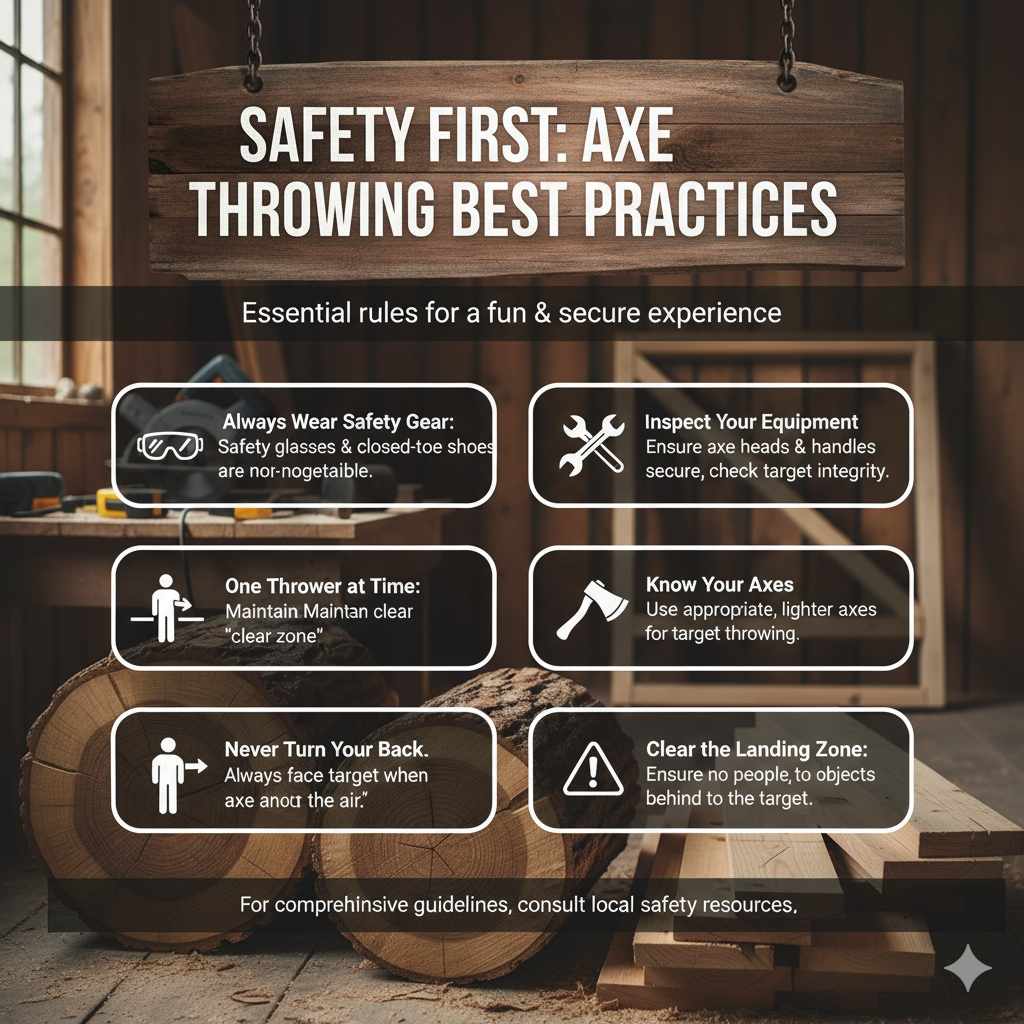
Safety First: Axe Throwing Best Practices
Axe throwing is exhilarating, but safety must always be your top priority. Building a good target is only part of the equation. Here are some essential safety tips for anyone using your DIY axe throwing target wood:
- Always Wear Safety Gear: Safety glasses are non-negotiable. Consider wearing closed-toe shoes.
- One Thrower at a Time: Never allow multiple people to throw axes simultaneously. Maintain a clear “hot zone” where only the active thrower is present.
- Never Turn Your Back on a Throw: Always face the target when an axe is in the air.
- Inspect Your Axes: Ensure axe heads are securely attached to their handles and that there are no cracks or damage.
- Inspect Your Target: Regularly check your DIY axe throwing target wood for excessive damage, loose pieces, or rot. Replace or repair as needed.
- Know Your Axes: Use axes appropriate for target throwing – typically lighter with a distinct beard or hooked end for better sticking.
- Clear the Landing Zone: Ensure no people or valuable objects are behind the target.
- Know the Rules: Understand the scoring and general etiquette of axe throwing.
For comprehensive safety guidelines, consult resources like the CDC’s information on construction safety, which highlights principles applicable to DIY projects involving tools and structures.
Maintaining Your DIY Axe Throwing Target Wood
Even the best DIY axe throwing target wood will need some care to ensure it lasts and performs well. Regular maintenance is simple and will save you from having to build a new one too often.
- Check for Looseness: Periodically ensure all screws are tight and the target is firmly mounted.
- Repair Damage: If you notice any significant gouges or splintering, you can try filling them with wood filler or epoxy designed for outdoor use. For major damage, you might need to replace individual boards.
- Weather Protection: If your target is exposed to the elements, reapplying a clear coat or exterior paint every year or two can significantly extend its life.
- Inspect for Rot: Especially if using untreated lumber, check the bottom and sides for signs of rot. If rot is extensive, it’s time for a replacement.
Remember that axe throwing is inherently hard on wood. While maintenance helps, expect to replace or repair your DIY axe throwing target wood periodically, especially with frequent use.
Frequently Asked Questions (FAQ)
Q1: What is the best type of wood for an axe throwing target?
A: For most DIY projects, pine or fir lumber (like 2x6s) is an excellent choice. They are affordable, easy to work with, and offer good “stick” for axes. Denser hardwoods offer more durability but are more expensive and harder to cut.
Q2: How thick should my axe throwing target be?
A: A minimum thickness of 4 inches is recommended for good axe adhesion. Most DIY targets are built to be 8 to 12 inches thick by stacking lumber, which provides excellent performance and durability.


