DIY Camping Wood Stove: Genius Essential Design
Build your own portable camping wood stove with this easy DIY guide. You’ll create a durable, efficient, and budget-friendly heating and cooking solution for your outdoor adventures, perfect for beginners!
Heading out into nature is fantastic, but sometimes it can feel like a chore when you’re wrestling with less-than-ideal cooking or heating setups. Imagine chilly evenings or trying to boil water with flimsy equipment – it’s enough to dampen anyone’s spirit! But what if you could craft your very own robust, reliable wood stove that’s not only functional but also a source of pride? That’s exactly what we’re going to do here. This project is designed to be simple enough for beginners, turning scrap materials into a genius essential for any camper, hiker, or backyard enthusiast.
We’ll walk through every step, making sure you feel confident and capable. Forget complicated instructions; we’re going for clarity, safety, and a brilliant end result. Get ready to build something amazing for your next outdoor escape!
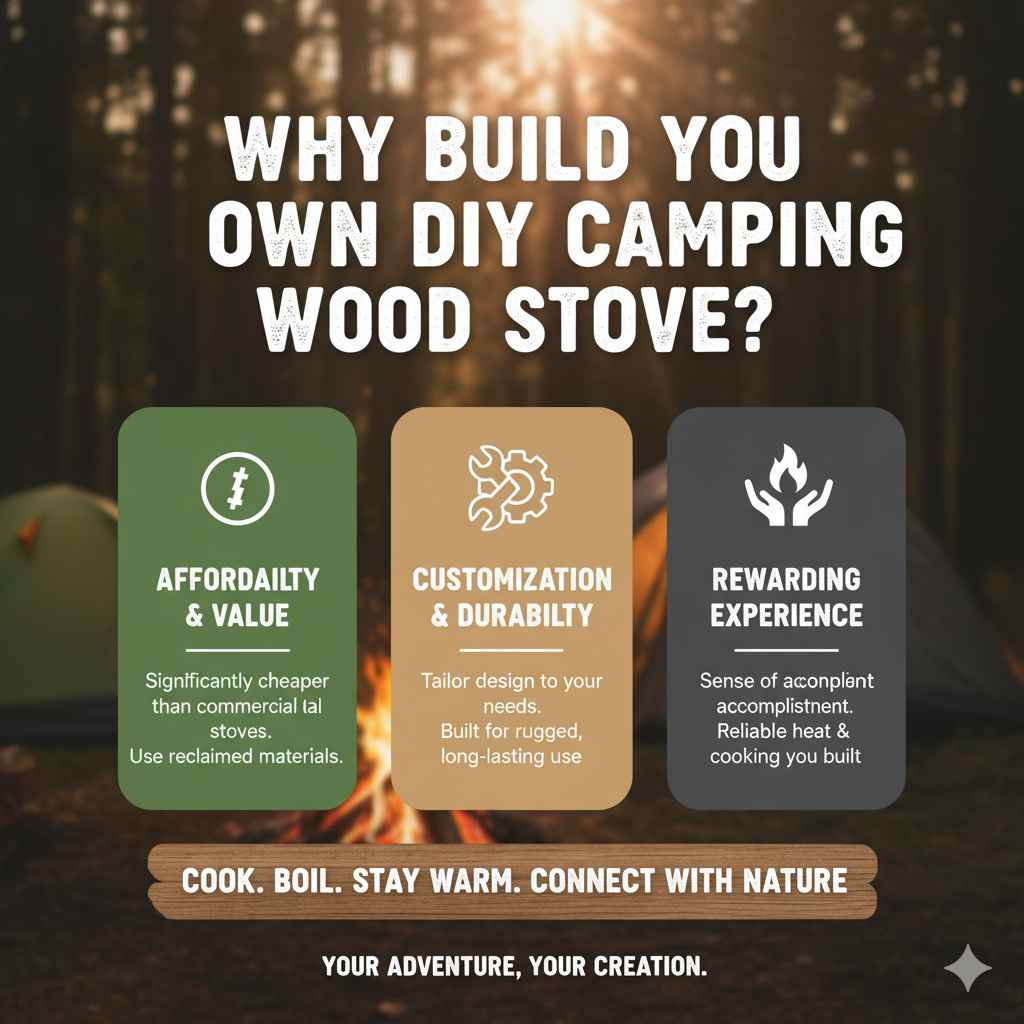
Why Build Your Own DIY Camping Wood Stove?
Commercially made camping stoves can be pricey, and sometimes they just don’t have the ruggedness you need for serious outdoor use. Building your own diy camping wood stove offers a fantastic alternative that ticks all the boxes: affordability, customization, and the satisfaction of creating something yourself. It’s a rewarding project that equips you with a durable, efficient tool for cooking, boiling water, and staying warm on your adventures.
Think about it: the smell of woodsmoke, a simmering pot of stew, and warmth radiating from a stove you built with your own hands. It’s an experience that connects you more deeply with the outdoors. Plus, knowing you can rely on your creation in various conditions adds peace of mind. We’ll focus on a design that’s common, effective, and uses readily available materials, making it perfect for your first woodworking and metalworking foray.
Essential Design Principles for a Great Wood Stove
A truly effective camping wood stove hinges on a few key design elements. These aren’t complicated, but understanding them will help you appreciate your finished product and ensure it performs beautifully. We’re aiming for efficiency, durability, and ease of use in our diy camping wood stove.
- Airflow Control: This is crucial for managing the burn rate. More air means a hotter, faster burn; less air means a slower, smoldering fire. We need adjustable vents.
- Combustion Chamber: This is where the wood burns. It needs to be robust enough to withstand high temperatures and large enough to hold a decent amount of fuel.
- Heat Transfer: The stove should efficiently transfer heat to whatever you’re cooking or to the surrounding area. This means a good cooking surface and heat radiating walls.
- Ash Management: An ash catcher or tray makes cleanup much easier and prevents ash from blocking airflow.
- Portability: For a camping stove, it needs to be relatively lightweight and compact for easy transport.
- Durable Materials: High-temperature resistant materials are a must to ensure longevity.
Tools and Materials You’ll Need
Don’t worry if you don’t have a professional workshop! This project can be adapted. We’ll focus on common tools that many DIYers already possess or can easily acquire. The key is safety and precision. Always wear appropriate safety gear, including sturdy gloves and eye protection.
Tools:
- Measuring tape
- Marker or pencil
- Heavy-duty metal snips or a jigsaw with a metal-cutting blade
- Drill with metal drill bits (various sizes)
- File or sandpaper for deburring edges
- Clamps (helpful for holding pieces together)
- Welder (optional, for a more professional and durable finish. If you don’t have one, pop rivets or high-temperature metal screws can be a good alternative for certain connections.)
- Angle grinder (optional, for cleaning edges or shaping)
Materials:
The beauty of a DIY stove is that you can often repurpose materials. Look for sturdy steel or stainless steel. Good sources include:
- Main Body: A metal ammo can (often 50 caliber), a sturdy metal toolbox, or a section of large-diameter steel pipe (e.g., culvert pipe). For this guide, we’ll base it on a 50-caliber ammo can as a popular and accessible option.
- Legs: Steel angle iron, rebar, or sturdy metal rods.
- Grate/Firebox Floor: Thick steel mesh, expanded metal, or perforated steel sheet.
- Door/Ventilation Control: Scrap pieces of sheet metal.
- Fasteners: High-temperature screws, nuts, bolts, or pop rivets.
- High-Temperature Paint (optional but recommended): For aesthetics and protection.
Choosing Your Base: The Ammo Can Advantage
For a beginner-friendly diy camping wood stove, the 50-caliber ammo can is a fantastic starting point. It’s already a sturdy, rectangular metal box with a hinged lid and a latch mechanism – perfect for adapting into a stove. They are readily available online or at surplus stores, and their steel construction is designed for durability. Let’s use this as our foundation.
The hinged lid will become our main door, allowing easy access to add fuel and control airflow. The inherent strength of the ammo can means it can handle the heat and occasional knocks that come with camping.
Step-by-Step: Building Your DIY Camping Wood Stove
We’ll break this down into manageable steps. Remember to always prioritize safety. Wear protective gloves and eyewear throughout the process.
Step 1: Prepare the Ammo Can
Begin by cleaning the ammo can thoroughly. If it has any old paint or rust, consider removing it with a wire brush or sandpaper to ensure a clean surface, especially if you plan to paint it later. Ensure the lid closes securely and the latch mechanism is in good working order.
Step 2: Create the Primary Air Intake & Door
The front of the ammo can will serve as our fuel door. We need to create an adjustable air intake here.
- Decide on the size and placement of your main opening. You can cut a large rectangle on the lower front face of the ammo can, leaving enough material around the edges for structural integrity. This will be your fuel door.
- To create an adjustable air vent, cut a smaller rectangular opening or a series of holes (about 1-2 inches in diameter) just below where your main fuel door will be, or integrated into the lower part of the main door itself.
- Cut a separate piece of sheet metal that is slightly larger than the vent opening. This will be your sliding vent cover.
- Drill small holes along the edges of the vent opening and the sliding cover. Attach the cover using a couple of screws or rivets that allow it to slide open and closed, controlling the airflow. Alternatively, you can create a simple hinged flap by attaching the sheet metal piece with a single rivet at the top, allowing it to pivot open and closed.
Step 3: Cut the Fuel Door
If you created a large opening for fuel access, you’ll need to make a door for it.
- Recut the opening on the lower front of the can.
- Use the piece you cut out, or a similar sized piece of sturdy sheet metal, to fashion a door.
- To attach the door, you can use small, high-temperature hinges, or for a simpler approach, drill holes along one edge of the door opening and the corresponding edge of the door, then secure them with high-temperature bolts or even pop rivets. The latch of the ammo can should help keep it closed.
- Integrate the adjustable air vent (from Step 2) into this door or just below it.
Step 4: Create the Secondary Air Intake (Top Draft)
For better combustion, a bit of secondary air intake near the top helps burn off gases.
- Drill a series of smaller holes (around 1/2 inch) near the top of the ammo can, on the sides or back. These allow hot air and unburnt gases to escape, drawing in fresh oxygen to create a secondary burn. About 4-6 holes should suffice.
Step 5: Install the Fire Grate
The fire needs to sit above the bottom to allow air to circulate underneath.
- Measure the internal dimensions of the ammo can at the bottom.
- Cut a piece of thick steel mesh, expanded metal, or perforated steel sheet to fit snugly inside, about 2-3 inches from the bottom.
- You can either rest this grate on small metal tabs or brackets that you secure to the inside walls of the ammo can, or you can simply bend the edges of the grate so it sits securely on its own. This creates space for airflow beneath the burning wood.
Step 6: Add Ventilation/Exhaust Holes (Top)
You need an exit for the smoke and heat.
- On the lid of the ammo can (which will be mostly closed or used as a cooking surface), drill several holes to act as the main exhaust. A few 1-inch diameter holes should be adequate.
- If you plan to use it as a cooking stove, having a flatter top area for pots is essential. You might cut off part of the lid’s raised edges if they interfere with placing a pot.
Step 7: Attach the Legs
Stable legs are important for safety and functionality.
- Decide on the height of your stove. About 6-8 inches off the ground is usually good.
- Cut four pieces of steel angle iron or rebar to your desired leg length.
- Attach the legs to the bottom of the ammo can. The most durable method is welding. If you’re not welding, you can drill through the base of the can and the top of the legs, then secure them with sturdy bolts, nuts, and washers. Ensure they are firmly attached and the stove stands level. A cross-brace between legs can add extra stability if needed.
Step 8: Finishing Touches (Optional but Recommended)
- Deburr Edges: Use a file or sandpaper to smooth all cut edges. This is a critical safety step.
- High-Temperature Paint: Clean the exterior thoroughly and apply a coat or two of high-temperature grill or stove paint. This protects against rust and gives your stove a professional look. Follow the paint manufacturer’s instructions for curing.
- Ash Pan (Optional): For easier cleanup, you could fashion a simple shallow tray from sheet metal to slide underneath the grate inside the stove.
Testing Your DIY Camping Wood Stove
Before you take your new diy camping wood stove out into the wild, it’s wise to test it in a safe, controlled environment, like your backyard.
- Place the stove on a non-flammable surface, away from anything combustible.
- Add a small amount of tinder and kindling to the fire grate.
- Light the tinder and allow the fire to catch. Gradually add small pieces of dry hardwood.
- Observe how the airflow controls affect the burn. Open the vent for a hotter flame, close it down to reduce the intensity.
- Check for any structural weaknesses or excessive heat transfer to areas that shouldn’t get too hot.
- Test placing a pot of water on top to see how well it heats.
Variations and Upgrades
Once you’ve mastered the basic ammo can stove, you might want to explore other designs or add some personal touches.
- Different Containers: Try using a large metal coffee can for a smaller, more portable stove, or a section of sturdy pipe for a cylindrical design. The principles of airflow and heat management remain the same.
- Chimney Extension: For better draft and to keep smoke away from your cooking area, a simple pipe extension can be attached to the exhaust holes on the lid.
- Adjustable Pot Stand: Instead of just resting pots on the lid, you could fabricate a more elaborate stand that allows for better heat circulation around the pot.
- Integrated Oven: For the ambitious DIYer, a larger metal box could be adapted with baffles and insulation to create a small wood-fired oven.
Safety First: Always!
Working with metal and fire requires respect and caution. Here are some vital safety points to remember:
- Eye Protection and Gloves: Always wear safety glasses and heavy-duty work gloves when cutting, drilling, or handling metal.
- Ventilation: Ensure you work in a well-ventilated area, especially if grinding or painting.
- Sharp Edges: Be extremely careful of sharp metal edges after cutting. File them down immediately.
- Fire Safety: When testing or using your stove, always do so on a non-flammable surface (like concrete, gravel, or sand). Keep a fire extinguisher or bucket of water nearby. Never leave a burning stove unattended.
- Material Choice: Ensure your materials can withstand high temperatures. Avoid galvanized metal, as heating it can release toxic fumes. Steel or stainless steel are best. For more insights into safe metalworking practices, resources like Metalformation.com’s safety tips offer valuable guidance.
- Carbon Monoxide: Never use a wood stove indoors or in a confined space without proper ventilation, as carbon monoxide can be deadly.
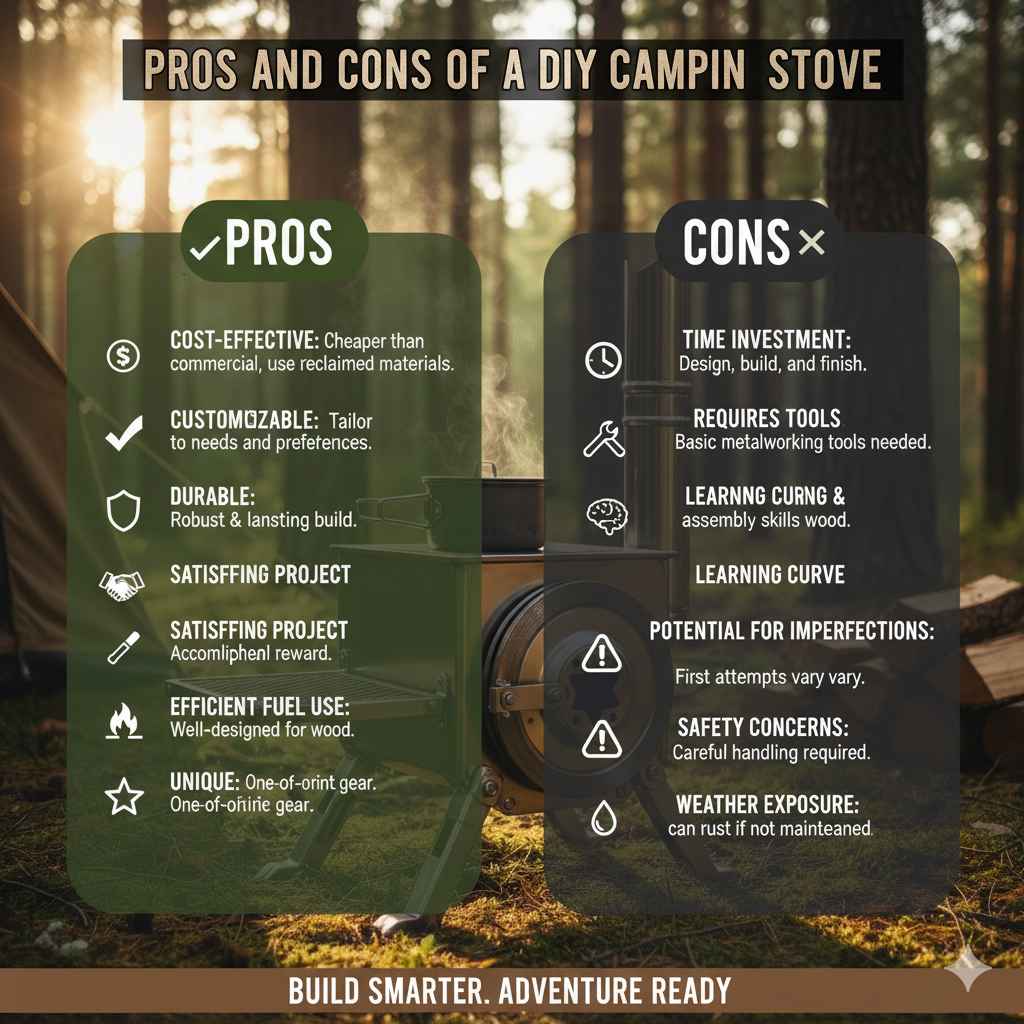
Pros and Cons of a DIY Camping Wood Stove
Like any project, building your own stove comes with its advantages and disadvantages. Understanding these can help you make informed decisions during your build and use.
| Pros | Cons |
|---|---|
| Cost-Effective: Significantly cheaper than buying a commercial stove, especially if using reclaimed materials. | Time Investment: Requires time and effort to design, build, and finish. |
| Customizable: You can design it to your exact needs and preferences. | Requires Tools: Needs basic metalworking tools, which might be an initial investment for some beginners. |
| Durable: Can be built to be extremely robust and long-lasting. | Learning Curve: May involve a slight learning curve for metal cutting and assembly. |
| Satisfying Project: Offers a great sense of accomplishment and a functional reward. | Potential for Imperfections: First attempts might not be as polished as factory-made products. |
| Efficient Fuel Use: A well-designed stove can burn wood very efficiently. | Safety Concerns: Requires careful handling and adherence to safety protocols. |
| Unique: You’ll have a one-of-a-kind piece of gear. | Weather Exposure: Metal can rust if not properly maintained or protected. Check out resources on metal care, like those from the National Parks Conservation Association for general gear maintenance principles. |
Frequently Asked Questions (FAQ)
Q1: What kind of metal is best for a DIY camping wood stove?
Sturdy steel or stainless steel are the best choices. They can withstand high temperatures without warping or degrading. Avoid galvanized steel, as heating it releases toxic fumes. Look for materials at least 1/16-inch thick for good durability.
Q2: Do I need to weld to build this stove?
Welding provides the strongest and most durable joints, but it’s not strictly necessary! For a beginner-friendly diy camping wood stove, you can use high-temperature metal screws, nuts, bolts, or pop rivets. Ensure these are also made of durable materials that can withstand heat.
Q3: How much should I worry about sharp edges?
You should worry about them quite a bit! Sharp edges are a significant safety hazard. Always wear thick gloves when handling cut metal and use a file or sandpaper to smooth down all cut edges thoroughly after fabrication.
Q4: Can I use this stove indoors?
Absolutely not. Wood-burning stoves produce carbon monoxide, a colorless, odorless gas that can be deadly. They should only be used outdoors in well-ventilated areas. Never use them inside tents, cabins, or RVs.