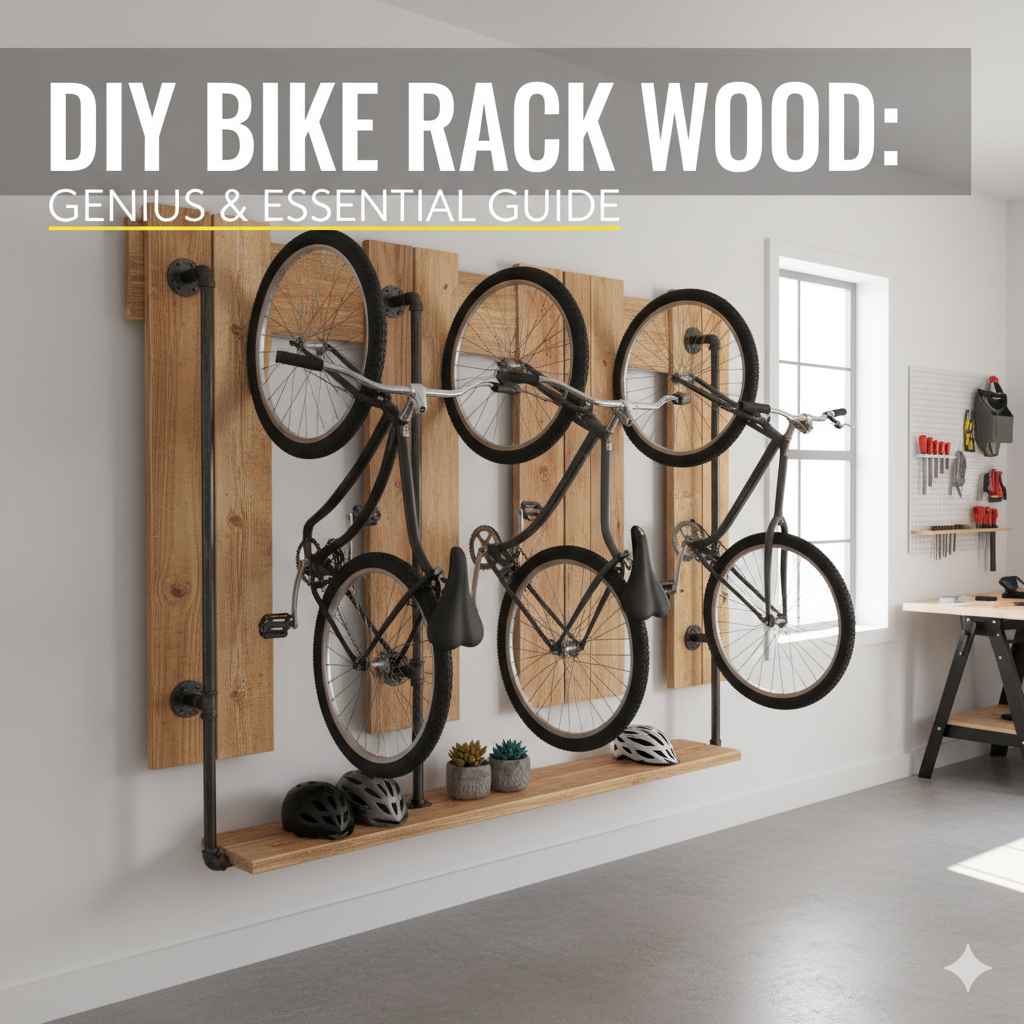
DIY Bike Rack Wood: Genius & Essential Guide
Build a sturdy, stylish DIY bike rack from wood to keep your bikes organized and protected. This beginner-friendly guide provides essential plans, tool recommendations, and step-by-step instructions for a rewarding woodworking project that saves space and adds charm to your home.
Tired of your bikes cluttering up your garage or yard? Finding a good bike rack can be surprisingly tough, and let’s be honest, they can get expensive! But what if you could build your own? With a few basic tools and some simple lumber, you can craft a strong, attractive wooden bike rack that perfectly fits your space and needs. This guide will walk you through everything, from choosing your wood to the final coat of finish. Get ready to build something practical and impressive!
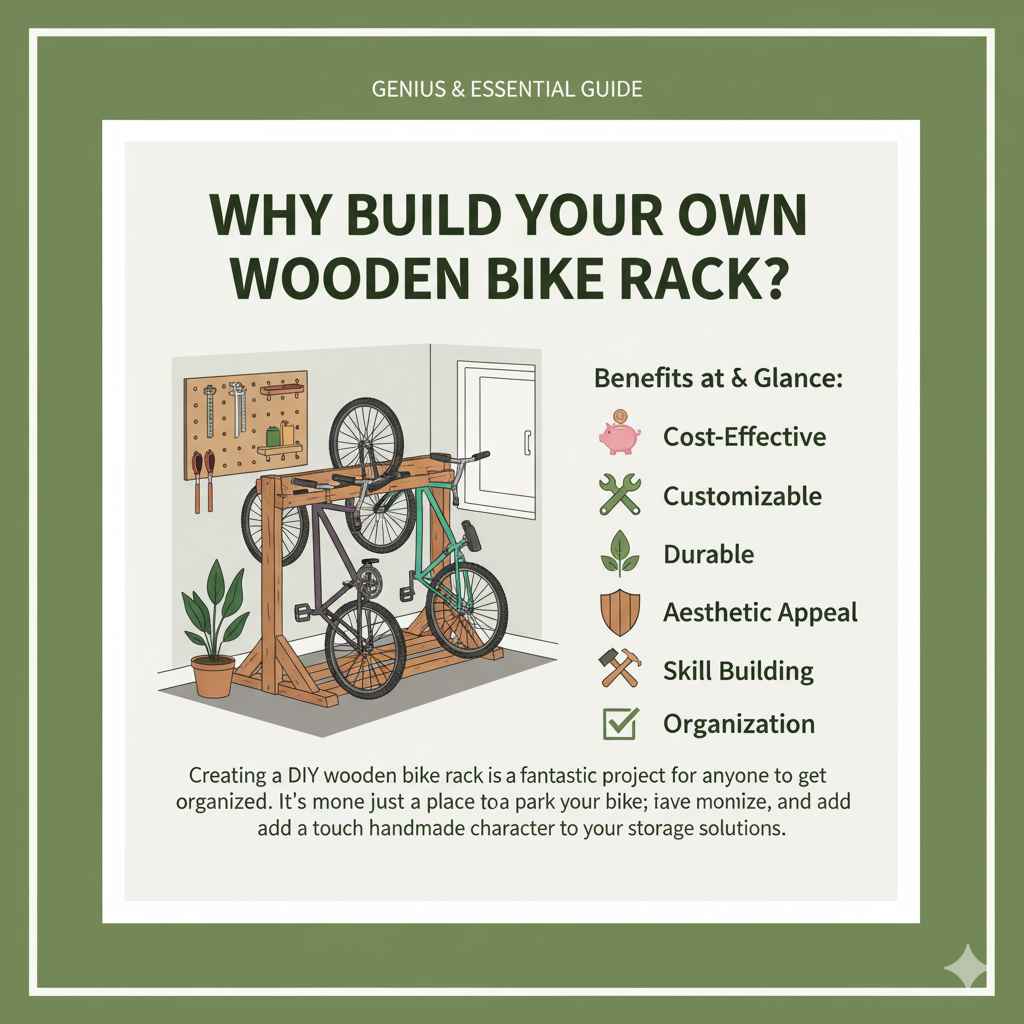
Why Build Your Own Wooden Bike Rack?
Creating a DIY wooden bike rack is a fantastic project for anyone looking to get organized. It’s more than just a place to park your bike; it’s a chance to customize, save money, and add a touch of handmade character to your storage solutions.
Wood offers a natural warmth and durability that plastic or metal racks often lack. Plus, building it yourself means you can tailor the size and design to accommodate any number of bikes, from a single commuter to a family fleet, and even include extra storage for helmets or gear. It’s a project that’s both functional and satisfying to complete.
Benefits at a Glance:
- Cost-Effective: Often significantly cheaper than buying a pre-made rack.
- Customizable: Design to fit your specific space and bike types.
- Durable: Wood can be treated to withstand outdoor conditions.
- Aesthetic Appeal: Adds a rustic or modern look to your garage, shed, or patio.
- Skill Building: A great beginner woodworking project.
- Organization: Keeps bikes tidy, prevents damage, and frees up floor space.
Understanding Your Bike Rack Needs
Before you grab your tools, think about how you’ll use your bike rack. This will help you choose the right design and materials.
Consider these questions:
- How many bikes do you need to store?
- What types of bikes are they (road, mountain, kids’)? Some have different frame or tire widths.
- Where will the rack be located (indoors, outdoors)? This affects the type of wood and finish you’ll need.
- How much space do you have available? Measure carefully!
- What is your budget?
- Do you want a simple rack or one with added storage features?
Choosing Your Wood: The Foundation of Your Rack
The type of wood you select will impact the durability, appearance, and cost of your DIY bike rack. For most outdoor or high-traffic applications, pressure-treated lumber is a great, economical choice. For indoor use where aesthetics are paramount, hardwoods like cedar, redwood, or even pine can be beautiful options.
If you’re building an outdoor rack, ensuring the wood can resist moisture, insects, and rot is crucial. Pressure-treated pine is readily available and cost-effective. Cedar and redwood are naturally resistant to decay and insects, making them excellent choices for outdoor projects, though they are generally more expensive. For indoor racks, pine is affordable and easy to work with, while hardwoods offer superior strength and a premium look.
Wood Options & Considerations:
| Wood Type | Pros | Cons | Best For |
|---|---|---|---|
| Pressure-Treated Pine | Affordable, widely available, good rot and insect resistance. | Can be prone to warping or cracking if not sealed well, contains chemicals (handle with care). | Outdoor racks, budget-friendly projects. |
| Cedar | Naturally resistant to rot and insects, lightweight, attractive grain. | More expensive than pine, can be soft and prone to dents. | Outdoor racks needing natural beauty, indoor racks. |
| Redwood | Excellent natural resistance to rot and insects, durable, beautiful color. | Expensive, can be harder to find depending on region. | Premium outdoor racks, high-end indoor racks. |
| Pine (Untreated) | Inexpensive, easy to cut and sand, takes paint/stain well. | Not naturally resistant to rot or insects, best for indoor use or heavily protected outdoor areas. | Indoor racks, painted racks. |
A Note on Safety: When working with pressure-treated lumber, always wear gloves and a mask to avoid inhaling sawdust or skin contact with the chemicals. For more on lumber safety, check out the US Forest Products Laboratory’s resources.
Essential Tools for Your Project
You don’t need a workshop full of fancy equipment to build a great bike rack. Here are the essential tools you’ll likely need.
Having the right tools makes the job easier and ensures a better result. For a basic wooden bike rack, you’ll primarily need tools for measuring, cutting, and assembling. Safety gear is, of course, non-negotiable. Ensure you’re familiar with how to use each tool safely before you begin.
Tool Checklist:
- Tape Measure: For accurate measurements.
- Pencil: For marking cuts and measurements.
- Saw: A hand saw will work, but a circular saw or miter saw will make cuts much faster and straighter.
- Drill/Driver: For pre-drilling pilot holes and driving screws.
- Drill Bits: For pilot holes and clearance holes.
- Screwdriver Bits: To match your screws.
- Clamps: To hold pieces together while you work.
- Speed Square: For marking straight lines and 90-degree angles.
- Sandpaper (various grits): For smoothing edges and surfaces.
- Safety Glasses: Always protect your eyes!
- Work Gloves: To protect your hands.
- Hearing Protection: If using power tools for extended periods.
- Optional: Jigsaw (for curved cuts),orbital sander (for faster sanding).
Simple & Sturdy: A Beginner-Friendly Bike Rack Design
Let’s get to building! This design focuses on simplicity, strength, and ease of construction. It’s a freestanding rack that holds bikes upright by their tires.
This design creates a stable structure that can hold two bikes. It uses basic cuts and assembly methods, perfect for beginners. We’ll aim for a rack that’s about 30 inches wide and 36-40 inches tall, but you can adjust these dimensions.
Materials Needed (for a 2-bike rack):
- (2) 2×4 boards, 8 feet long (for the base and uprights)
- (1) 1×4 board, 6 feet long (for the top crosspiece and support)
- (1) 1×6 board, 6 feet long (for the slanted front supports)
- (approx.) 2.5-inch exterior wood screws
- (approx.) 1.5-inch exterior wood screws
- Wood glue (exterior grade if for outdoor use)
- Sandpaper
- Optional: Wood sealant or exterior paint/stain
Step-by-Step Building Guide
Follow these steps carefully for a successful build. Always measure twice and cut once!
- Prepare Your Wood Cut your lumber to the following approximate lengths. You can adjust these based on your bike’s tire width and your desired rack height. Use a speed square to ensure your cuts are 90 degrees.
- From the 2x4s:
- Cut (2) pieces at 24 inches long (for the base runners).
- Cut (2) pieces at 36 inches long (for the main uprights).
- Cut (2) pieces at 18 inches long (for the tire cradles).
- From the 1×4:
- Cut (1) piece at 27 inches long (for the top support).
- Cut (1) piece at 27 inches long (for a center support, optional but recommended for stability).
- From the 1×6:
- Cut (2) pieces at 12 inches long (for the slanted front braces).
- From the 2x4s:
- Assemble the Base Take your two 24-inch 2×4 base runners. Place the two 36-inch 2×4 uprights perpendicularly on top of the base runners. The uprights should be positioned about 6 inches from each end of the base runners, forming a T-shape. Apply wood glue to the contact points on the base runners where the uprights will sit. Then, drive two 2.5-inch screws down through the uprights into each base runner to secure them. Ensure the uprights are perfectly vertical using a level or speed square.
- Add the Top Support Place the 27-inch 1×4 board across the top of the two uprights, flush with the back edge. This adds stability and a finished look. Apply glue to the top edges of the uprights. Position the 1×4 on top and secure it by driving two 1.5-inch screws down through the 1×4 into each upright.
- Install the Tire Cradles These are the 18-inch 2×4 pieces. They will create the slots your bike tires sit in. Position these between the main uprights, on top of the base runners. There are a couple of ways to do this:
- Option 1 (Simpler): Lay them flat on the base runners, parallel to the main uprights. Space them apart to fit your bike tires comfortably (usually around 2-4 inches apart). Secure them by driving 2.5-inch screws up through the base runners into the tire cradles.
- Option 2 (More Recessed): Cut notches into the base runners and have the tire cradle ends sit flush with the base. This is more advanced. For beginners, Option 1 is recommended.
- Attach the Slanted Braces Take your two 12-inch 1×6 boards. These go on the front side of the rack, connecting the base runners to the main uprights at an angle for extra stability. Place one end of a 1×6 on the front of a base runner, and the other end on the front side of its corresponding upright. You want a roughly 45-degree angle. Mark your angles, cut the ends of the 1x6s to fit snugly. Apply wood glue and secure them with 2.5-inch screws into both the base runner and the upright.
- Add Optional Center Support If you’re making a rack for more than two bikes, or if you just want added rigidity, install the 27-inch 1×4 board vertically in the center, running from the base to the top support. This helps prevent the structure from racking (leaning sideways). Glue and screw it in place, using 1.5-inch screws through the top support and into the base.
- Sand and Finish Once everything is assembled and the glue is dry, it’s time to sand. Start with a coarser grit sandpaper (like 80 or 100 grit) to smooth out any rough edges or imperfections. Then, move to a finer grit (like 150 or 220 grit) for a smooth finish. For outdoor use, apply a good quality exterior wood sealant, stain, or paint. This will protect the wood from the elements and prolong the life of your rack. If it’s for an indoor space, you can use any finish you like to match your decor.
Customization Ideas to Elevate Your Rack
Once you’ve mastered the basic design, you can easily adapt it to your specific needs and style.
Personalizing your DIY bike rack makes it even more special. Consider these ideas:
Creative Touches:
- Add a Shelf: Incorporate a small shelf above the tire slots for helmets or water bottles.
- Variable Slot Widths: If you have bikes with very different tire sizes, you can build separate sections with custom spacing.
- Wall-Mounted Version: For space-saving, adapt the design to be mounted directly onto a wall stud. This requires a different base structure and stronger mounting hardware. For wall mounting guidance, resources like This Old House offer great general tips on finding studs and securing structures.
- Painted Designs: Get creative with paint! Use stencils or freehand designs to add some flair.
- Protective Strips: Add strips of rubber or felt to the inside of the tire slots to prevent scratching your rims.
- Additional Hooks: Install small hooks on the sides for hanging helmets, lights, or pumps.
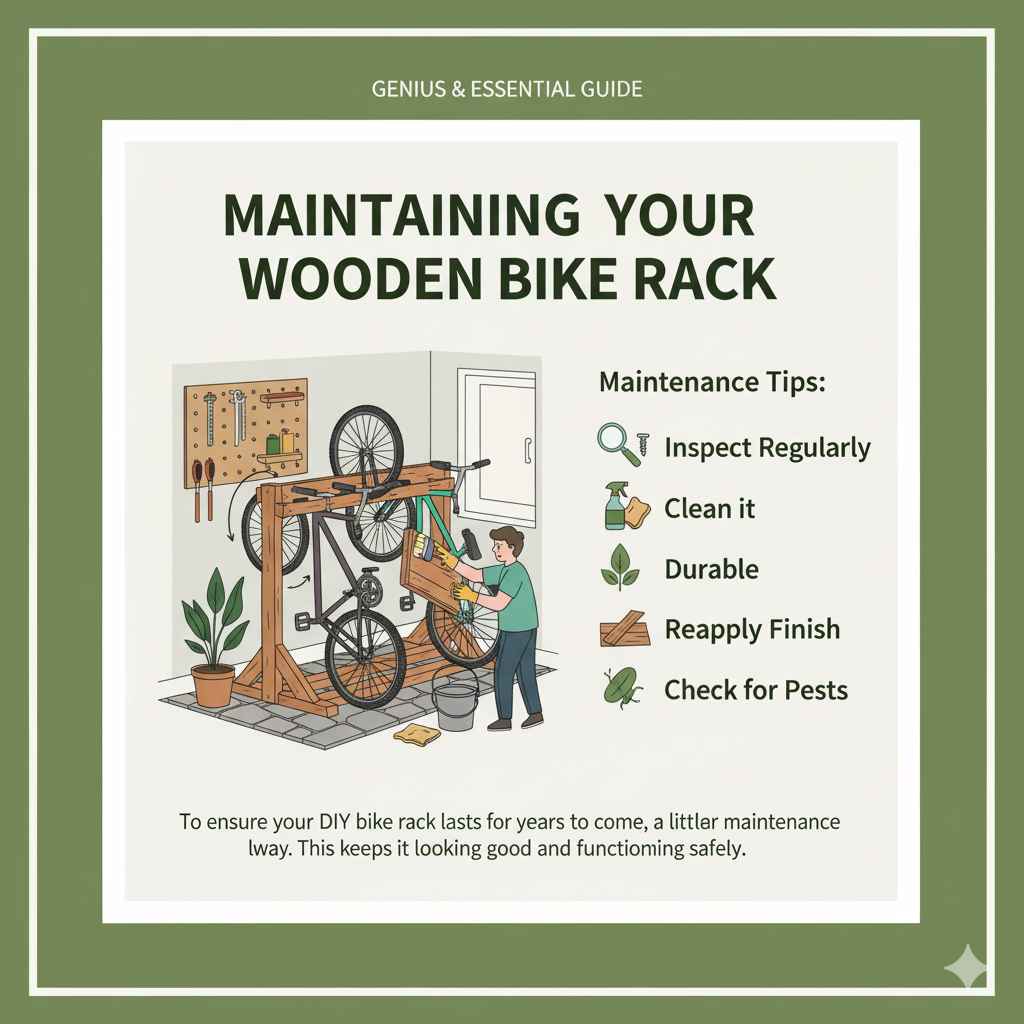
Maintaining Your Wooden Bike Rack
To ensure your DIY bike rack lasts for years to come, a little regular maintenance goes a long way.
Just like any wooden item, especially those exposed to the elements, your bike rack will benefit from periodic check-ups. This keeps it looking good and functioning safely.
Maintenance Tips:
- Inspect Regularly: Check for any loose screws, wobbly parts, or signs of splintering. Tighten screws as needed.
- Clean it: Wipe down the rack with a damp cloth to remove dust and dirt. For outdoor racks, a gentle scrub with soap and water can help.
- Reapply Finish: Every 1-2 years, especially for outdoor racks, you may need to reapply a sealant, stain, or paint. This is crucial for protecting the wood from moisture and UV damage.
- Check for Pests: If your rack is outdoors, keep an eye out for any signs of insect infestation.
Frequently Asked Questions (FAQ)
Here are some common questions beginners have about building a DIY wooden bike rack.
Q1: Is building a wooden bike rack difficult for a beginner?
No, not at all! This guide focuses on a simple design that uses basic cuts and assembly. With clear instructions and a few common tools, even someone new to woodworking can successfully build a sturdy and functional bike rack.
Q2: What is the best type of wood for an outdoor bike rack?
For outdoor use, it’s best to choose wood that is naturally resistant to rot and insects, or lumber that has been treated for outdoor use. Cedar, redwood, or pressure-treated pine are excellent choices. Always apply a good exterior-grade sealant or paint for maximum protection.
Q3: How wide should the slots for the bike tires be?
The width of the slots depends on your bike tires. For most standard road or mountain bike tires, a slot width of 2 to 4 inches is generally sufficient. Measure your tires to be sure, and consider adding a little extra space for easy insertion and removal.
Q4: Can I build a rack that holds more than two bikes?
Absolutely! The design can be easily scaled up. You’ll need to add more uprights and correspondingly adjust the length of your base and top support pieces. Ensure the structure remains stable by adding additional bracing or a center support as needed.
Q5: Do I need to pre-drill holes for the screws?
Yes, pre-drilling pilot holes is highly recommended, especially when screwing into the end of a board or close to the edge. Pilot holes prevent the wood from splitting, make it easier to drive screws straight, and ensure a much stronger joint. Use a drill bit that is slightly smaller in diameter than your screws.
Q6: How do I protect a wooden bike rack from the weather?
For outdoor racks, thorough preparation and finishing are key. After sanding, apply at least two coats of a good quality exterior wood sealant, stain, or paint. Ensure all surfaces and edges are covered. For DIY projects, the United States Environmental Protection Agency (EPA) offers guidance on understanding wood preservatives and finishes.


