
The Best Way to Remove Paint: A Comprehensive Guide for DIYers
For the best way to remove paint, first identify your surface and paint type. Chemical strippers excel on intricate details and stubborn layers, while heat guns are efficient for large, flat areas. Sanding works well for thinner coats or smoothing. Always prioritize safety with ventilation, gloves, and eye protection. Choose the method that best suits your project for a successful, clean finish.
Paint removal can feel like a daunting task, especially when you’re looking to refresh an old piece of furniture or prepare a surface for a new finish. You might wonder if there’s a secret trick or a single “best way to remove paint” that everyone else knows. It’s a common frustration, but I’m here to tell you there’s no single magic bullet – the best approach depends on your specific project. Don’t worry, though; I’ll walk you through the most effective and safe methods, helping you pick the right one. You’ll soon learn how to tackle even the toughest paint jobs with confidence!
Removing old paint is often the first step to giving a piece new life. Whether it’s a treasured antique, a sturdy door, or a worn-out deck, getting rid of that old finish properly makes all the difference. As your woodworking mentor, I’ll guide you through the most common and effective methods, ensuring you understand not just the how, but also the why, so you can achieve fantastic results safely.
Understanding Your Project: The First Step to Finding the Best Way to Remove Paint
Before you grab any tools, let’s take a moment to assess your project. This initial step is crucial for choosing the right method and ensuring your safety. Think of it as planning your route before hitting the road.
What Kind of Surface Are You Working On?
- Wood: Is it soft wood (pine, cedar) or hard wood (oak, maple)? Softwoods are more prone to damage from aggressive methods. Is it a flat surface or does it have intricate carvings?
- Metal: Is it steel, iron, or aluminum? Different metals react differently to chemicals or heat.
- Other Materials: Are you dealing with plaster, concrete, or drywall? Each requires a specific approach.
What Kind of Paint Are You Removing?
- Latex/Acrylic Paint: Often easier to remove, especially when fresh.
- Oil-Based Paint: Tends to be tougher and more resistant to removal.
- Varnish/Shellac/Lacquer: These clear finishes might require different solvents than pigmented paints.
- Lead-Based Paint: This is a big one. If your home or item was built before 1978, assume it has lead paint. The EPA has strict guidelines for lead paint removal, and it’s often best left to professionals due to serious health risks. If you suspect lead paint, please proceed with extreme caution or consult an expert.
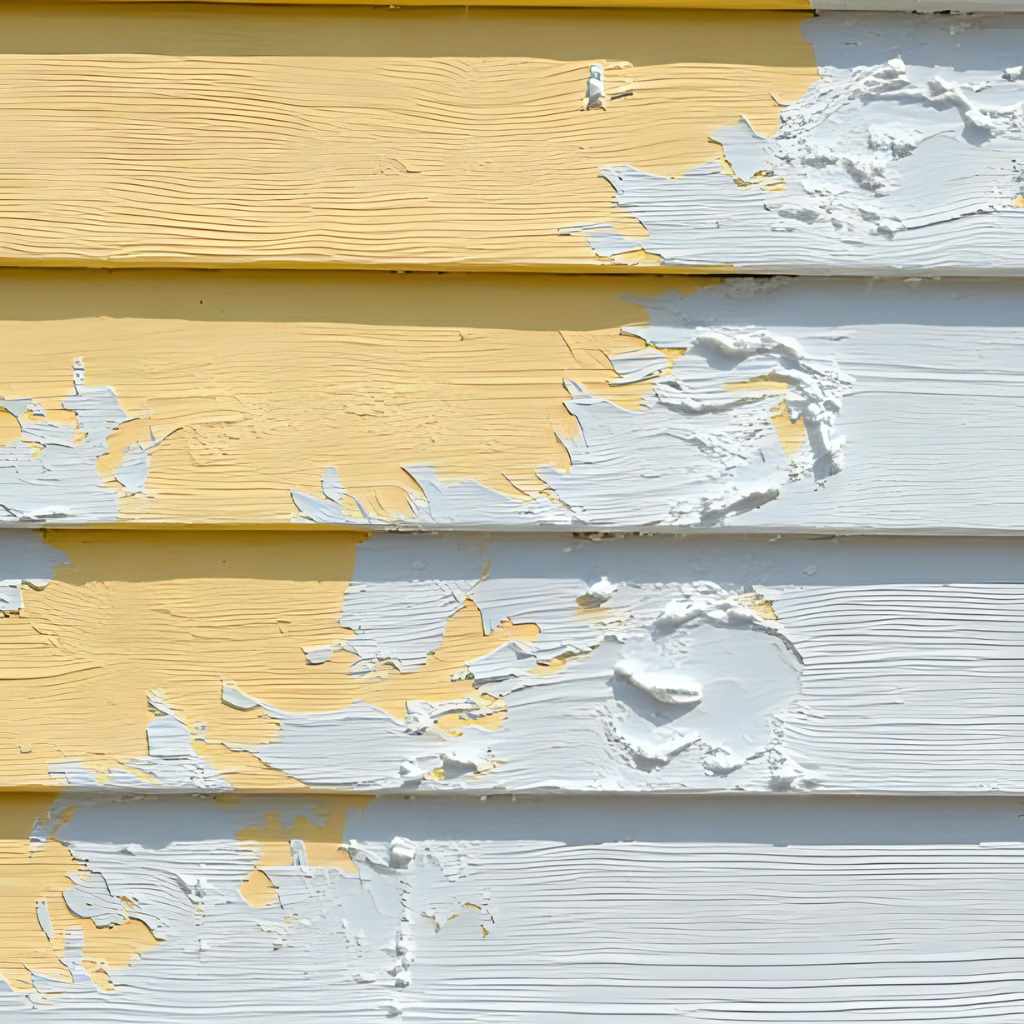
Consider the Condition of the Paint
- Is it peeling and flaking?
- Is it thick and multi-layered?
- Is it thin and just needs a light sanding?
Once you have a good grasp of these factors, you’re ready to explore the methods.
Popular Methods for Paint Removal: Choosing Your Approach
Let’s dive into the most common and effective ways to remove paint. Each has its strengths and weaknesses, making it ideal for different situations. Remember, the “best way to remove paint” for your project might be a combination of these!
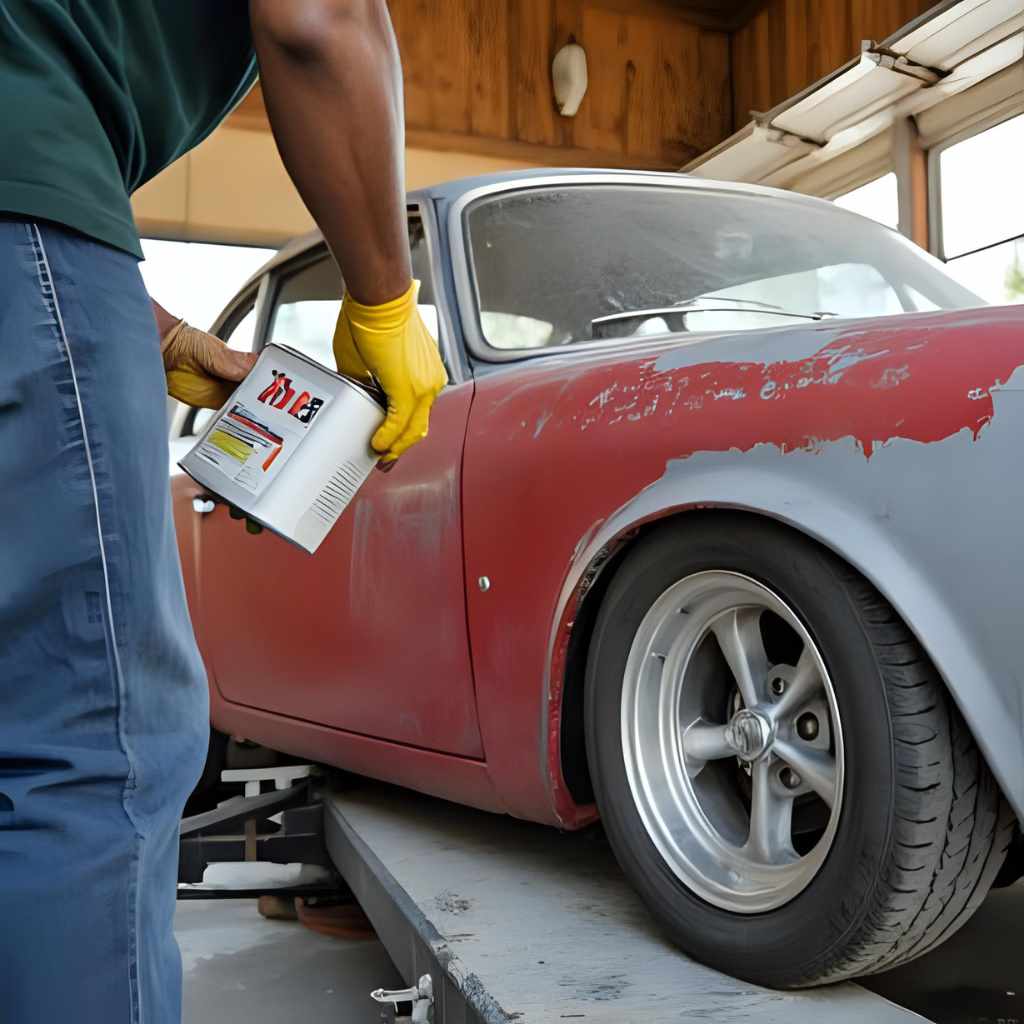
1. Chemical Paint Strippers: For Intricate Details and Stubborn Layers
Chemical strippers use solvents to break down the paint’s bond with the surface, causing it to bubble and lift. They are excellent for detailed pieces or when you want to avoid sanding dust.
Materials & Tools You’ll Need:
- Chemical paint stripper (read labels carefully for suitability to your paint type)
- Chemical-resistant gloves (OSHA emphasizes proper PPE for chemical handling)
- Safety glasses or goggles
- Respirator (with appropriate cartridges for organic vapors)
- Plastic drop cloths or old newspapers
- Metal or glass container for stripper (never plastic, unless specified by manufacturer)
- Paint scraper (putty knife or flat scraper)
- Wire brush (for stubborn areas, especially on metal)
- Steel wool or abrasive pads
- Old rags
- Mineral spirits or paint thinner (for cleanup, if recommended by stripper manufacturer)
- Neutralizing agent (if required by stripper instructions)
Step-by-Step Guide to Using Chemical Strippers:
- Prepare Your Workspace: Work in a well-ventilated area, preferably outdoors. Lay down plastic drop cloths to protect your surroundings.
- Gear Up for Safety: Don your chemical-resistant gloves, safety glasses, and respirator. This isn’t optional, friend – safety first!
- Apply the Stripper: Pour a small amount of stripper into your metal or glass container. Using an old paintbrush, apply a thick, even layer of stripper to a small section of the painted surface. Don’t brush it thin; you want a good, generous coat.
- Wait for the Magic: Let the stripper sit for the time recommended by the manufacturer (usually 15-30 minutes). You’ll see the paint start to bubble and wrinkle. This means it’s working!
- Scrape Away: Once the paint is soft and bubbly, use your paint scraper to gently push off the loosened paint. Be careful not to gouge the wood. For intricate areas, a wire brush or even a toothbrush can be helpful.
- Repeat if Necessary: For multiple layers of paint, you might need to apply a second or third coat of stripper.
- Clean and Neutralize: After scraping, wipe down the surface with an old rag dampened with mineral spirits or a neutralizing agent as directed by the stripper’s instructions. This removes any residue and stops the chemical action.
- Proper Disposal: Collect all paint waste and stripper residue on your drop cloths. Dispose of it according to local regulations. Never pour chemicals down the drain.
2. Heat Guns: For Large, Flat Surfaces and Thick Paint
A heat gun uses concentrated hot air to soften paint, making it easy to scrape off. It’s a great option for larger, flat areas like doors or tabletops, and it avoids the mess of chemicals.
Materials & Tools You’ll Need:
- Heat gun
- Paint scraper (various sizes are helpful)
- Wire brush (for stubborn spots)
- Heavy-duty work gloves
- Safety glasses
- Respirator (especially for older paint, as heating can release fumes)
- Metal container for hot paint scraps
- Fire extinguisher (just in case!)
Step-by-Step Guide to Using a Heat Gun:
- Prepare & Protect: Work in a well-ventilated area, away from flammable materials. Have a fire extinguisher handy.
- Safety First: Put on your safety glasses, gloves, and respirator.
- Apply Heat: Hold the heat gun a few inches from the paint surface, moving it slowly in small circles or back and forth. You’ll see the paint start to bubble and soften. Don’t hold it in one spot too long, or you risk scorching the wood.
- Scrape Immediately: As soon as the paint softens, use your scraper to lift it off. Work in small sections, heating and scraping as you go.
- Mind the Fumes: Old paint, especially if it’s lead-based, can release harmful fumes when heated. That respirator is your best friend here.
- Clean Up: Collect all scraped paint in a metal container. Let it cool completely before disposing of it properly.
3. Sanding: For Thin Layers and Smoothing Surfaces
Sanding is a less aggressive method, best for removing thin layers of paint, feathering edges, or smoothing a surface after other removal methods. It’s usually not the “best way to remove paint” if you have thick, multiple layers, as it’s very time-consuming and creates a lot of dust.
Materials & Tools You’ll Need:
- Orbital sander, belt sander, or detail sander (depending on the surface)
- Sanding blocks (for hand sanding)
- Assorted sandpaper grits (60-grit for removal, 100-150 for smoothing)
- Dust mask or respirator (P100 filter is best for paint dust)
- Safety glasses
- Work gloves
- Vacuum cleaner with a HEPA filter
Step-by-Step Guide to Sanding Paint:
- Set Up for Dust Control: Work in a well-ventilated area. If using a power sander, connect it to a shop vac with a HEPA filter to minimize dust. Lay down drop cloths.
- Protect Yourself: Wear your dust mask or respirator, safety glasses, and gloves.
- Start with Coarse Grit: Begin with a coarser grit sandpaper (e.g., 60-80 grit) to remove the paint. Apply light, even pressure and keep the sander moving to avoid creating divots or burn marks on the wood.
- Progress to Finer Grits: Once the paint is mostly removed, switch to a finer grit (e.g., 100-120 grit) to smooth the surface and remove any scratches left by the coarser paper.
- Clean Thoroughly: After sanding, vacuum all dust from the surface and surrounding area. Wipe down with a tack cloth to ensure a perfectly clean surface.
Comparison of Paint Removal Methods
To help you decide the best way to remove paint for your project, here’s a quick comparison:
| Method | Best For | Pros | Cons | Safety Focus |
|---|---|---|---|---|
| Chemical Stripper | Intricate details, carved surfaces, multiple layers, heat-sensitive materials. | Effective on stubborn paint, less physical effort, minimal dust. | Messy, strong fumes, requires careful handling & disposal, can damage some plastics. | Ventilation, chemical-resistant gloves, respirator, eye protection. |
| Heat Gun | Large, flat surfaces, thick paint, non-flammable materials. | No chemicals, relatively quick on large areas, good for thick layers. | Risk of scorching wood, can release toxic fumes (especially lead paint), fire hazard. | Ventilation, gloves, eye protection, respirator, fire extinguisher. |
| Sanding | Thin paint layers, smoothing surfaces, touch-ups, pre-finishing. | Precise control, good for surface prep, relatively inexpensive tools. | Dusty, time-consuming for thick paint, can damage wood if not careful, not ideal for intricate areas. | Dust mask/respirator, eye protection, dust extraction. |
Tips for Better Results and a Smoother Process
No matter which method you choose, a few extra tips from my workshop can make your paint removal journey much smoother and more successful.
- Test a Small Area First: Always try your chosen method on an inconspicuous spot. This helps you gauge effectiveness and prevent damage.
- Work in Small Sections: Don’t try to strip an entire piece at once. Work in manageable areas, especially with chemical strippers that can dry out.
- Protect Adjacent Areas: Use painter’s tape and plastic sheeting to protect areas you don’t want to strip or get dusty.
- Sharp Tools are Safe Tools: Keep your scrapers sharp. A dull scraper requires more force, increasing the risk of slips and damage to your surface.
- Ventilation is Key: I can’t stress this enough. Good airflow protects your lungs from fumes and dust.
- Be Patient: Paint removal is rarely a quick job. Rushing can lead to mistakes, damage, and less-than-ideal results. Take your time, and enjoy the process of revealing the beauty underneath.
- Consider Specialty Tools: For very specific tasks, tools like paint shavers or infrared paint removers exist. Research these if your project is particularly challenging, but they are often more advanced.
Common Mistakes to Avoid When Removing Paint
Even seasoned DIYers can make mistakes. Here are some common pitfalls beginners often encounter and how to steer clear of them:
- Ignoring Safety Gear: This is the biggest mistake. Fumes, dust, and chemicals are no joke. Always wear appropriate gloves, eye protection, and a respirator. Your health is paramount.
- Not Testing the Method: Jumping straight into a large area without testing can lead to damage or wasted effort if the method isn’t right for your paint or surface.
- Using Too Much Force: Whether scraping or sanding, excessive force can gouge, scratch, or burn the underlying material. Let the tools and chemicals do the work; use a gentle, steady hand.
- Overheating with a Heat Gun: Holding the heat gun in one spot for too long will scorch wood, leaving an ugly burn mark that’s hard to fix. Keep it moving!
- Not Cleaning Up Properly: Leaving chemical residue can affect your new finish, and neglecting dust cleanup can lead to a gritty, uneven new coat of paint or stain.
- Mixing Chemicals: Never mix different paint strippers or cleaners unless explicitly instructed by the manufacturer. This can create dangerous reactions.
- Underestimating Lead Paint: If you suspect lead paint, do not sand or use a heat gun without proper precautions and containment. Disturbing lead paint can release toxic dust and fumes. When in doubt, test it or call a professional.
Frequently Asked Questions About Paint Removal
Q1: Is chemical paint stripper always the best way to remove paint?
A: Not always! While effective for intricate details and stubborn layers, chemical strippers can be messy and require careful handling. For large, flat surfaces, a heat gun might be faster, and for thin coats, sanding is often sufficient. The “best” method depends on your specific project.
Q2: How long does paint removal usually take?
A: This varies greatly depending on the size of your project, the number of paint layers, and the method you choose. A small chair might take a few hours, while a large door could take a full day or more. Patience is key!
Q3: What’s the safest way to remove paint from old furniture?
A: Safety is paramount! Always work in a well-ventilated area. For chemical strippers, use chemical-resistant gloves, safety glasses, and a respirator. When sanding, wear a dust mask or respirator and eye protection. If you suspect lead paint (common on older furniture), consider professional help or specialized lead-safe practices to avoid health risks.
Q4: Can I use a regular hairdryer instead of a heat gun?
A: A regular hairdryer doesn’t get hot enough to effectively soften most paints. You’ll likely just waste time and effort. A dedicated heat gun is designed for this purpose and reaches much higher temperatures, making it a far more efficient and effective tool for paint removal.
Q5: How much does it cost to remove paint myself?
A: DIY paint removal is generally very affordable. You’ll need to invest in some basic tools and materials like a paint stripper (around $20-40 per quart/gallon), scrapers ($5-15), sandpaper ($10-20), and safety gear (gloves, glasses, respirator, $20-50). If you already own some of these, your costs will be even lower.
Q6: What should I do after removing the paint?
A: After removing paint, thoroughly clean the surface. If you used a chemical stripper, wipe it down to neutralize any residue. Sand the surface smooth, starting with a medium grit and finishing with a fine grit, to prepare it for your new finish – whether that’s paint, stain, or varnish.
Your Path to a Beautifully Clean Surface
There you have it, my friend! You now have a solid understanding of the different ways to remove paint, along with the tools, techniques, and crucial safety steps involved. Remember, the “best way to remove paint” isn’t a single answer, but rather the method that thoughtfully addresses your specific project, type of paint, and surface material. By taking your time, prioritizing safety, and following these guidelines, you’ll gain confidence and achieve outstanding results.
Don’t be afraid to get started. Every successful project begins with that first step. Soon, you’ll be looking at a beautifully clean surface, ready for its next chapter, and you’ll have the satisfaction of knowing you did it yourself. Happy stripping, and as always, work safely!


