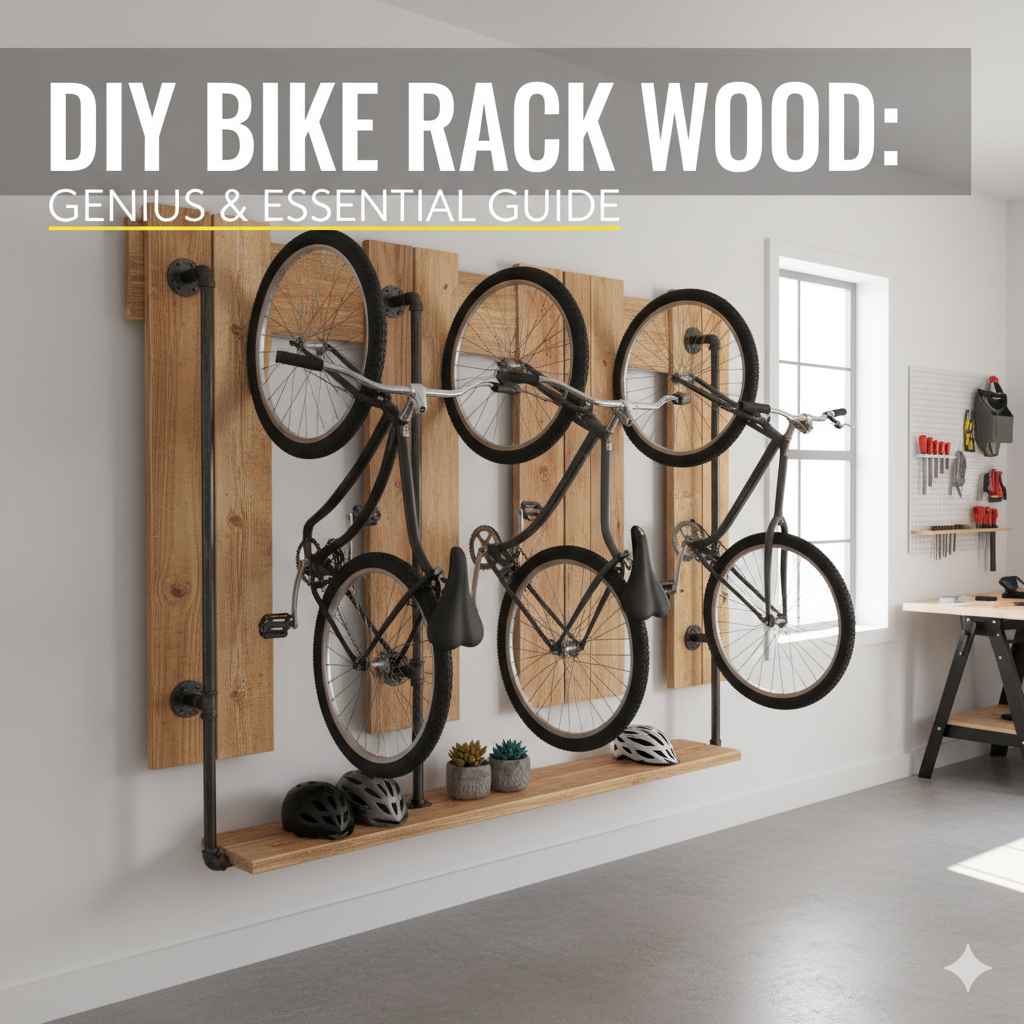
DIY Clothes Rack Wood: Genius Essential Solutions
Build your own durable and stylish DIY wood clothes rack with simple tools and affordable materials. Perfect for beginners, this guide offers step-by-step instructions and essential tips to create a functional storage solution that adds craftsmanship to your home. Get ready to organize your space with confidence!
Is your closet overflowing? Do clothes seem to be everywhere but neatly hung? Many of us face the challenge of limited storage space, and finding affordable, good-looking solutions can be tough. Stacks of clothes might be tumbling out, or maybe you’re tired of flimsy, temporary racks that just don’t last. You want something that looks good and actually holds your garments securely. The good news is, you don’t need to be a master carpenter to build a fantastic clothes rack. With some basic woodworking skills, a few simple tools, and a bit of guidance, you can create a sturdy and attractive DIY clothes rack that’s perfect for your needs. We’ll walk you through everything you need to know, step-by-step, so you can tackle this project with ease and confidence. Get ready to transform your clutter into a beautifully organized space!
Why Build a DIY Clothes Rack Wood? The Benefits You’ll Love
Creating your own clothes rack from wood isn’t just a fun project; it’s a smart choice that offers several advantages. As a woodworker, I’ve seen firsthand how building something yourself can be incredibly rewarding. You get a piece that’s perfectly suited to your space and style, built to last, and significantly more affordable than many store-bought options.
- Customization is Key: You can design a rack that fits your exact dimensions, whether you need a tall, narrow one for a small corner or a wide one for a walk-in closet. You also get to choose the wood type, finish color, and style to match your home decor.
- Durability You Can Trust: Unlike mass-produced racks that might wobble or break, a well-built wooden rack is incredibly strong. You’ll be able to hang heavier items like coats and jackets without worry.
- Cost-Effective Craftsmanship: Buying good quality furniture can add up quickly. By using simple lumber and your own hands, you can achieve professional-looking results for a fraction of the price.
- A Sense of Accomplishment: There’s a unique satisfaction in using something you’ve made with your own hands. It’s a tangible reminder of your skills and effort.
- Sustainability: Opting for wood, especially if you choose sustainably sourced lumber, can be a more environmentally friendly choice than plastic or metal alternatives.

Essential Tools and Materials for Your DIY Clothes Rack
Getting started with your DIY clothes rack wood project is straightforward. You won’t need a huge workshop or an arsenal of complex tools. Here’s a basic rundown of what you’ll likely need to gather:
Tools You’ll Need:
- Measuring Tape: For accurate measurements. Accuracy is your best friend in woodworking!
- Pencil: To mark your cuts and assembly points.
- Saw: A handsaw is fine for simpler projects, but a miter saw or circular saw will make cuts faster and straighter. If you’re new to saws, consider getting your wood cut to size at the hardware store.
- Drill/Driver: For pre-drilling holes and driving screws.
- Drill Bits: A bit slightly smaller than your screws for pilot holes, and a countersink bit if you want screw heads flush with the wood.
- Sandpaper: Various grits (e.g., 120, 180, 220) for smoothing edges and surfaces. An orbital sander can speed this up.
- Clamps: Helpful for holding pieces together while you drill or glue.
- Safety Glasses: Always protect your eyes!
- Work Gloves: To protect your hands.
- Optional: Level: To ensure your rack is perfectly straight.
Materials for Your Rack:
The specific lumber will depend on the design you choose, but here are common options:
- Wood: Pine is a popular and affordable choice for DIY projects. It’s easy to cut and sand. You might use 2x2s, 2x4s, or 1x3s depending on the design. For a more premium look, you could consider poplar, oak, or maple.
- Screws: Wood screws of appropriate length and gauge. Outdoor or deck screws are often used for their durability and corrosion resistance.
- Wood Glue: A strong adhesive that adds extra stability to your joints.
- Wood Finish: Stain, paint, or a clear sealant (like polyurethane or polycrylic) to protect the wood and give it a finished look.
- Optional: Wood Dowels or Metal Rod: For the hanging bar itself, if your design calls for it.
- Optional: Casters/Wheels: If you want a movable rack.
When buying lumber, try to select pieces that are straight and free from major knots or warps. A quick glance down the length of the board can help you pick out the best pieces.
Simple DIY Clothes Rack Wood Designs for Beginners
Let’s explore a couple of straightforward designs that are perfect for beginners. These projects focus on simplicity, functionality, and achievable results.
Design 1: The Classic A-Frame Clothes Rack
An A-frame rack is incredibly stable and requires no wall mounting. It’s great for entryways or bedrooms.
Steps for Building an A-Frame Rack:
- Cut Your Wood: You’ll mainly need two sets of identical lengths for the legs (e.g., 5 feet) and shorter pieces for the top crossbars (e.g., 18 inches), and possibly a longer piece for the hanging bar (e.g., 3 feet).
- Assemble the ‘A’ Shapes: For each ‘A’ shape, take two leg pieces and one crossbar. Position the crossbar near the top of the leg pieces, creating an angle. You can join these by drilling pilot holes and using wood glue and screws. Think of forming a triangle without the base. Repeat for the second ‘A’.
- Connect the ‘A’s: Stand your two ‘A’ structures upright. Use a longer piece of wood as a connecting bar between the two ‘A’s at the top, ensuring they are parallel. Attach this with glue and screws.
- Add the Hanging Bar: Decide on the height for your main hanging bar. This is a crucial step for a DIY clothes rack wood. You can attach it between the two ‘A’ structures using pocket holes (if you have a jig) or by screwing from the outside of the legs into the ends of the bar. Ensure it’s level and secure. Alternatively, for a simpler approach, you can use metal pipes or wooden dowels secured with pipe brackets or drilled holes.
- Reinforce and Sand: Add any extra bracing if you feel it’s needed for stability. Once everything is securely attached, sand all surfaces and edges smooth, starting with a coarser grit and moving to finer ones.
- Finish: Apply your chosen wood stain, paint, or sealant. Allow it to dry completely before use.
Design 2: The Freestanding Garment Rack (Simple Rectangular)
This design is essentially a simple rectangle with a hanging bar across the top. It’s very adaptable.
Steps for Building a Freestanding Garment Rack:
- Cut Your Wood: You’ll need four identical pieces for the vertical supports (e.g., 5-6 feet), and four identical pieces for the top horizontal supports (e.g., 3 feet). You’ll also need a piece for the hanging bar (e.g., 3 feet).
- Build the Top Rectangle: Take two of your top horizontal pieces and two vertical support pieces. Form a rectangle where the vertical pieces are inside the corners of the horizontal ones. Or, for a cleaner look, have the horizontal pieces extend slightly beyond the vertical supports. Glue and screw these together. Repeat to create an identical top frame.
- Connect the Top Frames: Now, connect these two completed frames using the remaining two vertical support pieces. Attach these vertical supports to the inside or outside corners of your top frames, ensuring everything is square and plumb. This creates the basic structure of your rack.
- Install the Hanging Bar: Position your hanging bar between the two sets of vertical supports at a comfortable height. Secure it with glue and screws, driving them through the vertical supports into the ends of the hanging bar. Ensure it’s level and centered. A good trick for a strong joint is to drill pilot holes and use a few screws.
- Add Base Support (Optional but Recommended): For extra stability, you can add horizontal pieces at the bottom to connect the bases of the vertical supports, creating a bottom rectangle.
- Sand and Finish: Thoroughly sand all surfaces smooth. Wipe away dust and apply your desired finish.
- Add Casters (Optional): If you want to make your rack mobile, attach caster wheels to the bottom of the vertical supports.
Choosing the Right Wood for Your DIY Clothes Rack
Selecting the right type of wood is important for the look, durability, and ease of your project. For most DIY clothes rack wood projects, you’ll be looking at common lumber readily available at your local hardware store.
| Wood Type | Pros | Cons | Best For |
|---|---|---|---|
| Pine (Common Lumber) | Affordable, lightweight, easy to cut and sand, readily available. Takes stain and paint well. | Softer, can dent or scratch more easily than hardwoods. Knots can sometimes bleed through paint. | Beginner projects, budget-friendly racks, painted finishes. |
| Poplar | Harder than pine, smooth grain, takes paint exceptionally well. Relatively inexpensive compared to other hardwoods. | Can be slightly more expensive than pine. May have a greenish tint that can show through light paint if not primed well. | Smooth painted finishes, sturdy beginner projects. |
| Oak | Very strong, durable, beautiful prominent grain pattern. Resists dents and scratches well. | More expensive, heavier, harder to cut and drill than pine. | High-end looking racks, natural finishes where grain is showcased. |
| Maple | Hard, dense, smooth grain. Very durable. Takes a clear finish beautifully. | More expensive, can be challenging for beginner woodworkers due to hardness. | Modern or minimalist designs, natural or clear finishes. |
For your first DIY clothes rack wood project, I usually recommend pine or poplar. They’re forgiving to work with and won’t break the bank. If you’re aiming for a more robust and visually striking piece, consider oak or maple, but be prepared for a slightly tougher build.
Finishing Touches: Making Your Rack Look Great
The way you finish your DIY clothes rack wood can dramatically change its appearance and protect it from wear and tear.
Sanding: The Key to a Smooth Finish
Before you apply any finish, thorough sanding is crucial. Start with a medium-grit sandpaper (around 120) to smooth out rough spots and remove any pencil marks. Then, move to a finer grit (180 or 220) for a silky-smooth surface. Don’t forget to sand all edges and corners. A dusty surface will ruin your finish, so wipe down your project with a tack cloth or a slightly damp rag. Check out resources like Woodworkers Guild of America’s sanding guide for more in-depth tips.
Choosing a Finish:
- Stain: Stains add color to the wood. They come in many shades, from light natural tones to dark ebony. You apply stain, wipe off the excess, and then usually follow up with a protective topcoat.
- Paint: For a modern or farmhouse look, paint is a great option. Use a good quality primer first, especially on knotty pine, to prevent the knots from bleeding through your paint. Then apply your chosen paint color.
- Clear Coat (Polyurethane, Polycrylic, Lacquer): These finishes protect the wood while allowing its natural beauty to show through. Polyurethane is very durable but can have a yellow tint. Polycrylic is water-based, dries clear, and is generally easier to work with for beginners. Lacquer dries very quickly and provides a hard finish but requires good ventilation.
Always follow the manufacturer’s instructions for application and drying times. Working in a well-ventilated area is a must, especially with stains and varnishes.
Safety First! Always Woodwork Responsibly
Woodworking should be fun and rewarding, but safety is paramount. Even with simple projects like a DIY wood clothes rack, taking precautions will ensure you have a positive experience.
- Eye Protection: Always wear safety glasses when cutting, drilling, sanding, or assembling. Wood chips and dust can cause serious eye injuries.
- Hand Protection: Wear work gloves to protect your hands from splinters and cuts, especially when handling rough lumber.
- Tool Safety: Read the manuals for any power tools you use. Understand how they operate and their safety features. Never force a tool. Keep your work area clean and free of clutter to prevent tripping hazards.
- Dust Control: Wood dust can be harmful to your lungs. Wear a dust mask, especially when sanding. If you’re doing a lot of sanding indoors, consider a dust collection system or work outside. The Occupational Safety and Health Administration (OSHA) provides guidelines on wood dust safety.
- Sharp Tools: Keep your saw blades and drill bits sharp. Dull tools can be more dangerous because they require more force to use, increasing the risk of kickback or slipping.
- Secure Your Work: Use clamps to hold your wood pieces firmly in place when cutting or drilling. This prevents the wood from shifting unexpectedly.
By following these safety tips, you can enjoy the process of building your DIY clothes rack wood with peace of mind.

Troubleshooting Common DIY Clothes Rack Wood Issues
Even with the best intentions, sometimes things don’t go exactly as planned. Here are a few common issues you might encounter and how to solve them:
- Wobbly Rack: This is usually due to uneven cuts, loose joints, or insufficient bracing.
- Solution: Double-check that all your cuts are square. Ensure screws are driven in tightly, and consider adding wood glue for stronger joints. For freestanding racks, add horizontal bracing at the base to create a more rigid structure. If it’s a little wobbly, tiny felt pads or shims under the feet can help level it on an uneven floor.
- Split Wood: This often happens when screws are driven too close to the edge of the wood or without a pilot hole.
- Solution: Always drill pilot holes, especially in hardwoods or near the end of boards. The pilot bit should be slightly smaller than the screw’s shank. If a small split occurs, wood glue can often hold it together. For larger splits, you might need to re-cut the piece or reinforce it.
- Uneven Finish: This can happen if the wood wasn’t sanded properly, or if stain/paint was applied unevenly.
- Solution: Ensure you’ve sanded to a fine grit and wiped off all dust. Apply stains and paints in thin, even coats, following the grain. For blotchy stain jobs on pine, a pre-stain wood conditioner can help achieve a more uniform look.
- Hanging Bar Sagging: If the hanging bar is too long or the wood is too soft, it can sag under the weight of clothes.
- Solution: For longer spans, use a thicker piece of wood or a stronger hardwood. Consider adding a metal rod or even a second support bracket halfway along the bar. Ensure the bar is well-secured to the uprights.
Don’t get discouraged if you run into a snag. Most woodworking issues are fixable, and each mistake is a learning opportunity!
Frequently Asked Questions (FAQ)
What type of wood is best for a DIY clothes rack?
For beginners, pine or poplar are excellent choices because they are affordable, easy to work with, and readily available. Pine is softer and lighter, while poplar is a bit harder and takes paint extremely well. For a more durable and premium look, hardwoods like oak or maple can be used but are more expensive and harder to work with.