DIY Christmas Wooden Tree: Essential & Effortless
Create your own charming DIY Christmas Wooden Tree! This easy project uses simple tools and materials, perfect for beginners. You’ll craft a beautiful, rustic decoration that adds a special touch to your holiday decor, bringing warmth and personality without breaking the bank or requiring expert skills. Let’s get started on this rewarding woodworking adventure!
Are you dreaming of a unique Christmas tree that stands out from the usual? Maybe you’ve seen those gorgeous wooden trees and thought, “That looks too complicated for me!” I get it – woodworking can seem a bit intimidating at first. But trust me, building a DIY Christmas wooden tree is totally achievable, even if you’re just starting out. We’ll break it down step-by-step, making it simple and fun. You’ll be amazed at what you can create with just a few basic tools and a can-do attitude. Get ready to craft a holiday centerpiece you’ll be proud of all season long!
Why Build a DIY Wooden Christmas Tree?
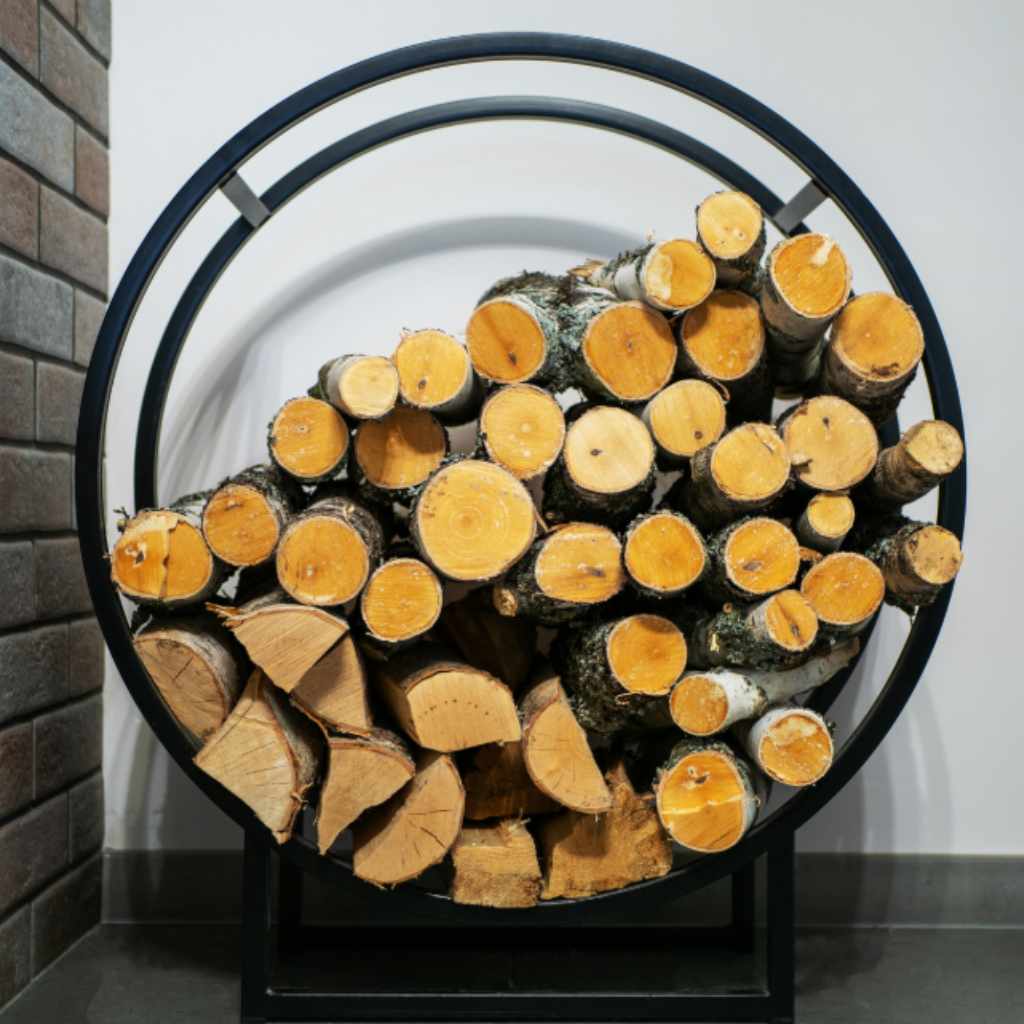
There’s something incredibly special about handmade holiday decorations. A DIY wooden Christmas tree brings a rustic charm and a touch of natural beauty to your home. Unlike store-bought options, your handmade tree will have a unique character, reflecting your effort and personal style. It’s a fantastic way to add a warm, cozy vibe to your festive setting. Plus, it’s an excellent beginner project that teaches fundamental woodworking skills. Imagine the satisfaction of guests admiring a tree you built yourself!
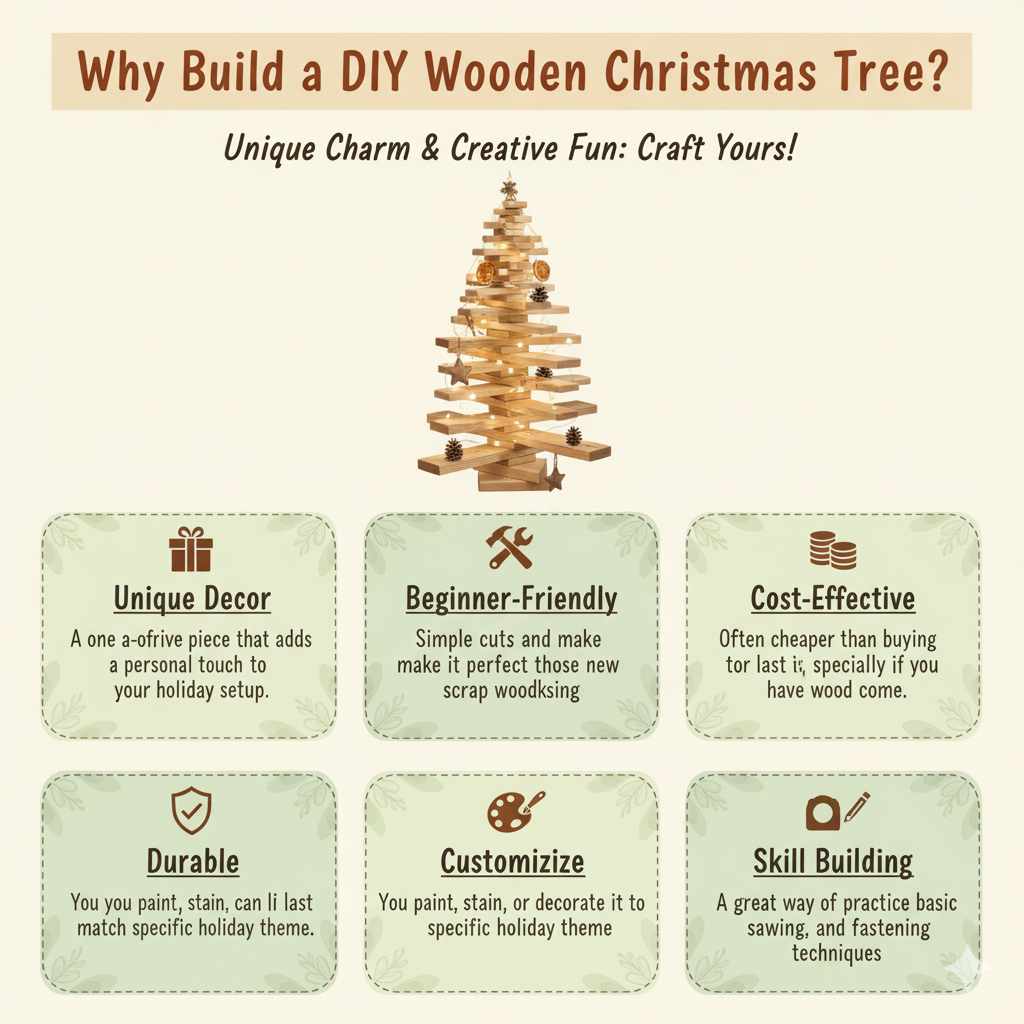
Here are a few reasons why this project is a winner:
- Unique Decor: It’s a one-of-a-kind piece that adds a personal touch to your holiday setup.
- Beginner-Friendly: Simple cuts and assembly make it perfect for those new to woodworking.
- Cost-Effective: Often cheaper than buying a decorative tree, especially if you have scrap wood.
- Durable: A well-built wooden tree can last for many Christmases to come.
- Customizable: You can paint, stain, or decorate it to match your specific holiday theme.
- Skill Building: It’s a great way to practice basic sawing, drilling, and fastening techniques.
Essential Tools and Materials
Don’t worry, you don’t need a professional workshop to make a beautiful wooden Christmas tree. Here’s a list of what you’ll need. We’ll focus on tools that are easy to use and common for DIYers.
Tools You’ll Need:
- Measuring Tape: For accurate measurements.
- Pencil: To mark your wood.
- Safety Glasses: ALWAYS protect your eyes when cutting or drilling. This is non-negotiable for safety! Learn more about the importance of safety gear from the CDC’s home safety guidelines.
- Miter Saw or Hand Saw: A miter saw makes angled cuts easy and precise, but a sturdy hand saw and a miter box will also work.
- Drill/Driver: For making pilot holes and driving screws.
- Drill Bits: Appropriate sizes for pilot holes and clearance holes if needed.
- Screwdriver Bits: To match your screws.
- Sandpaper (medium and fine grit): To smooth out edges and surfaces. A sanding block can be helpful.
- Clamps (optional but helpful): To hold pieces steady while you fasten them.
Materials You’ll Need:
The beauty of this project is its flexibility with wood. You can use new lumber or even repurpose some old wood!
- Wood: About 6-8 feet of 1×4 or 1×6 lumber (pine is a great, affordable choice). You can also use fence pickets, pallet wood (ensure it’s heat-treated, not chemically treated), or leftover project wood. The width of your board will determine the width of your tree branches.
- Wood Screws: 1-1/4 inch or 1-5/8 inch screws.
- Wood Glue (optional but recommended): Adds extra strength to your joints.
- Finish (optional): Paint, stain, or sealant if you want to protect or color your tree. Primer might be needed if painting.
Planning Your Wooden Christmas Tree: Design & Dimensions
Before you start cutting, it’s good to have a basic plan. Most simple DIY wooden Christmas trees consist of a central trunk and several horizontal “branches” attached at angles. The most common design is a simple layered approach.
Let’s plan for a tree that’s roughly 4-5 feet tall. This size is manageable for beginners and creates a nice visual impact.
Common Design Elements:
Think of your tree as having a few key parts:
- The Trunk: This is the vertical support. It can be a single piece of wood or two pieces joined together for stability.
- The Branches: These are the horizontal slats of wood that create the tree shape. They get progressively shorter as they go up.
- The Base: To make your tree stand upright, you’ll need a stable base. This is often made from a couple of wider pieces of wood or a thick dowel.
Sample Dimensions for a ~5-Foot Tree (using 1×6 lumber):
These are just suggestions; feel free to adjust based on your available wood and desired look.
Trunk Pieces:
You’ll need two pieces for the trunk, making it more stable. Let’s say 5 feet long each.
- Trunk Piece 1: 1 x 6 x 60 inches
- Trunk Piece 2: 1 x 6 x 60 inches
Branch Pieces:
These will get shorter as you go up. We’ll use 1×6 lumber for these too. This gives a nice chunky look. The angles will be key here.
Bottom Layer: Longest branches.
- 2 pieces @ 24 inches
Next Layer Up:
- 2 pieces @ 20 inches
Middle Layer:
- 2 pieces @ 16 inches
Upper Layer:
- 2 pieces @ 12 inches
Top Layer:
- 2 pieces @ 8 inches
You’ll also need a piece for the very top, perhaps a small star or a pointed piece of wood, and pieces for the base.
Base Pieces (example):
A simple cross base works well.
- 2 pieces @ 18 inches (from 1×6 or 1×8 lumber)
Cutting Your Wood:
This is where your measurements come in handy. Remember, measure twice, cut once!
- Mark Your Wood: Use your measuring tape and pencil to mark the lengths for your trunk pieces and all your branch pieces on your 1×6 (or chosen) lumber.
- Cut the Trunk: Cut your two trunk pieces to the desired length (e.g., 60 inches).
- Cut the Branches: Cut your branch pieces to the varying lengths.
- Cut the Base: Cut your base pieces.
Important Note on Angles:
The classic look of a wooden tree involves angled branches. For simplicity, you can attach the branches directly to the trunk, creating a rustic look. However, to achieve a more traditional tiered effect, you’ll want to cut the ends of your branch pieces at an angle, typically around 15-25 degrees, so they sit nicely. The exact angle will depend on how you attach them and the overall look you want.
If you are using a miter saw, setting it to a 15-degree angle is a good starting point for the ends of the branches. Ensure you cut the angles on opposite sides of each branch piece so they are symmetrical if you want that look, or simply cut them all at one angle for a simpler, staggered effect.
Assembling Your DIY Christmas Wooden Tree: Step-by-Step
Now for the fun part – putting it all together! We’ll use screws for a strong hold. Wood glue can add extra durability if you have it.
Step 1: Prepare the Trunk Pieces
Take your two trunk pieces. You’ll attach the branches to these. Decide how far apart you want your branches to be. For a 5-foot tree and 5 layers of branches, you might space them about 10-12 inches apart.
- Mark Branch Positions: Measure up from the bottom of one trunk piece and lightly mark where the center of each branch will attach. Repeat on the second trunk piece, ensuring the marks align.
- Apply Glue (Optional): Run a thin bead of wood glue along the edge of a branch piece where it will meet the trunk.
- Position the First Branch: Take your longest branch. Place it against the marked spot on one trunk piece. Have your second trunk piece ready to place on the other side of the branch, forming a “sandwich” with the branch in the middle.
- Drill Pilot Holes: Before driving screws, drill pilot holes through the outer trunk piece and into the end of the branch. This prevents the wood from splitting, which is super important! This is a common technique detailed in many woodworking guides, such as those from National Academies of Sciences, Engineering, and Medicine, emphasizing safe and proper construction.
- Drive Screws: Drive 2-3 screws through the trunk piece into the branch.
- Attach Second Trunk Piece: Flip it over. Apply glue to the other side of the branch (if using). Align the second trunk piece to the marked spot and drill pilot holes and drive screws to secure the branch between the two trunk pieces.
- Repeat for All Branches: Continue this process for all your branch pieces, working your way up the trunk. Ensure each layer is centered and level.
Tip: As you work up, you might notice the tree starts to lean. This is normal. Adjust as you go. Using clamps can help hold pieces steady while you drill and screw.
Step 2: Construct the Base
A sturdy base is crucial so your tree doesn’t tip over. A simple cross base is effective.
- Find the Center: Take your two longer base pieces. Find the center point of each.
- Cut a Notch (Optional but Recommended): For a stronger connection, you can cut a half-lap joint where the two base pieces intersect. This involves removing half the thickness of the wood from each piece at the intersection so they sit flush. If this feels too advanced, you can simply butt them together at a right angle.
- Attach the Base: Position the two base pieces to form a cross. Secure them together with wood glue and screws. Drill pilot holes first.
- Attach Base to Tree Trunk: Once your base is secure, position the assembled trunk on top of the cross base. Ensure it’s centered. Attach the trunk to the base by driving screws up from the bottom of the base pieces into the trunk. Use at least two screws per upright base piece.
Alternative Base: You could also screw the trunk directly into a heavier, wider piece of wood, or even a thick wooden block, if you prefer a simpler, solid base.
Step 3: Finishing Touches
Now that your tree is assembled, it’s time to make it look pretty!
- Sand: Go over all the surfaces and edges with sandpaper. Start with medium grit to smooth out any rough spots or saw marks, then finish with fine grit for a really smooth feel. Pay attention to the ends of the branches and the trunk.
- Clean: Wipe away all the sawdust with a tack cloth or a slightly damp rag.
- Apply Finish (Optional): This is where you can really personalize your tree!
- Natural Look: Leave it bare wood for a rustic, Scandinavian feel.
- Stain: Apply a wood stain in your desired color (e.g., rich walnut, light oak, or even a festive red). Follow the stain manufacturer’s instructions.
- Paint: Use primer if necessary, then paint it your favorite holiday color – white, green, red, or even a unique metallic.
- Sealant: If you’ve stained or painted, a clear topcoat (like polyurethane or a spray sealant) will protect the finish and give it a nice sheen.
- Add a Tree Topper: You can attach a star, a bow, or even a pointed wooden cap to the very top of the trunk.
Customization and Decoration Ideas
Your DIY wooden Christmas tree is a blank canvas! Here are some ideas to make it truly yours.
Decorating the Branches:
- Lights: String battery-operated fairy lights around the branches for a magical glow.
- Ornaments: Hang lightweight ornaments directly on the branches. Small ball ornaments, wood slices, or fabric stars work beautifully.
- Garland: Drape a lightweight garland around the tree, weaving it from top to bottom or simply draping it over the tips of the branches.
- Ribbons: Tie small bows with festive ribbons onto the ends of branches.
- Natural Elements: Add small pinecones, sprigs of faux greenery, or cinnamon sticks.
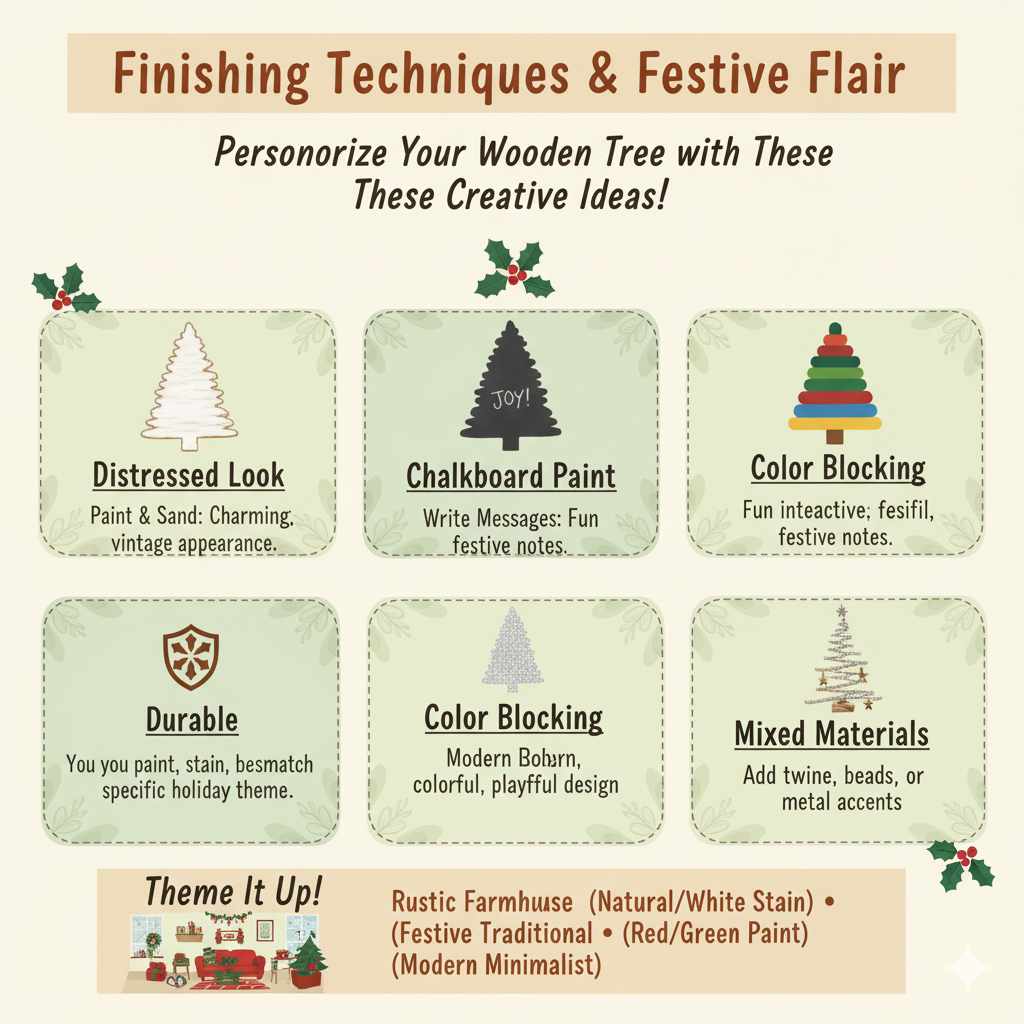
Finishing Techniques:
- Distressed Look: Paint the tree, then lightly sand edges after it dries to create a charming vintage or distressed appearance.
- Chalkboard Paint: Paint a section of a branch with chalkboard paint and write festive messages.
- Color Blocking: Paint each layer of branches a different color for a modern, graphic look.
- Glitter: Apply a thin layer of wood glue to branch tips and sprinkle with glitter for a snowy, sparkly effect.
Consider the overall theme of your holiday decor. If you have a rustic farmhouse theme, natural wood or a simple white distressed finish will fit perfectly. For a more festive, traditional look, go with red and green paint or a rich wood stain.
Frequently Asked Questions (FAQs)
Here are some common questions beginners have about building a DIY wooden Christmas tree:
Q1: What kind of wood is best for a DIY wooden Christmas tree?
Pine is a great choice because it’s inexpensive, widely available, and easy to work with. You can also use common boards like 1x4s or 1x6s. Don’t be afraid to use scrap wood or reclaimed wood for an even more unique and eco-friendly project!
Q2: How do I prevent the wood from splitting when I screw it together?
This is a common concern! The trick is to always drill pilot holes. A pilot hole is a small hole drilled before inserting a screw. It should be slightly smaller than the screw’s diameter. This guides the screw and removes wood fibers, making it much harder for the wood to split. Use a drill bit that is just a little smaller than the threaded part of your screw.
Q3: Can I make the branches look more like they are angled outwards away from the trunk?
Yes! To achieve this, you can cut the ends of your trunk pieces where the branches will attach at a slight angle. Alternatively, you can cut the ends of your branches themselves at an angle (e.g., 15-25 degrees using a miter saw) before attaching them to the trunk. This creates a more natural, tiered tree shape.
Q4: My tree feels a bit wobbly. How can I make it more stable?
Ensure your base is wide and heavy enough to support the height of the tree. A cross base made from wider boards (like 1x8s) or a substantial single base piece will help. You can also add support by screwing the trunk more securely to the base from multiple angles. Make sure all your screws are driven in firmly.
Q5: How tall should my wooden Christmas tree be?
The height is entirely up to you! For beginners, a 4-foot to 6-foot tree is a good starting point – it’s substantial enough to be a focal point but still manageable to build and decorate. You can adjust the trunk length and the number/length of branch pieces to achieve your desired size.