
DIY Boot Rack: Essential Storage Solution
Looking for a simple, effective way to organize your boots? A DIY boot rack is a fantastic, affordable solution that keeps your footwear tidy, prevents clutter, and protects your boots. This guide will walk you through building your own easy-to-make boot rack, transforming your entryway or mudroom into an organized space.
Tired of tripping over boots by the door? Do your favorite pairs get scuffed up when they’re piled together? A messy boot situation is a common problem for many homes, especially after a wet or muddy day. It’s not just an eyesore; it can also damage your boots over time. But don’t worry! You don’t need to be a master carpenter to fix it. With a few simple tools and some readily available materials, you can build a sturdy and attractive boot rack that solves this problem for good. Get ready to create a functional piece that will make your home tidier and your boots last longer. Let’s get started on building your very own DIY boot rack!
Why You Need a DIY Boot Rack
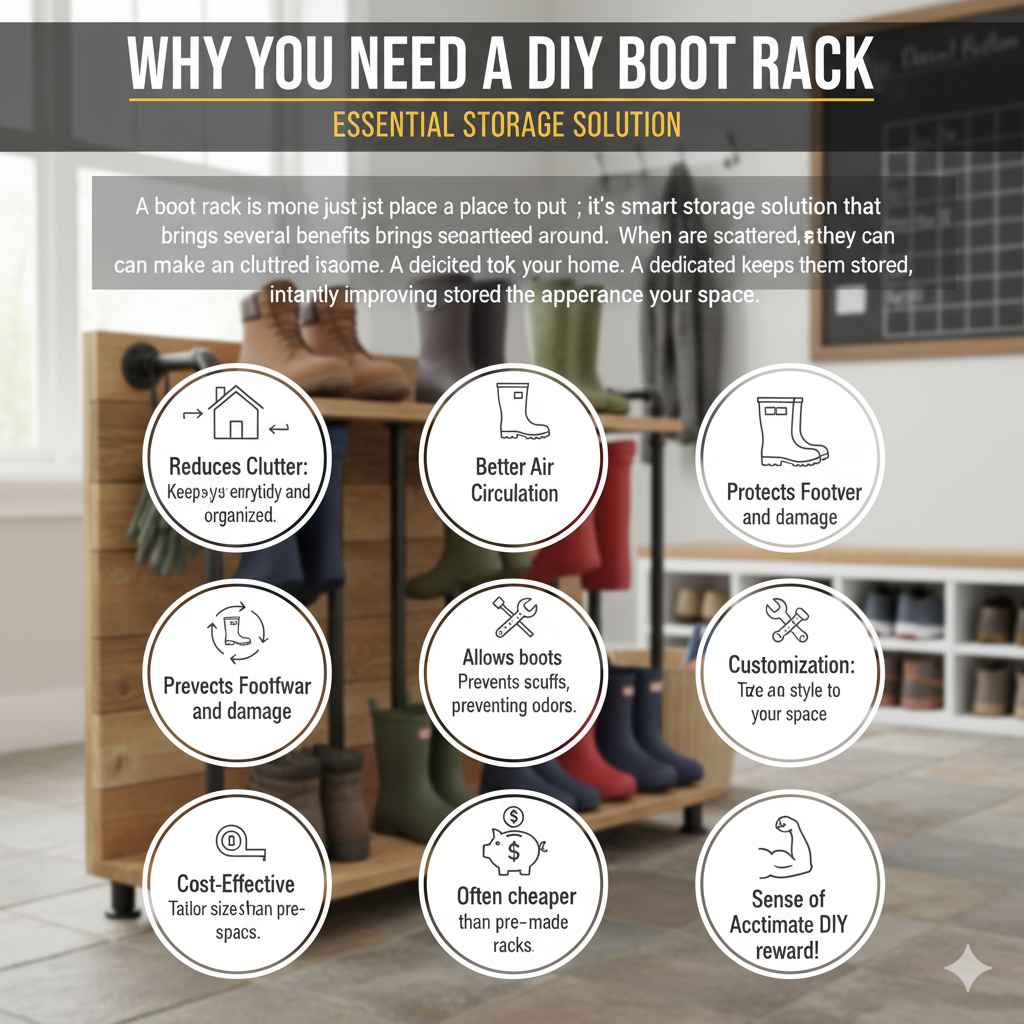
A boot rack is more than just a place to put your boots; it’s a smart storage solution that brings several benefits to your home. When boots are scattered around, they can make an entryway look cluttered and disorganized. A dedicated rack keeps them neatly stored, instantly improving the appearance of your space.
Beyond aesthetics, a boot rack offers practical advantages. Storing boots upright, with space between them, allows for better air circulation. This is especially important for muddy or wet boots, as it helps them dry faster and prevents the buildup of unwanted odors and potential mold or mildew. It also stops them from being crushed or scuffed against each other, extending their lifespan and keeping them in better condition. For homeowners who love their footwear, this protection is invaluable.
Building your own boot rack is also incredibly rewarding and cost-effective compared to buying a pre-made one. You can customize the size and style to perfectly fit your needs and available space. Plus, the sense of accomplishment from a DIY project is a great bonus!
Choosing Your Boot Rack Design
There are many ways to design a DIY boot rack, from simple shelves to more elaborate tiered units. The best design for you depends on a few factors:
Space available: How much room do you have for your boot rack? Measure the area where it will go.
Number of boots: How many pairs of boots do you need to store?
Type of boots: Do you mostly store tall riding boots, ankle boots, or work boots? Taller boots might need more vertical space.
Your skill level: Let’s keep it beginner-friendly! We’ll focus on a straightforward design.
Aesthetics: What style will look best in your home – rustic, modern, or minimalist?
For a beginner-friendly project that offers great functionality, we’ll focus on a simple, tiered shelf design. This type of rack is stable, can hold multiple pairs, and is relatively easy to build with basic tools.
The Simple Tiered Shelf Boot Rack: Our Project
This design features two or three shelves, perfect for storing boots face-down or upright. It’s sturdy, uses minimal materials, and looks great in any entryway, mudroom, or garage. We’ll use common lumber dimensions that are easy to find at your local hardware store.
Materials You’ll Need
Gathering your materials beforehand makes the building process smooth and enjoyable. Always double-check your measurements before cutting any wood.
Here’s a list of what you’ll need for our basic tiered boot rack:
Wood:
(2) 1×10 pine boards, 8 feet long (for the sides)
(3) 1×10 pine boards, 4 feet long (for the shelves)
(1) 1×2 pine board, 8 feet long (for the support trim along the front of the shelves)
Fasteners:
1 ½ inch wood screws (about 30-40)
Optional: Wood glue for extra strength
Finishing Supplies:
Sandpaper (medium and fine grit)
Wood stain or paint (your choice)
Polyurethane or sealant (optional, for added durability)
Tools You’ll Need
You don’t need a lot of fancy tools for this project. Most of these are common for basic DIY tasks. Safety first is always the motto!
Measuring Tape: For accurate measurements.
Pencil: To mark your cuts and screw locations.
Saw: A handsaw is fine, but a circular saw or miter saw will make cuts quicker and more precise. If you’re new to using power saws, consider getting someone experienced to help or practice on scrap wood first. For information on saw safety, the Occupational Safety and Health Administration (OSHA) offers excellent resources on machine guarding.
Drill/Driver: For pre-drilling holes and driving screws.
Drill Bits: A small bit for pilot holes and a countersink bit for a neater finish.
Clamps: To hold pieces together while you’re screwing them in.
Safety Glasses: Absolutely essential when cutting or drilling wood.
Optional: Square, sandpaper block or orbital sander.
Step-by-Step: Building Your DIY Boot Rack
Let’s break down the building process into simple, manageable steps. Remember to work safely and take your time.
Step 1: Cut Your Wood Pieces
Accurate cuts are the foundation of any good project. Carefully measure and mark your lumber according to these dimensions:
Sides: Cut the two 8-foot 1×10 boards in half. You’ll get four pieces, each about 4 feet long. These will be the sides of your boot rack.
Shelves: You should already have three 4-foot 1×10 boards. These will be your shelves.
Trim: Cut the 8-foot 1×2 board into four pieces, each 4 feet long. These will be the front trim pieces for the shelves.
Tip: If your 1×10 boards are exactly 10 inches wide, and you want your shelves to be 4 feet (48 inches) long, your final rack will be approximately 49.5 inches wide (48 inches shelf length + 0.75 inches for each side piece). This is a good width for many entryways.
Step 2: Mark Shelf Placement on the Side Pieces
Now, you need to decide where the shelves will go on your side pieces. We’ll use two of the 4-foot 1×10 side pieces.
1. Take one side piece. Measure up from the bottom edge and mark where the bottom of each shelf will sit.
Bottom Shelf: For example, mark a line 2 inches up from the bottom edge. This will be the bottom of your lowest shelf.
Middle Shelf: Measure up from the top of the bottom shelf line. A good distance would be around 14-16 inches. Mark this line.
Top Shelf: Measure up from the top of the middle shelf line. Another 14-16 inches is usually good. Mark this line.
2. Use a square to ensure these lines are perfectly straight and perpendicular to the long edge of the side piece.
3. Repeat this process on the second 4-foot side piece, making sure the measurements match exactly.
Step 3: Attach the Shelves to the Side Pieces
This is where your boot rack starts to take shape!
1. Lay one of the side pieces flat on your workbench or floor.
2. Take one 4-foot 1×10 shelf piece. Align its back edge with the back edge of the side piece. Ensure the shelf is flush with the line you marked for its position.
3. If using wood glue, apply a thin bead along the edge where the shelf meets the side piece.
4. Use clamps to hold the shelf securely in place.
5. Pre-drill pilot holes through the side piece into the edge of the shelf. Two or three holes per shelf are usually sufficient. For a cleaner look, use a countersink bit so the screw heads sit flush or slightly below the wood surface.
6. Drive 1 ½ inch wood screws through the pilot holes to attach the shelf to the side.
7. Repeat this process for all three shelves. Ensure they are all level and securely attached.
8. Now, take the second 4-foot side piece. Align it with the other ends of the shelves, matching the positions precisely. Clamp, pre-drill, and screw the shelves into this second side piece, just as you did before.
You should now have a frame with three shelves attached between the two side pieces.
Step 4: Add the Front Trim Pieces
The front trim will add a nice finished look and provide a bit of a lip to help keep boots from sliding off.
1. Take one of the 4-foot 1×2 trim boards.
2. Align it with the front edge of one of the shelves, so it sits flush with the bottom of the shelf and extends along the front.
3. Apply wood glue along the front edge of the shelf.
4. Clamp the trim piece in place.
5. Pre-drill pilot holes from the front of the trim piece into the shelf below. You’ll want about three holes evenly spaced.
6. Drive 1 ½ inch wood screws through the trim piece into the shelf.
7. Repeat this for the front of all three shelves.
Step 5: Sanding and Finishing
This step is crucial for both aesthetics and durability.
1. Sanding: Start with medium-grit sandpaper (around 100-120 grit) to smooth out any rough edges, tool marks, or imperfections on the entire boot rack. Pay attention to corners and edges. Once you’re satisfied, switch to fine-grit sandpaper (around 180-220 grit) for a silky-smooth finish. Wipe away all dust with a tack cloth or a slightly damp rag.
2. Finishing:
Stain: If you’re staining, apply your chosen wood stain according to the manufacturer’s instructions. Work in a well-ventilated area.
Paint: If painting, apply a primer first for best results, followed by one or two coats of your chosen paint color.
Sealant: Once the stain or paint is completely dry, consider applying a coat or two of polyurethane or a clear sealant. This will protect the wood from moisture and wear, especially important for a boot rack that might encounter dampness.
Let the finish cure completely according to the product instructions before placing your boots on it.
Alternate DIY Boot Rack Ideas
While our tiered shelf design is fantastic for beginners, here are a couple of other popular DIY boot rack ideas you might explore once you’re feeling more confident:
1. The Simple Plank Rack
This is even simpler. You’ll need two side pieces and one or two long shelf pieces. The side pieces are typically T-shaped at the bottom or have angled legs, with a single, longer shelf connecting them. It’s minimalist and great for narrower spaces.
Pros: Very quick to build, uses fewer materials, modern look.
Cons: Can’t hold as many boots as a tiered design, tall boots might not fit well if the single shelf is too low.
2. Over-the-Door Boot Rack
This design hangs on your door, utilizing vertical space without taking up floor space. It often uses PVC pipes or even sturdy shoe strings and dowels.
Pros: Space-saving, great for small entryways or apartments, easy to move.
Cons: Capacity is limited, might not be suitable for very heavy boots, requires secure hanging.
Maintenance for Your DIY Boot Rack
To keep your DIY boot rack looking great and functioning well for years to come, a little maintenance goes a long way.
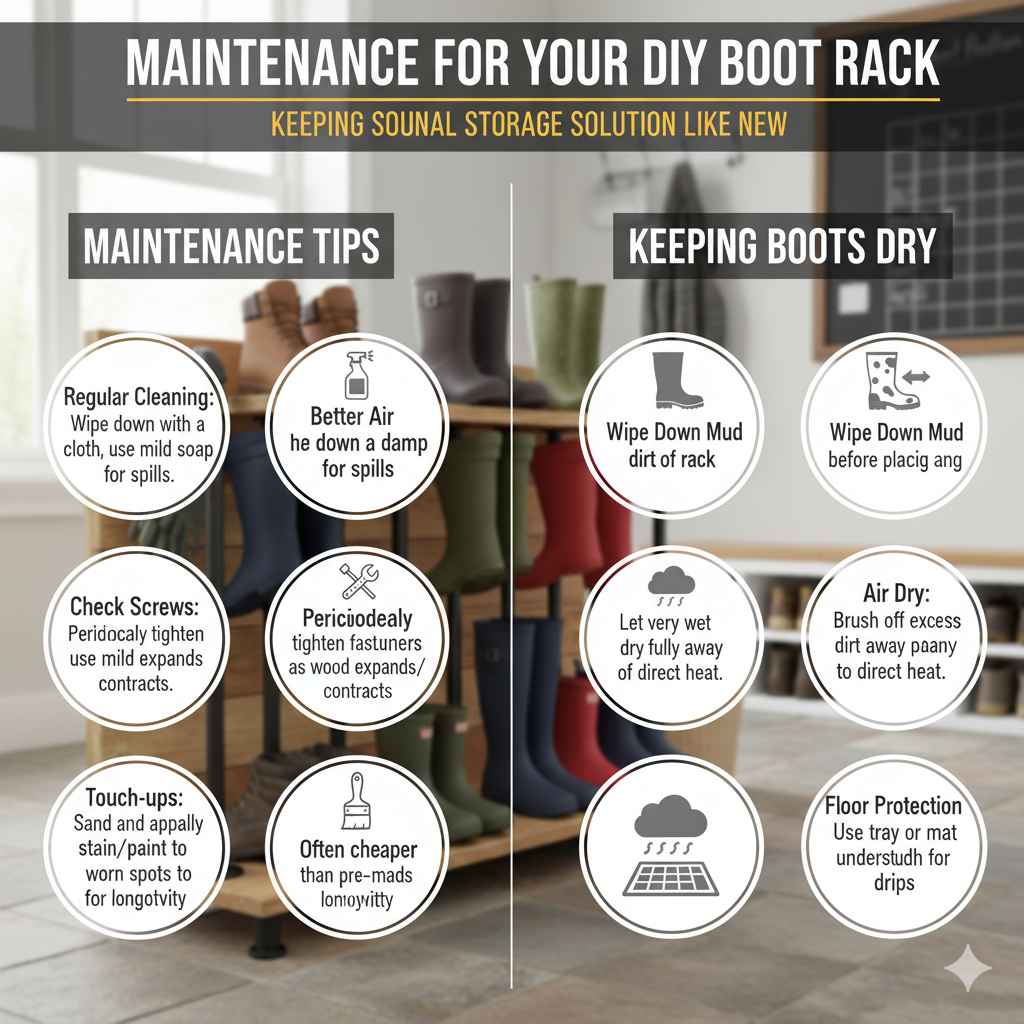
Regular Cleaning: Wipe down the shelves with a damp cloth to remove dust or dirt. For any spills or mud, use a mild soap and water solution, and dry thoroughly.
Check Screws: Periodically check that all screws are tight. Wood can expand and contract slightly with changes in humidity, so a quick check can prevent any loosening.
Touch-ups: If the finish starts to wear down, especially in high-traffic areas, you can lightly sand the affected spots and reapply a coat of stain, paint, or sealant.
Keeping Boots Dry
The best way to maintain your boot rack and your boots is to ensure boots are reasonably dry before storing them.
Wipe Down Mud: Before placing muddy boots on the rack, brush off excess mud.
Air Dry: If boots are very wet, let them air dry away from direct heat sources before putting them on the rack. You can even place a small tray or absorbent mat on the floor beneath the rack for extra protection.
Frequently Asked Questions (FAQ)
Here are some common questions beginners have about building and using a DIY boot rack.
What kind of wood is best for a boot rack?
Pine is a great choice for beginners because it’s affordable, lightweight, and easy to work with. Cedar also works well and offers natural water and insect resistance, though it can be more expensive. For a sturdier rack, you could use hardwood like oak, but it’s harder to cut and drill.
How much weight can a DIY boot rack hold?
The weight capacity depends on the wood used, the design, and how well it’s constructed. For our simple tiered design made with 1×10 pine and secured with screws, it should easily hold the weight of multiple pairs of boots, which typically weigh between 2-5 pounds per pair. Ensuring all joints are strong and using wood glue will increase its load-bearing capacity.
Can I make a boot rack for tall boots?
Absolutely! When planning your design, ensure there’s enough vertical space between the shelves. For our tiered design, you can increase the distance between the shelves when you mark their placement on the side pieces. For example, if you have 18-20 inches between shelves, most tall boots should fit comfortably upright.
What are the best screws to use for building a boot rack?
For most pine projects, 1 ½ inch wood screws are ideal. They are strong enough to hold the pieces together securely without protruding too much. Using screws with a self-tapping or pilot-point tip can make them easier to drive into the wood. Brass or stainless steel screws are good choices if your rack will be in a damp environment, as they resist rust.
How wide should a boot rack shelf be?
For storing most adult boots, a shelf depth of 9 to 10 inches (which is the width of a 1×10 board) is usually sufficient. The overall width of the rack can vary greatly depending on your space. A 3-foot to 4-foot wide rack is common and can hold several pairs per shelf.
Do I need to seal my boot rack?
Yes, sealing your boot rack is highly recommended. Boots can be damp or muddy, and a sealant like polyurethane or a waterproof varnish will protect the wood from moisture, stains, and wear. It will also make cleaning much easier and help the finish last longer.
How can I make my DIY boot rack more stable?
To increase stability, ensure all your cuts are square and your joints are tight. Using wood glue in addition to screws adds significant strength. For wider or taller racks, consider adding a thicker back panel or angled bracing at the back. Keeping it on a level surface is also key.
Conclusion
Building your own DIY boot rack is a wonderfully practical project that brings order and charm to your home. You’ve learned how to select materials, cut lumber, assemble a sturdy tiered design, and add a beautiful finish that will last. Remember, woodworking is a journey, and every project you complete builds your skills and confidence.
This simple boot rack will not only keep your entryway clutter-free but also protect your beloved boots from damage. It’s a testament to how a little effort and some basic tools can create something truly functional and satisfying. Enjoy the organized space you’ve created, and feel proud of the beautiful, handcrafted piece you’ve made! Happy building!


