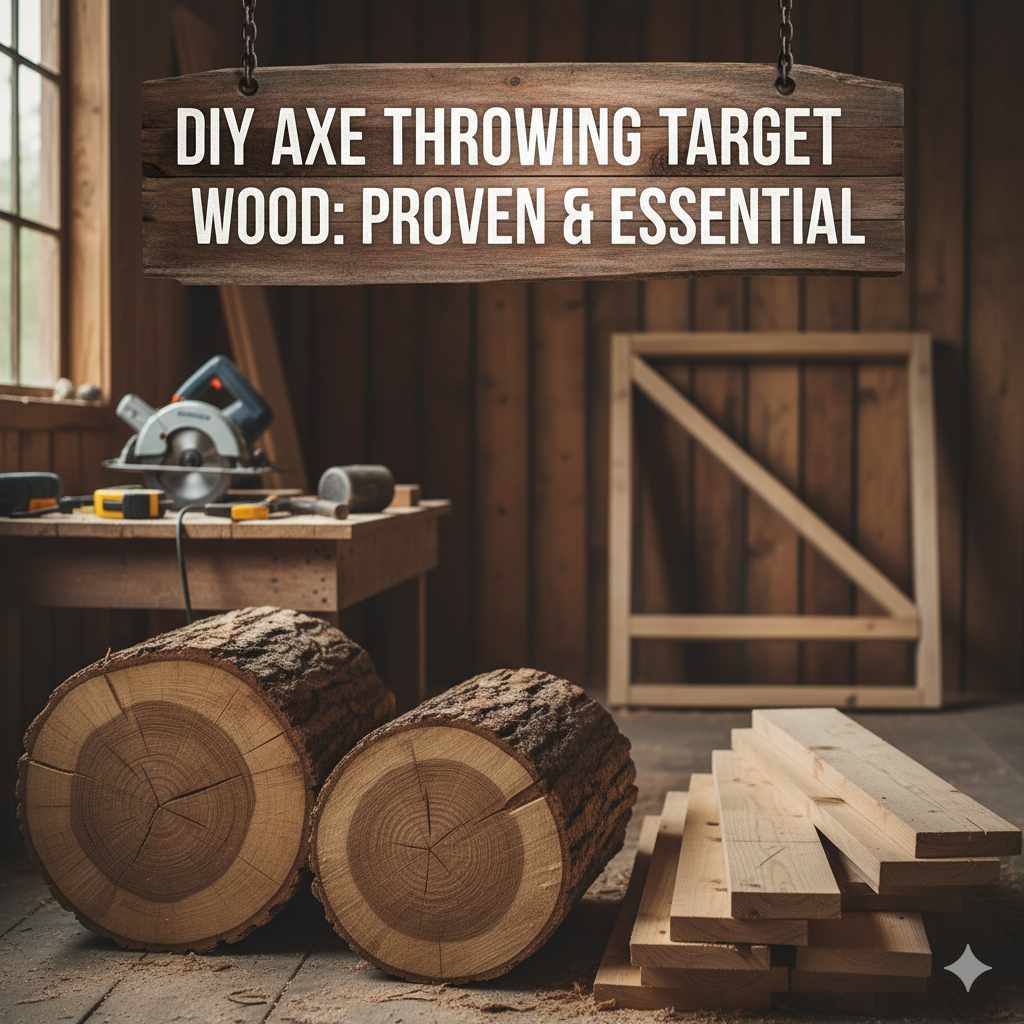
DIY Axe Throwing Target: Proven & Essential
Build your own fun! This guide shows you how to create a sturdy, safe, and affordable DIY axe throwing target. With simple steps and common materials, you’ll be hitting bullseyes in no time. Perfect for beginners, this project is rewarding and saves money.
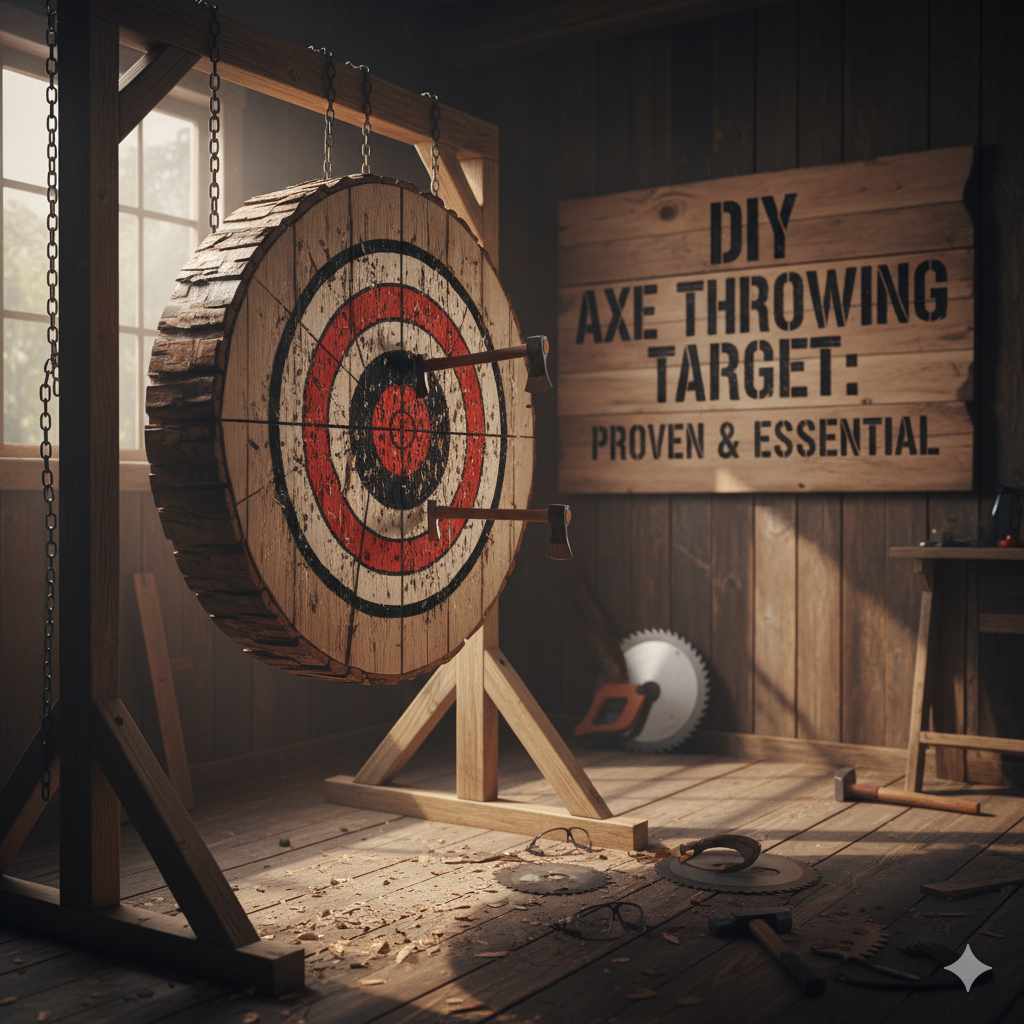
Ever dreamed of hosting your own axe throwing party, but balked at the cost of buying a ready-made target? Or maybe you’re just eager to add a unique, thrilling project to your DIY repertoire? Building your own axe throwing target might sound intimidating, but I’m here to tell you it’s entirely achievable, even for beginners. We’ll walk through it step-by-step, using materials you can easily find. Get ready to prove that quality craftsmanship and serious fun don’t require a professional crew!
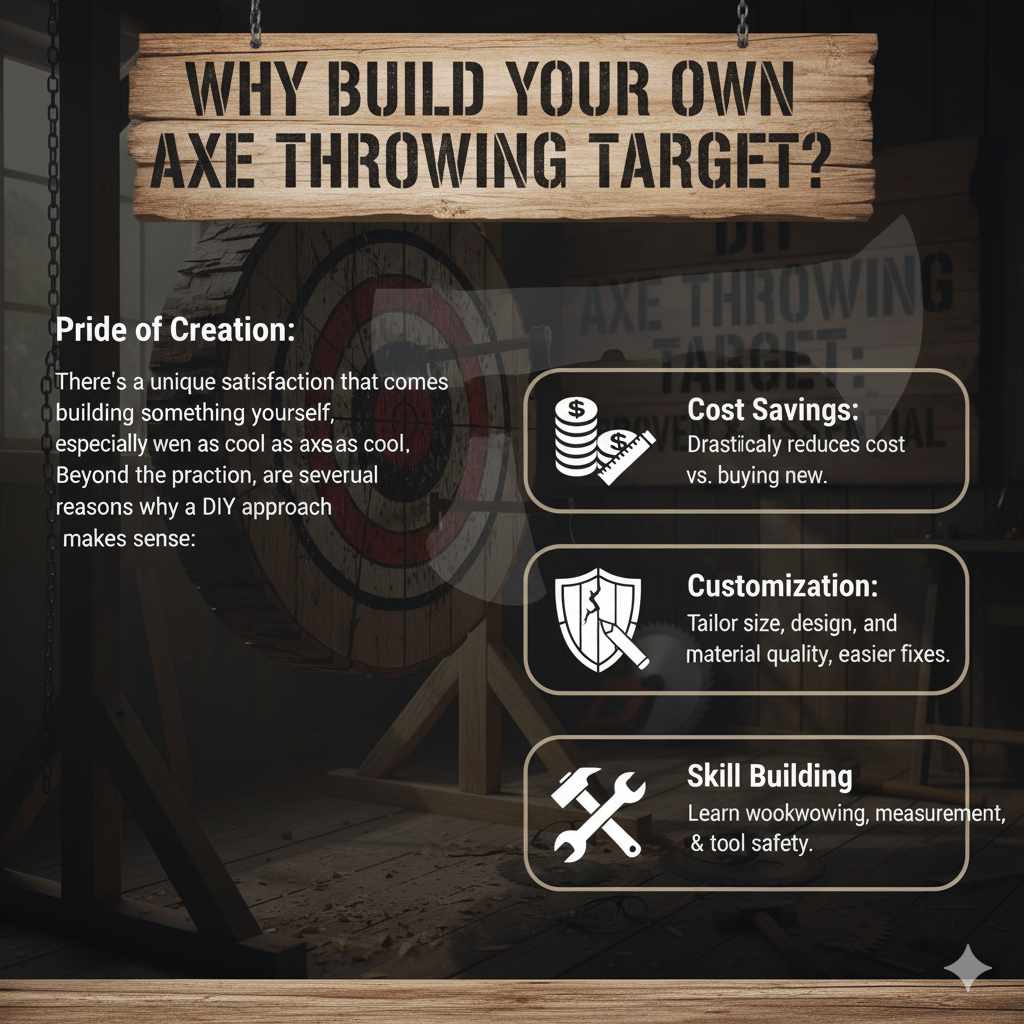
Why Build Your Own Axe Throwing Target?
There’s a unique satisfaction that comes from building something yourself, especially when it’s as cool as an axe throwing target. Beyond the pride of creation, there are several practical reasons why a DIY approach makes sense:
- Cost Savings: Commercial axe throwing targets can be quite expensive. Building your own can significantly slash the cost, often by more than half.
- Customization: You can tailor the size, design, and even the materials to your specific needs and aesthetic preferences. Want a specific number of scoring zones? You got it! Need it to fit a particular space? Easy peasy.
- Durability & Repairability: You control the quality of materials and construction. This means you can build a target that lasts and, importantly, one that’s easier to repair when the wood inevitably gets worn down.
- Skill Building: It’s a fantastic project for learning basic woodworking techniques, measurement, and safe tool usage.
Understanding Axe Target Basics
Before we grab our tools, let’s talk about what makes a good axe throwing target. At its core, it needs to:
- Safely Catch Axes: The most crucial function! The wood needs to be soft enough for the axe to penetrate slightly but dense enough to stop it without bouncing or causing excessive damage.
- Be Durable: It needs to withstand repeated impacts from thrown axes.
- Be Stable: A wobbly target is dangerous and frustrating.
- Have Clear Scoring (Optional but Recommended): For competitive fun, a scoring system is essential.
For DIY targets, the most common and effective material is softwood lumber, typically pine or fir. The grain direction is also key; you want the axe to hit the wood grain end-on for the best penetration and stopping power. This means we’ll be building a target that’s essentially a thick stack of wood planks.
Tools and Materials: Your Essential Checklist
Gathering your supplies is the first real step. Don’t worry if you don’t have everything; many of these are common DIY items or can be borrowed. Prioritizing safety gear is non-negotiable!
Safety First Gear: Always Wear This!
This is our absolute V.I.P. list. Treat these items with the utmost respect:
- Safety Glasses: Protect your eyes from sawdust and flying debris.
- Work Gloves: Prevent splinters and provide a better grip.
- Hearing Protection: Especially if using power saws.
- Dust Mask: For comfort and lung health when cutting or sanding.
Essential Tools
These are the workhorses for our project:
- Tape Measure: For accurate cutting and placement.
- Pencil: To mark your cuts.
- Circular Saw or Miter Saw: For cutting lumber to size. A hand saw can work but will take much longer.
- Drill/Driver: For pre-drilling holes and driving screws.
- Drill Bits: Various sizes, including a pilot bit and a countersink bit.
- Screwdriver Bits: To match your screws.
- Level: To ensure your target is plumb and stable.
- Clamps: Helpful for holding pieces together while assembling.
- Hammer: For any minor adjustments or if you choose to use nails in certain areas (screws are generally preferred).
Lumber & Hardware
The heart of your target! We recommend using common, inexpensive pine or fir lumber.
- Wood Planks: The quantity and size depend on your desired target dimensions. For a standard target, aim for at least 6-8 inches in thickness. A common approach is to use 2×6 or 2×8 lumber laid flat or stood on edge. You’ll need many linear feet of this. Let’s plan for a target face of approximately 24 inches wide by 36 inches tall, and about 6-8 inches deep. This will require roughly 100-120 linear feet of dressed (smooth) 2×6 or 2×8 lumber.
- Plywood (Optional, for backing/frame): A sheet of 3/4-inch plywood can be useful for the backer or a framing structure.
- Wood Screws: 3-inch and 2.5-inch exterior-grade wood screws are excellent for durability. You’ll need a good quantity.
- Wood Glue (Optional but Recommended): Adds extra strength to the joints.
Target Face Design Materials (Optional)
- Paint: Black and white/yellow/red for scoring zones.
- Paintbrushes or foam rollers.
- Ruler or straight edge for painting lines.
- Compass or string and nail for drawing circles.
Designing Your DIY Axe Target: KISS Principle
KISS stands for “Keep It Simple, Stupid,” and it’s our mantra here. For beginners, a straightforward block design is best. We’ll build a thick “slice” of wood. The most common and effective design involves building a frame and then tightly packing it with short, cut pieces of lumber stood on their ends. This creates an end-grain target that is ideal for catching axes.
Target Dimensions Quick Guide
Here’s a common set of dimensions that works well. You can adjust these based on your space and material availability:
| Component | Recommended Size | Notes |
|---|---|---|
| Target Face Width | 24 inches | Wide enough for good hitting area. |
| Target Face Height | 36 inches | Provides a good vertical target. |
| Target Depth (Thickness) | 6-8 inches | Crucial for stopping power. More depth = better catching. Use two layers of 2×6 lumber laid flat for depth, or stand 2x4s/2x6s on edge. |
| Frame Lumber | 2×4 or 2×6 lumber | For the outer box structure. |
| Internal Planks | 2×6 or 2×8 lumber (cut) | These form the hitting surface. |
We’ll aim for a target that is approximately 24 inches wide, 36 inches tall, and about 8 inches thick. This requires building a sturdy box and filling it with wood.
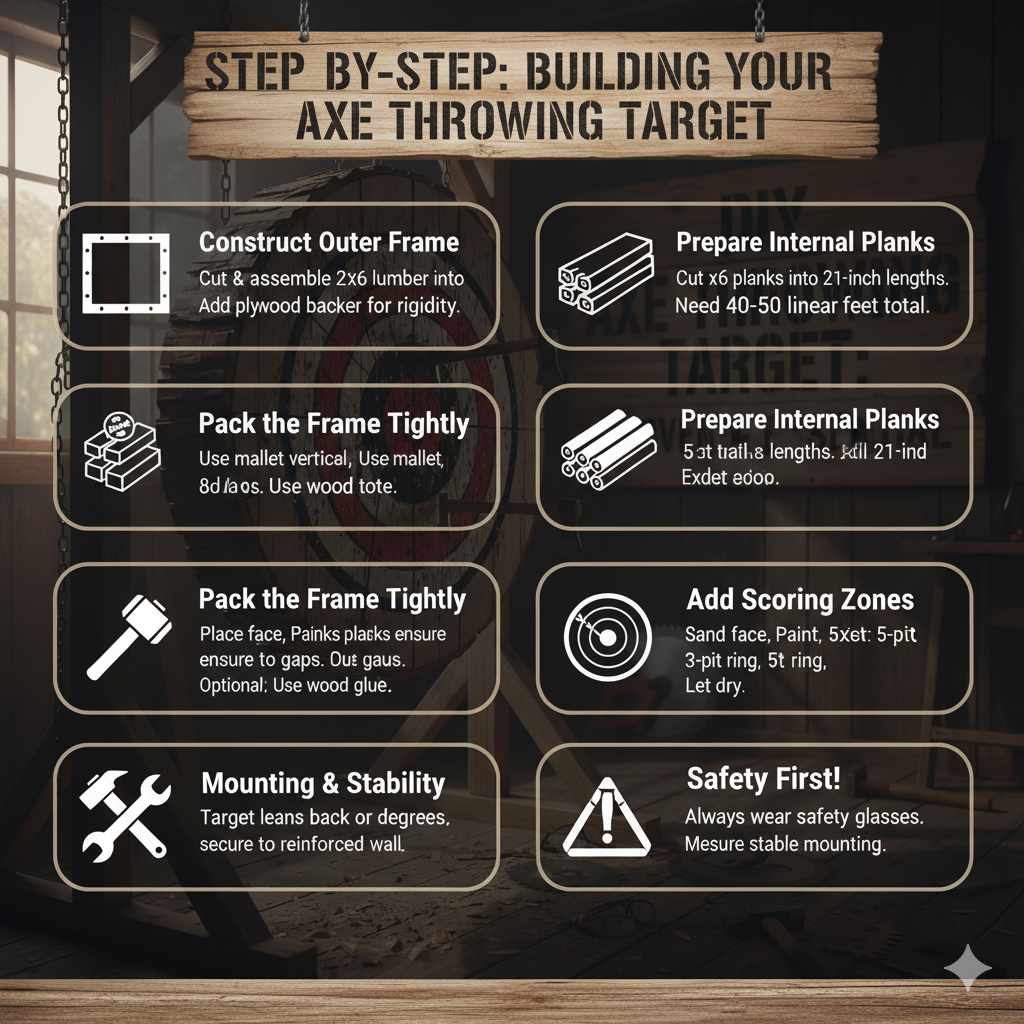
Step-by-Step: Building Your Axe Throwing Target
Let’s get building! Remember to always work safely and measure twice, cut once.
Step 1: Construct the Outer Frame
This frame will hold all the wood pieces together and provide structure. We’ll build a simple butt-jointed box.
- Cut Frame Pieces: Using your saw, cut four pieces of 2×6 (or 2×4) lumber for the frame:
- Two pieces at 36 inches (for the sides).
- Two pieces at 19 inches (for the top and bottom). The 19-inch length accounts for the width of the frame lumber itself, ensuring the total external width is 24 inches (19″ + 1.5″ + 1.5″ = 22″, close enough for this purpose; if precision is key, calculate the exact width needed to achieve 24″). For a 24” external width, the internal width would be 24” – (2 1.5”) = 21”. So, the top and bottom pieces would need to be 21” long if the side pieces are attached to their ends. For simplicity, let’s stick with cutting the top/bottom to 21 inches to fit inside the sides.
- Assemble the Box: Lay out the pieces to form a rectangle. Apply wood glue to the ends of the top and bottom pieces (if using). Pre-drill pilot holes through the side pieces into the ends of the top and bottom pieces. Drive 2.5-inch wood screws to secure them. Use 2-3 screws per corner for strength. Ensure the corners are square by checking with a speed square or by measuring the diagonals.
- Optional: Plywood Backer: For extra rigidity and to prevent axes from passing through the back in rare instances, you can attach a piece of 3/4-inch plywood to the back of the frame. Cut it to the outer dimensions of your frame (e.g., 24×36 inches) and screw it in place with 2.5-inch screws placed every 6-8 inches.
Step 2: Prepare the Internal Planks
These are the pieces that the axe will actually hit. We want them to be dense and packed tightly.
- Determine Plank Length: Your frame is roughly 8 inches deep. If using 2×6 lumber for the internal planks, you’ll be standing them on their edge. The width of a 2×6 is 5.5 inches. To get an 8-inch depth, you’ll need to use two layers of 2×6 lumber side-by-side and potentially one layer of 2×4 (3.5” width) to achieve the full 8 inches, or simply use a deeper wood like 2x8s (7.25” width) and fill any gap with 2×4 scraps. A simpler approach is to cut 2×6 lumber into 21-inch lengths (to fit snugly inside the frame width). You’ll need approximately 7 standard 8-foot 2×6 boards to fill the 24″x36″ face with 5.5″ height planks when laid flat.
- Cut Your Planks: Using your circular saw or miter saw (and wearing safety glasses!), cut your 2×6 lumber into planks. For our 24-inch wide target, you’ll need planks that are 21 inches long to fit snugly inside the frame you built in Step 1. Cut enough planks to fill the entire frame area. For an 8-inch depth, you’ll need to stack two layers of 2x6s, meaning you’ll need roughly 40-50 linear feet of 2×6 lumber, cut into 21-inch sections.
Step 3: Pack the Frame Tightly
This is where the magic happens – creating that solid hitting surface.
- First Layer: Start placing your cut planks (21 inches long 2x6s) vertically inside the frame. Pack them as tightly as possible. You want absolutely no gaps between them. Use a rubber mallet or a scrap piece of wood and a hammer to gently tap them into place. If you have stubborn gaps, you can rip (cut lengthwise) thin strips of wood to fill them.
- Glue (Optional): For maximum stability, apply wood glue to the edges of the planks before packing them together. This is a bit messier but adds significant strength.
- Add Second Layer (for depth): Once the first layer (approx. 5.5 inches deep) is packed tightly, start the second layer. Again, pack these planks as tightly as possible. You’ll notice you can now achieve your desired 8-inch depth.
- Secure the Planks (Optional but Recommended): Once everything is packed tightly, you can further secure the planks. This can be done by driving long screws (3-inch or longer) through* the frame and into the ends of the internal planks. Alternatively, you can clamp the entire unit together and drive screws down through the top frame piece into the ends of the planks.
Step 4: Add Scoring Zones (Optional)
This step turns your sturdy wooden block into a functional target for axe throwing games.
- Clean the Surface: Lightly sand any rough spots on the front face of the target.
- Paint the Bullseye: Use a large compass or a piece of string tied to a nail as a pivot point. Draw a circle for your bullseye. The standard axe throwing bullseye is usually 3-4 inches in diameter. Paint this area a distinct color, like yellow or red.
- Paint the Rings: Work outwards from the bullseye. Typical scoring rings are:
- Bullseye: 5 points
- Next Ring (e.g., 9-inch diameter): 3 points
- Outer Ring (e.g., 18-inch diameter): 1 point
- Add the “Wood” Zone (Optional): Some targets have a designated zone around the edges that’s worth fewer points or is considered a “wood” hit. You can paint a border around the entire scoring area.
- Let it Dry: Allow the paint to dry thoroughly before use.
Step 5: Mounting and Stability
A well-mounted target is a safe target. Never just lean it against a wall.
- Wooden Easel/Stand: The most common method is to build a simple, sturdy wooden easel or stand.
- Cut two sturdy legs from 2×4 or 2×6 lumber, about 4-5 feet long.
- Cut a cross-piece for the front.
- Attach the legs to the sides of the target at an angle, allowing the target to lean back slightly. Use strong deck screws and consider reinforcing joints with metal brackets for extra security. The target should lean back about 10 degrees.
- Securing to a Wall/Structure: If you have a suitable, robust structure (like a thick wooden fence or a reinforced shed wall), you can mount the target directly. Use heavy-duty lag bolts or carriage bolts through stout backing material (like plywood) on the back of the target and into your wall structure. Ensure it’s completely stable and cannot tip.
- Ground Stakes: If placing on soft ground, consider adding stakes or a base that can be driven into the earth to prevent movement.
Important: Always ensure your target is stable and won’t tip over. Check local regulations or guidelines regarding axe throwing safety, as they often provide recommendations for target setup.
Making Your Target More Durable
Even with the best materials, a DIY axe target will show wear. Here’s how to maximize its lifespan:
- Use Dense Softwood: Pine and fir are good, but if you can find denser varieties, even better. Avoid hardwoods; they’ll cause axes to bounce.
- End-Grain Construction: As we’ve done, packing planks vertically creates an end-grain target which is far more durable than side-grain.
- Tight Packing: Gaps are weak points. Fill them.
- Regular Maintenance: As the front of the target gets damaged, you can unscrew the front planks, flip them over, or replace them. You can also scrape out damaged wood and fill with wood putty or epoxy.
- Water Protection: If your target will be exposed to the elements, consider a good quality exterior sealant or paint to protect the wood from moisture and UV damage.
Frequently Asked Questions (FAQ)
Q1: What kind of wood is best for a DIY axe throwing target?
Softwoods like pine or fir are ideal. They are affordable, readily available, and provide enough give for the axe to stick without excessive damage or bouncing. Avoid hardwoods like oak, which are too dense and can cause the axe to ricochet.
Q2: How thick should my axe throwing target be?
A minimum thickness of 6 inches is recommended for basic catching ability, but 8 inches or more is even better. This depth ensures the axe has enough material to penetrate and stop securely, preventing dangerous bounce-backs.
Q3: Can I use treated lumber for my target?
It’s generally not recommended. Treated lumber contains chemicals that can be harmful if inhaled or come into contact with skin, especially if the wood is damaged and splinters.