
Can You Grow A Dogwood Tree? Proven Method!
Yes, you absolutely can grow a dogwood tree! With the right approach, even beginners can successfully propagate and cultivate these beautiful trees from cuttings. This guide simplifies the process, showing you how to achieve stunning results with proven methods and clear, step-by-step instructions designed for home gardeners.
Growing a dogwood tree can seem like a challenge, especially if you’re new to gardening or plant propagation. Many of us admire these trees, with their stunning spring blooms and vibrant fall foliage, and dream of having one gracing our yards. But the thought of starting one from scratch, or from a simple cutting, might feel a bit daunting.
It’s a common question for any plant lover: “Can I really do this?” The good news is, you don’t need a green thumb or years of experience. With a little patience and our straightforward, proven method, you can successfully grow a dogwood tree. We’ll walk you through everything, from selecting the right cutting to nurturing your new tree’s growth. Get ready to transform that simple twig into a future masterpiece!
Why Grow A Dogwood Tree?
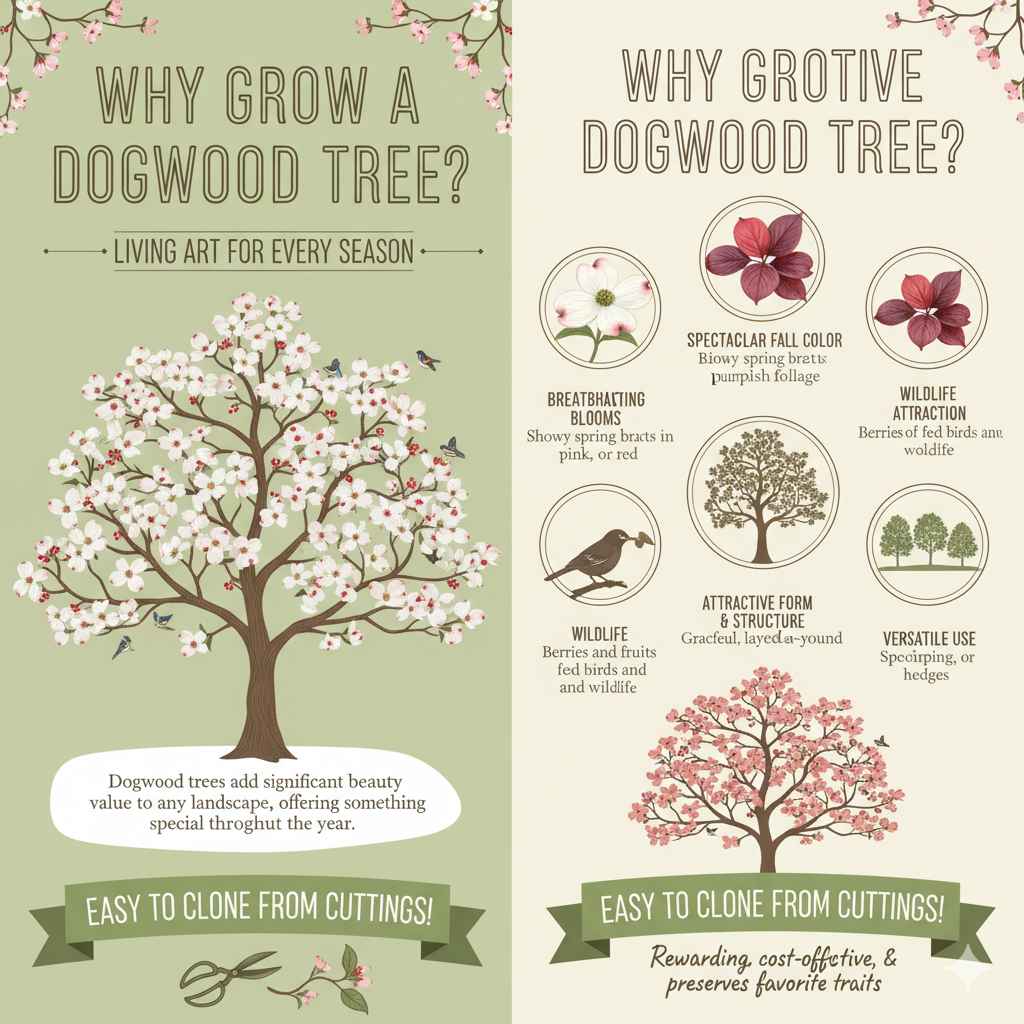
Dogwood trees (genus Cornus) are sought after for many good reasons. They’re not just trees; they’re living art that adds significant beauty and value to any landscape. Their appeal spans the seasons, offering something special throughout the year.
Breathtaking Blooms: The most celebrated feature of many dogwood varieties is their showy bracts (often mistaken for petals) that appear in spring. These can be white, pink, or red, creating a dazzling display that signals the arrival of warmer weather.
Spectacular Fall Color: As summer fades, dogwoods don’t fade away. Many species boast brilliant red, burgundy, or purplish foliage in autumn, providing a vibrant contrast against the changing landscape.
Attractive Form and Structure: Dogwoods often have graceful, layered branching habits that look beautiful year-round, even without leaves. This makes them excellent focal points in smaller gardens or as understory trees in larger landscapes.
Wildlife Attraction: Their berries and small fruits are a favorite food source for birds and other wildlife, making your garden a welcoming habitat.
Versatile Use: They can be grown as specimen trees, in small groupings, or even as hedges depending on the species and your garden design.
Many gardeners hesitate to try propagation, thinking it’s a complicated horticultural science. But when it comes to plants like dogwoods, taking cuttings is a very accessible way to get new plants. It’s rewarding, cost-effective, and allows you to “clone” a parent tree you particularly admire, ensuring you get the same traits.
Can You Grow A Dogwood Tree From A Cutting? Yes!
The direct answer to “Can you grow a dogwood tree from a cutting?” is a resounding yes. It’s a fantastic way to expand your garden or share these beautiful trees with friends and family without the expense of purchasing young trees. While seeds are an option, they can be slow to germinate and may not produce a tree identical to the parent. Cuttings offer a more predictable and often faster route to a new dogwood.
The key is to understand that dogwood cuttings can be a bit more challenging than those from some other plants, but they are by no means impossible. Success hinges on taking the right type of cutting at the right time, using appropriate rooting hormone, and providing the ideal conditions for it to establish roots. This guide is designed to give you the proven method that increases your chances of success significantly.
Understanding Dogwood Cuttings: Choosing the Right Time and Type
When we talk about growing a dogwood tree from a cutting, we generally mean taking a piece of the stem and encouraging it to grow roots. Different types of cuttings work best at different times of the year. For dogwoods, semi-hardwood cuttings are often the most successful.
Semi-Hardwood Cuttings
What they are: These are cuttings taken from new growth that has started to mature. The wood is no longer completely soft and flexible (like new spring growth) but hasn’t yet become fully woody and hard (like older branches). It snaps cleanly when bent, rather than just bending.
When to take them: The best time is typically mid-summer to early autumn (August to September in many regions). The plant is actively growing but the wood is firming up. This period offers a good balance of moisture retention and the ability to root.
Why they work: Semi-hardwood cuttings have a good amount of stored energy and are less prone to wilting than very soft cuttings, but they are still flexible enough to root.
Softwood Cuttings (Less Recommended for Dogwoods)
What they are: Taken from very new, pliable growth in late spring or early summer.
Why they are less recommended: They can be prone to wilting and disease due to their high moisture content and lack of hardened wood. While possible, they require very vigilant care.
Hardwood Cuttings (Also Less Recommended for Dogwoods)
What they are: Taken from dormant, mature wood in late autumn or winter.
Why they are less recommended: Dogwoods can be slow to root from hardwood cuttings, and success rates are generally lower compared to semi-hardwood cuttings for this species.
For our proven method, we will focus on semi-hardwood cuttings, as they offer the best balance of ease and success for the home gardener.
The Proven Method: Step-by-Step Guide to Growing a Dogwood Tree from Cutting
This method is designed to be straightforward and effective for beginners. We’ll break down each step so you can follow along with confidence.
Step 1: Gather Your Tools and Materials
Having everything ready before you start is crucial for success.
Sharp Pruning Shears or Knife: Sterilized to prevent disease transmission.
Rooting Hormone: A powdered or liquid hormone containing auxins, which promote root development. Look for one suitable for woody plants. You can find these at most garden centers.
Potting Mix: A well-draining mix is essential. A blend of peat moss, perlite, and coarse sand works well. You can also buy pre-made propagation mixes.
Small Pots or Trays: Clean pots (about 4-6 inches deep) with drainage holes are ideal.
Plastic Bags or Humidity Dome: To maintain high humidity around the cuttings.
Gravel or Small Stones (Optional): For the bottom of pots to improve drainage.
Watering Can or Spray Bottle: For gentle watering.
Gloves: To keep your hands clean and protect them from sap.
Step 2: Select and Take Your Cuttings
This is a critical step. Choose a healthy, vigorous dogwood tree. Look for a branch that has new growth from the current season that is just beginning to firm up – it should be flexible but not floppy.
1. Identify Suitable Growth: Find a branch that is about pencil-thick and has a slightly darker green color than brand-new growth. The tip should still be somewhat soft.
2. Make the Cut: Using your sterilized pruning shears or knife, make a clean cut just below a leaf node (the point where a leaf attaches to the stem). A cutting should be about 4 to 6 inches long.
3. Prepare the Cutting:
Remove the bottom leaves, leaving only the top 2-3 leaves. If the remaining leaves are very large, you can cut them in half horizontally to reduce water loss through transpiration.
If the stem has any flowers or flower buds, pinch them off. These will use up energy that the cutting needs to develop roots.
With a sharp knife, you can make a shallow slit (about 1 inch long) on one side of the bottom end of the cutting. This exposes more cambium tissue, which can help encourage rooting.
Step 3: Apply Rooting Hormone
Rooting hormone is your secret weapon for encouraging faster and stronger root development, especially with plants like dogwoods that can be a bit slow to root.
1. Moisten the Cutting: Lightly dampen the bottom inch of the cutting.
2. Dip in Hormone: Pour a small amount of rooting hormone into a separate container or a small dish. Do not dip directly into the original container to avoid contamination. Dip the moist end of the cutting into the hormone, ensuring the bottom 1-2 inches are coated.
3. Tap Off Excess: Gently tap the cutting to remove any excess powder. Too much hormone can actually inhibit rooting.
Step 4: Pot the Cuttings
Proper soil and drainage are vital for preventing rot and encouraging root growth.
1. Prepare the Pot: Fill your clean pots with the well-draining potting mix. You can add a layer of gravel at the bottom for extra drainage if desired, though good quality potting mix often suffices.
2. Make a Hole: Use a pencil or your finger to make a hole in the center of the potting mix, deep enough for the cutting to be inserted securely.
3. Insert the Cutting: Gently place the hormone-coated end of the cutting into the hole.
4. Firm the Soil: Firm the potting mix around the base of the cutting to ensure good contact with the soil.
5. Water Gently: Water the soil lightly to settle it in around the cutting.
Step 5: Create a Humid Environment
High humidity is crucial for cuttings, especially semi-hardwood ones. It prevents them from drying out before they can develop roots.
1. Cover the Pot: You have a couple of good options here:
Plastic Bag Method: Place a clear plastic bag over the pot and cutting. You can use stakes or skewers to keep the bag from touching the leaves. This creates a mini-greenhouse.
Humidity Dome: If you have a propagation tray, a clear plastic humidity dome works perfectly.
2. Placement: Place the potted cuttings in a bright location but out of direct sunlight, which can overheat the cuttings and the enclosed environment, cooking them. A spot with bright, indirect light is ideal.
Step 6: Care and Maintenance
Patience and consistent care are key during this rooting period.
Watering: Keep the potting mix consistently moist but not soggy. If using the plastic bag method, open it for a few minutes daily to allow for air circulation and check the moisture level.
Humidity: Monitor the humidity. If you see condensation on the inside of the bag or dome, it’s working. If not, you might need to mist gently.
Air Circulation: It’s important to allow some air exchange to prevent fungal diseases. Briefly open the plastic bag or dome daily.
Temperature: Ideal rooting temperatures are between 65-75°F (18-24°C).
Patience: Rooting can take anywhere from 4 to 10 weeks, or even longer for some dogwood varieties. Don’t get discouraged if you don’t see immediate results.
Step 7: Checking for Roots and Transplanting
You’ll know your cutting has rooted when you see new leaf growth and gentle tugging on the stem meets resistance.
1. The Tug Test: Carefully give the cutting a very gentle tug. If you feel resistance, roots are likely forming.
2. New Growth: New leaves emerging are a strong indicator of successful rooting.
3. Transplanting: Once the roots are well-established (you might see them emerging from the drainage holes), it’s time to transplant.
Carefully remove the cutting from its pot.
Pot into a slightly larger container with a good quality potting soil.
Water thoroughly.
4. Acclimation: Continue to keep the newly transplanted seedling in a bright, indirect light location and maintain consistent moisture. Gradually acclimate it to outdoor conditions over a few weeks before planting it in its permanent garden spot.
Essential Considerations for Success
While the step-by-step method covers the basics, a few extra tips can significantly boost your success rate with dogwood cuttings.
Timing is Everything
As mentioned, mid-summer to early fall is optimal for semi-hardwood cuttings. Taking them too early means the wood is too soft; too late and it might be too hard to root easily.
Sterilization is Non-Negotiable
Fungal diseases are the biggest enemy of cuttings. Always sterilize your tools (with rubbing alcohol or a bleach solution) and pots. This prevents transferring any pathogens from one plant to another, or even from the soil to your cutting.
The Importance of Humidity
Dogwood cuttings have a high water requirement until they establish their own root system. Without adequate humidity, they will dehydrate and die. The plastic bag or humidity dome method is designed to create this essential microenvironment.
Rooting Hormone – Use Wisely
While beneficial, using too much rooting hormone can be detrimental. Follow the product instructions carefully. For woody cuttings like dogwoods, ensuring good contact with the hormone is key because they have a thicker outer layer.
Choosing the Best Parent Plant
Select cuttings from a healthy, mature, and disease-free dogwood tree. A strong, vigorous parent will yield cuttings with the best chance of survival and growth. Avoid branches that look stressed or have any signs of pest damage or disease – this is a foundational principle often discussed by horticultural experts.
Patience Pays Off
Growing a tree from a cutting is a project that requires patience. You won’t have a mature tree overnight. It can take months for roots to develop sufficiently, and then several years for the young tree to grow to a substantial size. Enjoy the process!
Alternative Propagation Methods for Dogwood Trees
While cuttings are a popular and effective method, especially for cloning desirable traits, other ways exist to grow dogwoods. Understanding these can offer a broader perspective.
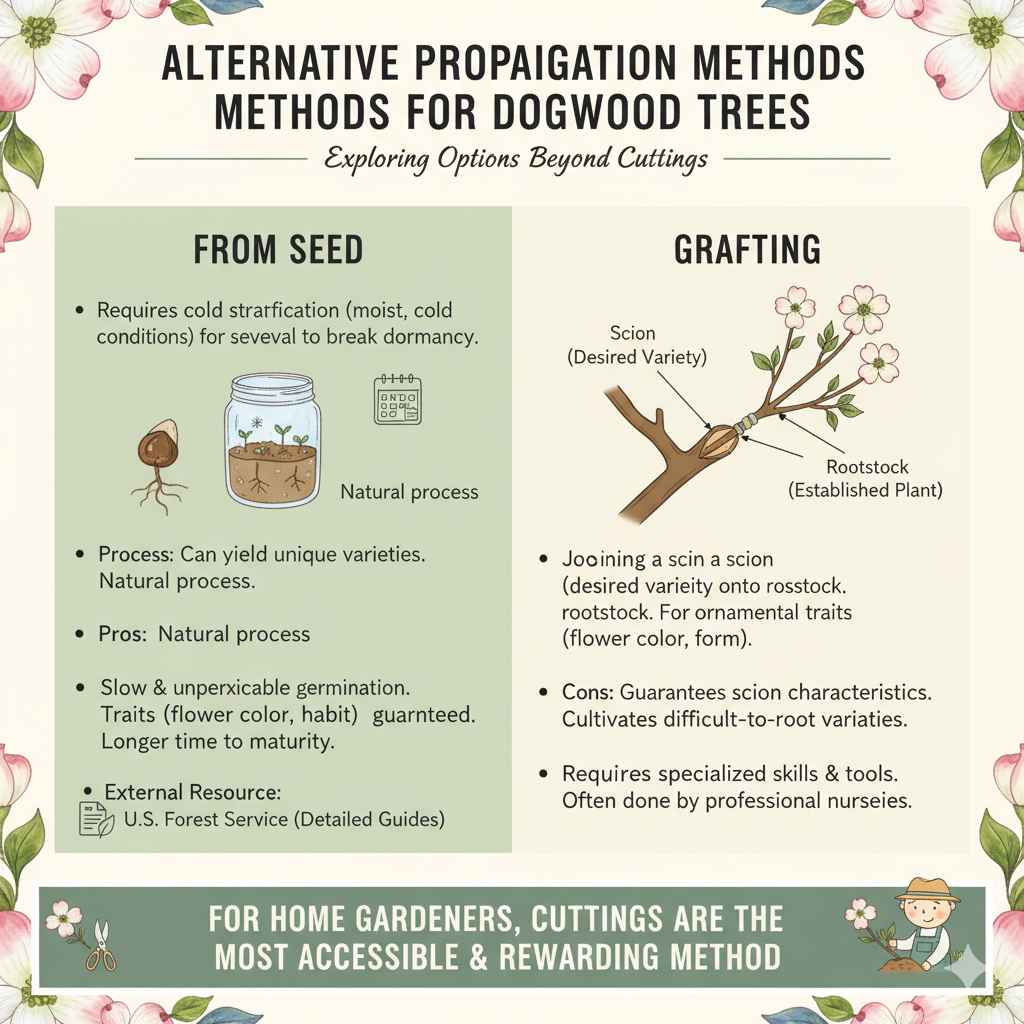
From Seed
Process: Dogwood seeds often require a period of cold stratification (exposure to cold, moist conditions) to break dormancy. This can take several months.
Pros: Can sometimes yield new and unique varieties (though not guaranteed to be identical to the parent). It’s a natural process.
Cons: Germination can be slow and unpredictable. The resulting tree may not have the same characteristics (flower color, habit) as the parent plant. The time to maturity is also longer.
External Resource: The U.S. Forest Service provides extensive information on the propagation of various tree species, including dogwoods.
Grafting
Process: This is a more advanced technique where a desirable scion (a piece of the desired dogwood variety) is joined to the rootstock of another related plant. This is commonly used for ornamental varieties, like those with unusual flower colors or weeping forms, to ensure they retain their specific traits.
Pros: Guarantees the desired characteristics of the scion variety. Can allow cultivation of varieties that are difficult to root from cuttings.
Cons: Requires specialized skills and tools. It’s often done by professional nurseries rather than home gardeners.
For the home gardener wanting to easily replicate a favorite tree or share dogwoods affordably, the cutting method remains the most accessible and rewarding option.
Common Problems and Troubleshooting
Even with the best method, things can go wrong. Here are some common issues and how to address them:
| Problem | Cause | Solution |
|---|---|---|
| Cuttings Wilting/Dying | Insufficient humidity, direct sun, overwatering, underwatering, disease. | Increase humidity (check bag/dome is sealed, mist if needed). Move to indirect light. Ensure soil is moist but not waterlogged. Sterilize tools and pots thoroughly. |
| No Root Growth After Weeks | Cutting taken too early/late, insufficient rooting hormone, poor conditions. | Be patient. Ensure consistent temperature (65–75°F) and moisture. Re-evaluate timing and rooting hormone. Try new cuttings if needed. |
| Fungal Growth/Rot | Too much moisture, poor air circulation, unsterilized materials. | Improve air flow (open dome periodically). Use well-draining soil. Remove infected cuttings. Clean and sterilize all tools and containers. |
| Leaves Turning Yellow | Natural aging or environmental stress. | If older leaves yellow, it’s normal. If new leaves do, check watering, light levels, and nutrient balance. |
Frequently Asked Questions (FAQ)
Here are some common questions beginners have about growing dogwood trees from cuttings.
Q1: How long does it take for dogwood cuttings to root?
A: It can vary quite a bit, but typically expect anywhere from 4 to 10 weeks for semi-hardwood cuttings to develop a good root system. Some may take longer, so patience is key.
Q2: Can I root dogwood cuttings in water?
A: While some plants can be rooted in water, it’s generally not recommended for dogwood cuttings. They are prone to rot in standing water, and the roots that develop may not be as robust as those grown in a soil medium. Using a well-draining potting mix with rooting hormone is more reliable.
Q3: What kind of soil should I use for rooting dogwood cuttings?
A: A well-draining propagation mix is best. A good blend is typically 50% peat moss and 50% perlite, or a mix of perlite, coarse sand, and a little bit of compost. This ensures good aeration and prevents waterlogging.