Can You Drill Perspex: Essential Tips for Perfect Results
Are you planning a project that involves Perspex and wondering if you can drill into it without causing cracks or damage? You’re not alone.
Many people hesitate because Perspex, also known as acrylic, looks sturdy but can be tricky to work with. The good news is, yes—you can drill Perspex safely. But knowing the right tools and techniques is key to getting a clean, precise hole without ruining your material.
Keep reading, and you’ll discover simple tips that make drilling Perspex easier than you think.
Choosing The Right Drill Bit
Choosing the right drill bit is key for drilling Perspex safely and cleanly. The wrong bit can crack or damage the material. Using the correct drill bit keeps the Perspex smooth and crack-free. It makes the drilling process easier and faster.
Different drill bits work better on Perspex than others. Knowing which one to pick saves time and avoids mistakes. The size and material of the drill bit also matter. These factors affect the quality of the hole and the life of the bit.
Types Of Drill Bits For Perspex
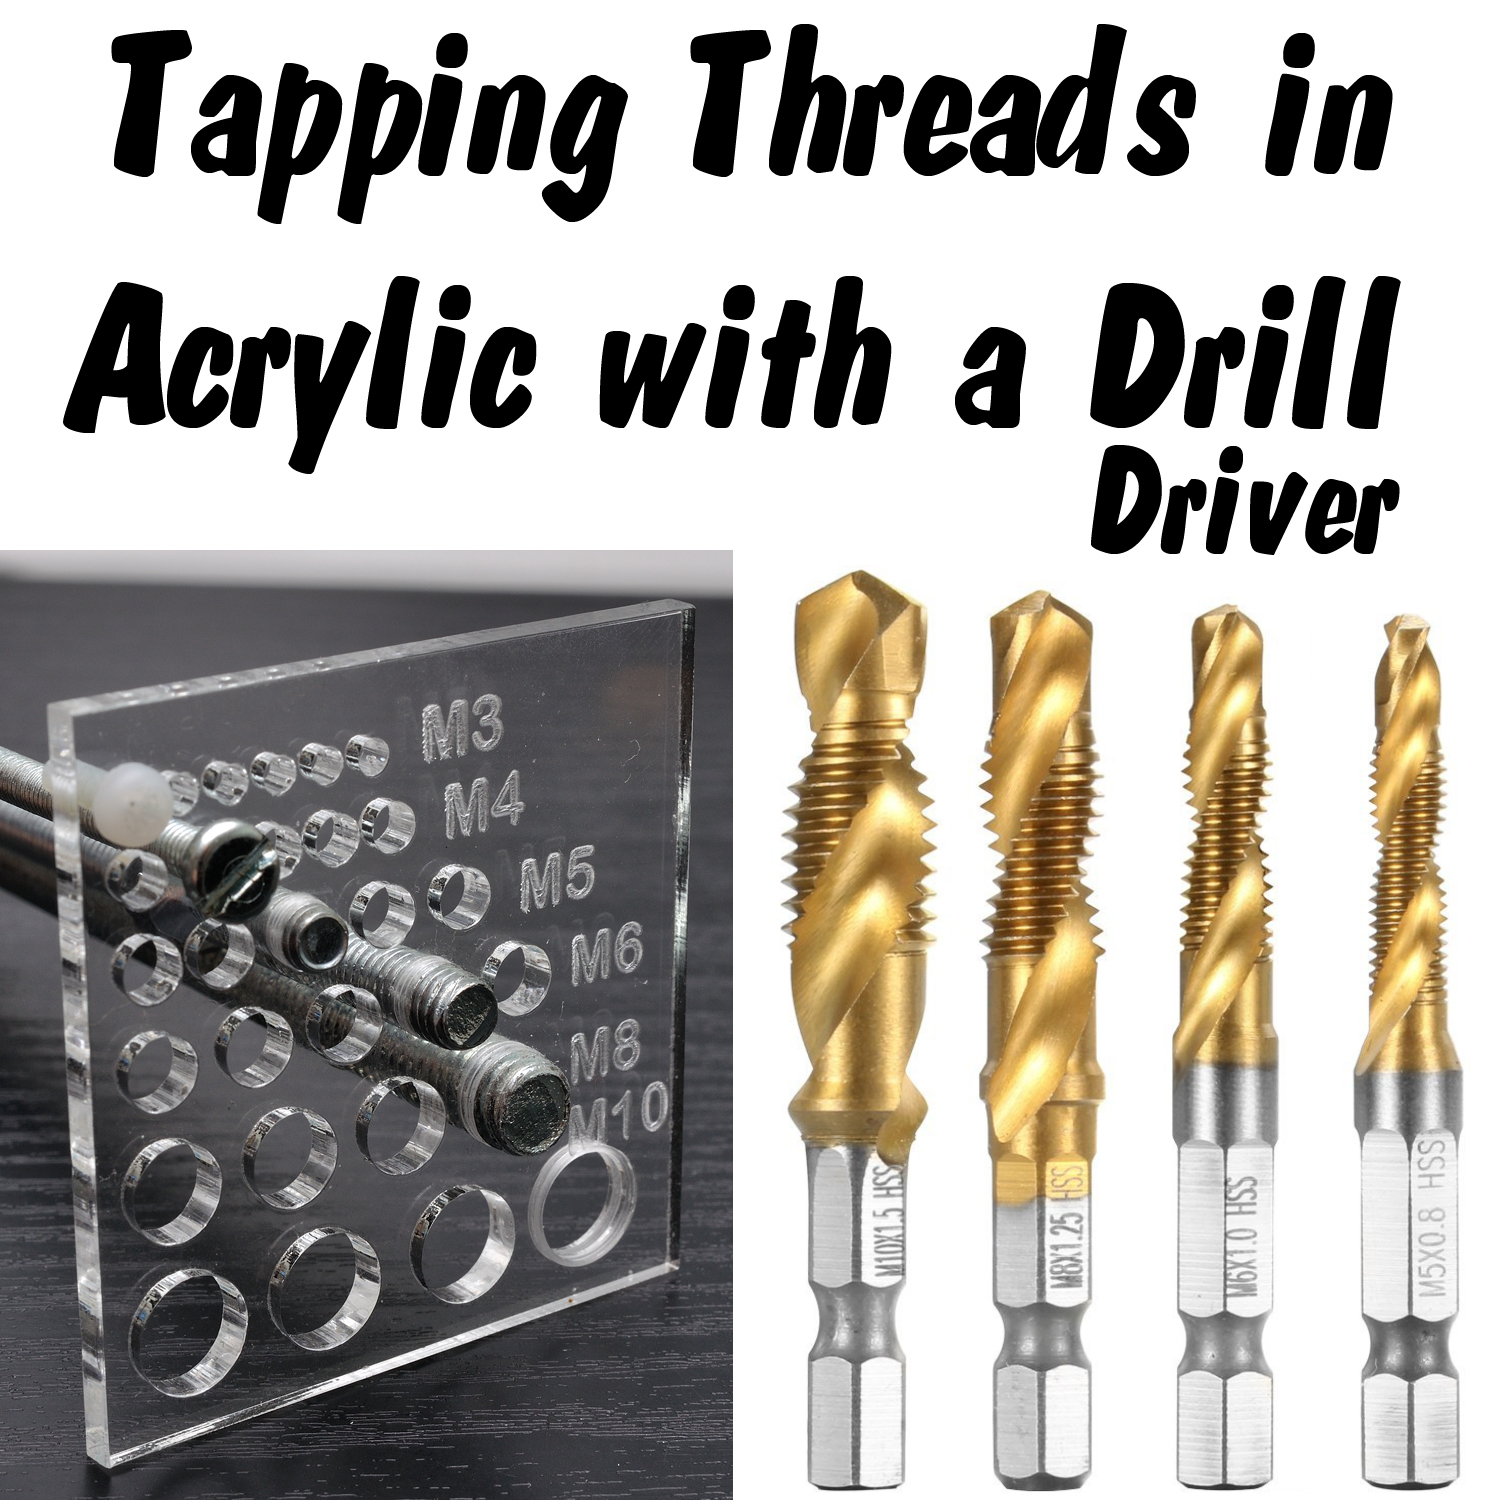
Brad point drill bits are great for Perspex. They have a sharp point that helps start the hole without slipping. Twist drill bits can work but need careful use to avoid cracking. Step drill bits are useful for larger holes and make smooth cuts. Avoid masonry bits; they can cause cracks and rough holes.
Recommended Sizes And Materials
Small to medium drill bit sizes work best for Perspex, usually between 3mm and 10mm. Choose bits made from high-speed steel (HSS) for durability and sharpness. Carbide-tipped bits last longer and keep sharp edges. Always drill slowly to reduce heat and avoid melting the Perspex.
Preparing Perspex For Drilling
Preparing Perspex for drilling requires careful steps to avoid cracks or damage. Proper preparation helps achieve clean holes and a smooth finish. This section explains how to secure the sheet and mark drill points accurately.
Securing The Sheet
Place the Perspex sheet on a flat, stable surface. Use clamps to hold it firmly in place. Avoid tight clamping that may cause cracks. A soft cloth between the clamp and sheet prevents scratches. Keeping the sheet steady stops it from moving during drilling.
Marking Drill Points Accurately
Use a fine-tip marker to mark drill points clearly. Measure twice to ensure correct placement. Small pilot holes guide the drill and reduce stress. Avoid marks near edges to prevent splitting. Clear markings help maintain precision throughout drilling.
Drilling Techniques For Clean Holes
Drilling Perspex requires careful techniques to achieve clean holes without damage. Perspex is a type of acrylic that can crack or chip if handled poorly. Using the right methods ensures smooth, precise holes that maintain the material’s strength and appearance.
Below are key tips for drilling clean holes in Perspex safely and effectively.
Optimal Drill Speed
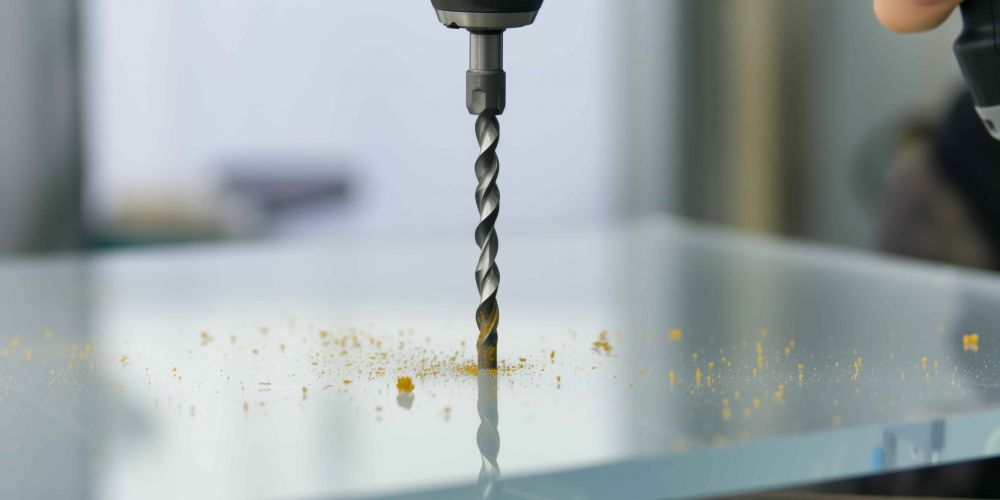
Use a slow drill speed to avoid melting the Perspex. High speeds create heat that softens the plastic. This heat can cause the hole edges to become rough or warped. A drill speed around 800 to 1,000 RPM is ideal for most drill bits on Perspex sheets.
Applying The Right Pressure
Apply gentle, steady pressure on the drill. Pressing too hard risks cracking the Perspex. Let the drill bit do the work. Slow and controlled pressure helps maintain a clean cut. Stop drilling if the material feels hot or stressed.
Cooling Methods To Prevent Cracks
Cooling the Perspex during drilling reduces heat buildup. Spray water or use a damp cloth near the drill site. Pause regularly to let the material cool. Cooling prevents cracks and keeps the hole edges smooth. Avoid overheating to protect the Perspex.
Common Mistakes To Avoid
Drilling Perspex can be tricky without the right knowledge. Many beginners make mistakes that cause cracks or damage. Avoiding these common errors will save time and materials. Follow simple tips to get clean, precise holes.
Using Incorrect Drill Bits
Not all drill bits work well with Perspex. Regular metal bits can cause cracks. Use bits designed for plastics or a sharp twist bit. This reduces heat and pressure on the material. Sharp bits create smooth holes without rough edges.
Drilling Too Fast Or Too Hard
Drilling at high speed can melt Perspex. Applying too much pressure may crack it. Use a slow speed and gentle force instead. Let the drill bit do the work. This prevents damage and keeps the material intact.
Ignoring Safety Precautions
Perspex chips can fly during drilling. Always wear safety glasses to protect your eyes. Work in a well-ventilated area to avoid breathing dust. Secure the Perspex firmly to stop it from moving. Safety helps avoid accidents and injuries.
Finishing Touches After Drilling
Drilling Perspex creates sharp edges and tiny debris. These can be unsafe or damage the material. Finishing touches are important to keep the work clean and safe. Take time to smooth and clean after drilling.
Smoothing Edges
Use fine sandpaper or a sanding block to smooth rough edges. Sand gently to avoid cracking the Perspex. Move in one direction for a neat finish. Rounded edges reduce the risk of cuts. Polishing with a soft cloth can add shine.
Cleaning Debris
Remove all dust and small pieces left from drilling. Use a soft brush or cloth to wipe the area. Avoid using harsh chemicals that may damage Perspex. Warm soapy water works well for cleaning. Dry with a soft towel to prevent streaks.
Alternative Methods For Creating Holes
Drilling Perspex can be tricky. The material can crack or chip if not handled properly. Alternative methods for making holes offer safer and cleaner results. These techniques use different tools and approaches suited for various thicknesses and designs.
Using Laser Cutters
Laser cutters use a focused beam of light to cut or drill Perspex. The laser heats the material and creates precise holes without physical contact. This method reduces the risk of cracking or chipping. It works well for detailed shapes and small holes. Laser cutting is fast and produces smooth edges. It is ideal for both thin and thick Perspex sheets.
Punch Tools For Thin Sheets
Punch tools create holes by pressing through thin Perspex sheets. They use sharp, shaped metal dies to cut clean holes quickly. Punching is a mechanical process with little heat, so it avoids melting the plastic. This method works best on sheets less than 3mm thick. It is simple, cost-effective, and produces consistent holes. Punch tools are useful for repetitive tasks and uniform hole sizes.
Frequently Asked Questions
Can You Drill Perspex Without Cracking It?
Yes, you can drill Perspex without cracking by using a sharp drill bit. Use low speed and steady pressure. Pre-drilling a small pilot hole helps prevent cracks. Always clamp the Perspex securely to avoid movement during drilling.
What Drill Bit Is Best For Perspex?
A sharp, high-speed steel (HSS) drill bit or a special acrylic drill bit is best. Avoid using old or dull bits to reduce cracking risk. Step drill bits also work well for clean holes in Perspex sheets.
How Do You Prevent Perspex From Melting When Drilling?
Drill at low speed and apply light pressure to avoid heat buildup. Use water or lubricant to cool the drill bit and Perspex surface. Overheating can cause Perspex to melt or warp, so cooling is essential.
Can You Drill Large Holes In Perspex?
Yes, large holes can be drilled using step drill bits or hole saws designed for acrylic. Drill slowly and steadily to avoid cracks. For very large holes, consider cutting with a jigsaw or laser cutter for better results.
Conclusion
Drilling Perspex is simple with the right tools and care. Use a sharp drill bit and low speed to avoid cracks. Always secure the sheet to keep it steady. A little patience makes the process smooth and safe. Now, you can create clean holes without damaging your Perspex.
Try these tips for your next project and see the difference.