How To Glue Plexiglass To Wood: Your Easy Step-by-Step Guide for Strong Bonds
Gluing plexiglass to wood involves choosing the right adhesive, like epoxy or acrylic cement, after thoroughly cleaning and preparing both surfaces. Apply a thin, even layer of glue, then firmly clamp the pieces together. Allow ample time for the adhesive to fully cure, typically 24-72 hours, to ensure a strong, lasting bond for your project.
Ever found yourself staring at a piece of beautiful wood and a clear sheet of plexiglass, wondering how to make them stick together permanently? You’re not alone! Many DIY enthusiasts and beginners find joining these two different materials a bit tricky. Wood is porous and natural, while plexiglass (also known as acrylic) is smooth and synthetic. They don’t always play nice with standard glues.
But don’t worry, my friend! As your woodworking mentor, Apollo Radar, I’m here to simplify this for you. With the right approach and a few key tips, you can achieve a strong, durable bond between plexiglass and wood. We’ll walk through everything you need to know, from choosing the perfect glue to clamping techniques, ensuring your next project looks professional and lasts for years. Let’s get crafting!
Creating projects that combine the warmth of wood with the clarity of plexiglass opens up a world of possibilities. Think display cases, custom frames, or even unique furniture pieces! The secret to success lies in understanding the materials and selecting the correct method for bonding them. Let’s break down exactly how to glue plexiglass to wood, step by step, so you can tackle your next project with confidence.
Gather Your Tools and Materials for Gluing Plexiglass to Wood
Before you even think about applying adhesive, a little preparation goes a long way. Having everything you need within reach saves time and prevents frustration. Here’s a checklist of what you’ll want to have on hand:
- Plexiglass (Acrylic Sheet): The star of the show! Make sure it’s clean and free of scratches.
- Wood Piece: Your chosen wood, pre-cut and sanded to its final shape.
- Adhesive: This is crucial! We’ll discuss options in detail below.
- Clamps: Bar clamps, spring clamps, or even heavy weights can work. Ensure they apply even pressure.
- Clean Rags or Microfiber Cloths: For wiping surfaces.
- Denatured Alcohol or Isopropyl Alcohol: For cleaning plexiglass.
- Fine-Grit Sandpaper (220-320 grit): For light scuffing, if necessary.
- Masking Tape or Painter’s Tape: To protect areas or hold pieces temporarily.
- Safety Glasses: Always protect your eyes when working with adhesives and tools.
- Gloves: Nitrile or latex gloves to protect your hands from glue.
- Ventilation: Work in a well-ventilated area, especially when using strong adhesives.
Choosing the Right Adhesive: The Key to a Lasting Bond
This is arguably the most important decision when learning how to glue plexiglass to wood. Not all glues are created equal, and using the wrong one can lead to a weak bond that fails over time. We need an adhesive that can bridge the gap between two very different surfaces.
Here are the best options for achieving a strong bond:
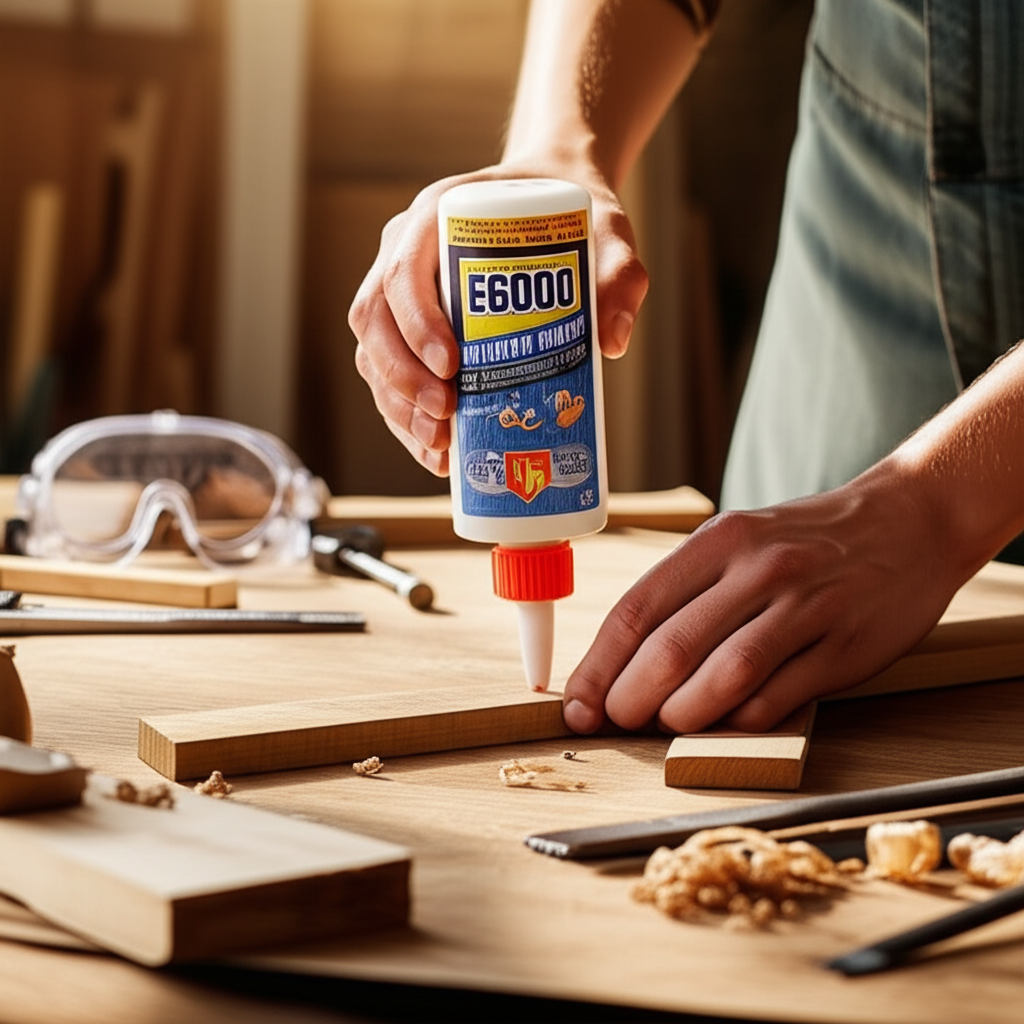
- Two-Part Epoxy: This is often my top recommendation for beginners. Epoxy creates an incredibly strong, rigid bond. It works by chemical reaction when two components are mixed. It fills gaps well and adheres to many materials, including both wood and plexiglass. Look for a “5-minute” epoxy for quick setting or a “30-minute” epoxy for more working time.
- Acrylic Cement (Solvent Cement): Specifically designed for bonding acrylic to itself, some formulations can also create a strong bond with wood. These cements work by chemically melting the acrylic surface slightly, fusing it. They create a very clear bond, which is great for aesthetic projects. However, they require careful application as they dry very quickly and can leave marks. They are less forgiving than epoxy.
- Construction Adhesive (e.g., PL Premium): These heavy-duty adhesives are designed for construction projects and offer excellent bonding strength to a wide range of materials, including wood and many plastics. They are usually thicker, can fill larger gaps, and are often waterproof, making them suitable for outdoor applications.
- Silicone Caulk/Adhesive: While primarily a sealant, some silicone formulations offer good adhesion and flexibility. This is a good choice if you need a waterproof, flexible bond, but it won’t be as rigid or strong as epoxy or acrylic cement. It’s often used for sealing edges rather than structural bonding.
Let’s compare these options to help you decide:
| Adhesive Type | Bond Strength | Flexibility | Drying Time (Initial) | Clarity | Ease of Use | Best For |
|---|---|---|---|---|---|---|
| Two-Part Epoxy | Excellent | Rigid | 5-30 mins | Good (can yellow slightly) | Medium | Strong, durable, general-purpose bonds |
| Acrylic Cement | Excellent (on acrylic) | Rigid | Seconds-minutes | Excellent | Hard (less forgiving) | Clear, aesthetic bonds, acrylic-specific |
| Construction Adhesive | Very Good | Medium | 30 mins – 2 hours | Opaque (usually) | Medium | Heavy-duty, gap-filling, outdoor projects |
| Silicone Caulk/Adhesive | Good | High | 30 mins – 1 hour | Good (clear/white) | Easy | Flexible, waterproof seals, non-structural |
For most beginners looking for a strong and reliable bond, I recommend a good quality two-part epoxy. It offers a good balance of strength, working time, and versatility.
Step-by-Step Guide: How to Glue Plexiglass to Wood Successfully
Now that you have your materials and chosen your adhesive, let’s get down to the actual gluing process. Take your time with each step, and remember, patience is a virtue in woodworking!
Step 1: Prepare Your Work Area and Ensure Safety
Safety first, always! This isn’t just a saying; it’s a golden rule in any workshop. Adhesives can be strong and their fumes can be irritating.
- Ventilation: Open windows and doors, or use a fan to ensure good airflow.
- Personal Protective Equipment (PPE): Put on your safety glasses and gloves. Trust me, you don’t want glue in your eyes or on your skin.
- Clean Workspace: Clear your workbench of clutter. You’ll need enough space to maneuver your pieces and apply clamps.
- Protect Surfaces: Lay down newspaper, cardboard, or a silicone mat to protect your workbench from drips and spills.
Step 2: Clean and Prepare Both Surfaces for Optimal Adhesion
This step is absolutely critical for a strong bond. Any dust, grease, or residue will weaken the glue’s ability to stick.
- Clean the Plexiglass:
- Gently wipe the plexiglass with a clean, soft cloth dampened with denatured alcohol or isopropyl alcohol. Avoid ammonia-based cleaners, as they can damage the acrylic.
- Make sure to remove any protective film from the plexiglass only from the areas that will be glued.
- Let the plexiglass air dry completely.
- Optional (for stronger bond): Lightly scuff the bonding surface of the plexiglass with 220-grit sandpaper. This creates tiny scratches that give the glue more “tooth” to hold onto. Wipe away any dust with alcohol afterward.
- Prepare the Wood Surface:
- Ensure the wood surface is smooth and flat where the plexiglass will attach. Sand it if necessary to remove any rough spots.
- Clean the wood thoroughly to remove sawdust, dirt, or oils. A tack cloth works wonders for removing fine dust.
- If the wood is very porous or unfinished, you might consider sealing it first, but for most applications, directly gluing to raw wood is fine with epoxy or construction adhesive.
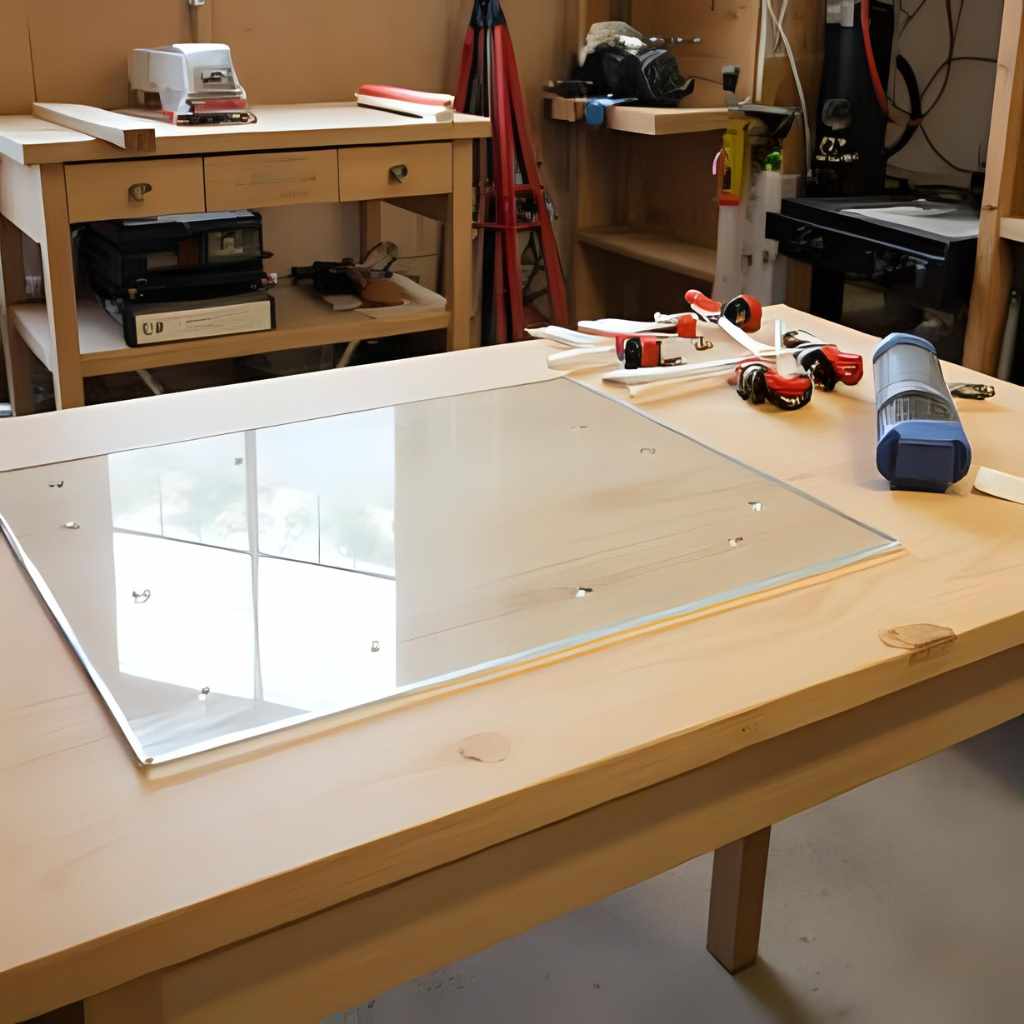
- Dry Fit: Always do a dry fit! Place the plexiglass on the wood exactly where it will be glued. This helps you visualize the placement and ensures a perfect fit before the glue comes out.
Step 3: Apply the Adhesive Evenly and Accurately
Now for the fun part! Remember to follow the specific instructions on your chosen adhesive’s packaging, as application can vary slightly.
- Mix Epoxy (if applicable): If using two-part epoxy, mix equal parts of the resin and hardener thoroughly on a scrap piece of cardboard or plastic. Mix only what you can use within the working time (e.g., 5 minutes for 5-minute epoxy).
- Apply to One Surface: I usually recommend applying the adhesive to the wood surface. This helps control squeeze-out on the clear plexiglass.
- Thin, Even Layer: Apply a thin, even bead or layer of adhesive to one of the bonding surfaces. You don’t need a huge glob; too much glue can create a mess and doesn’t necessarily make the bond stronger. Aim for just enough to cover the contact area when pressed.
- Edge Application: If gluing edges, apply the adhesive along the edge of the wood or plexiglass.
Step 4: Position, Clamp, and Cure for a Permanent Bond
This is where the magic happens – the bond forms!
- Carefully Position: Gently place the plexiglass onto the glued wood surface, aligning it precisely. Take your time here! Once the glue starts to set, repositioning becomes difficult.
- Apply Even Pressure: Use your clamps to apply firm, even pressure across the entire bonding area. Don’t overtighten, as this can squeeze out all the glue or even damage the plexiglass. Just enough pressure to ensure full contact.
- Clean Squeeze-Out: Immediately wipe away any excess glue that squeezes out with a damp rag or paper towel. For epoxy, rubbing alcohol can help clean up uncured glue. Once it cures, it’s much harder to remove.
- Cure Time: This is critical! Leave the clamps in place for the full recommended curing time specified by the adhesive manufacturer. This can range from a few hours to 24-72 hours. Rushing this step will lead to a weak bond.
- Check Periodically: While curing, avoid disturbing the clamped pieces. After the initial set time, you can carefully check if the bond feels secure before removing clamps, but always wait for the full cure.
Tips for Better Results When Gluing Plexiglass to Wood
As your woodworking mentor, I’ve learned a few tricks over the years that can make a big difference in the quality and durability of your projects. Here are some extra tips to ensure your plexiglass-to-wood bond is top-notch:
- Always Test First: If you’re using a new adhesive or working with a critical project, do a small test bond on scrap pieces of plexiglass and wood. This lets you get a feel for the adhesive’s working time and final bond strength.
- Surface Preparation is Paramount: I can’t stress this enough. A clean, properly prepared surface is the foundation of a strong bond. Don’t skip or rush this step.
- Use Just Enough Glue: More isn’t always better. An excessive amount of adhesive can lead to messy squeeze-out and doesn’t necessarily improve bond strength. A thin, even layer is usually sufficient.
- Even Clamping Pressure: Ensure your clamps apply pressure uniformly across the entire bonding area. Uneven pressure can lead to weak spots or gaps. If you don’t have enough clamps, use weights or even books wrapped in plastic to distribute pressure.
- Mind the Temperature and Humidity: Most adhesives perform best within specific temperature and humidity ranges. Check the adhesive’s instructions. Extreme cold or heat can affect curing time and bond strength.
- Ventilation, Ventilation, Ventilation: Especially with solvent-based adhesives or epoxies, good airflow is crucial for your health and for proper curing.
- Patience During Curing: Resist the urge to remove clamps early. The “initial set” time is when the glue feels firm, but the “full cure” time is when it reaches maximum strength. Waiting ensures a durable, lasting bond.
- Masking for Clean Lines: If you’re worried about messy glue lines, apply painter’s tape along the edges of your plexiglass and wood, just outside the bonding area. Remove the tape immediately after clamping, before the glue fully cures.
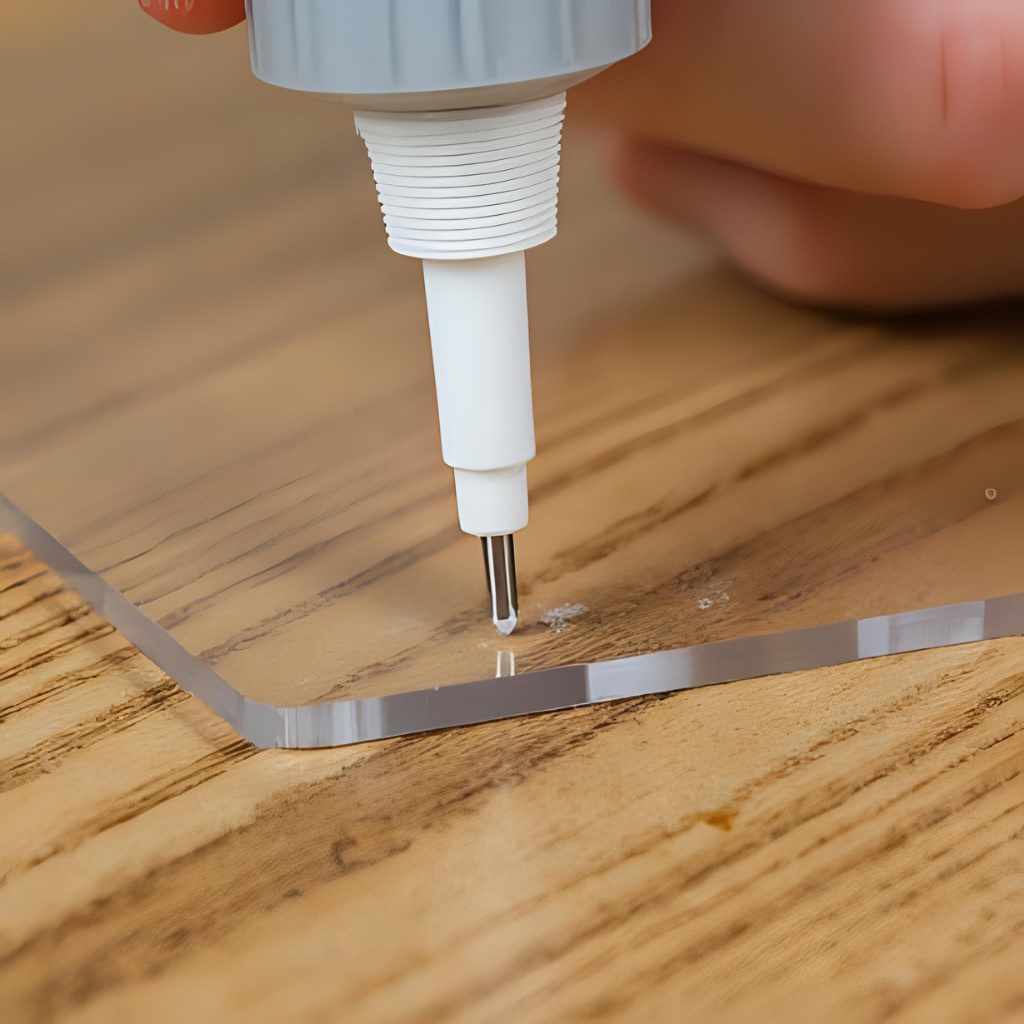
- Consider Mechanical Fasteners for Added Strength: For very heavy-duty applications or items that will bear significant weight, consider supplementing your adhesive with small screws or bolts. Always pre-drill holes in plexiglass slowly and carefully to prevent cracking. You can find more information on safe drilling techniques for acrylic from reputable sources like Plastics Magazine.
Common Mistakes to Avoid When Gluing Plexiglass to Wood
Even experienced woodworkers make mistakes sometimes, but as a beginner, knowing what to watch out for can save you a lot of headache and wasted materials. Here are some common pitfalls when learning how to glue plexiglass to wood:
- Skipping Surface Preparation: This is the number one culprit for failed bonds. Dust, oils, or residue on either surface will prevent the glue from adhering properly. Always clean thoroughly!
- Using the Wrong Adhesive: Wood glue won’t work on plexiglass. Hot glue is too weak. Super glue (cyanoacrylate) can be brittle and may fog plexiglass. Using an adhesive not designed for both materials will result in a weak, temporary bond.
- Inadequate Clamping: Not applying enough pressure, or applying it unevenly, prevents full contact between the surfaces and the adhesive. This leads to weak spots. Ensure clamps are firm and distributed.
- Rushing the Cure Time: Taking clamps off too soon is a common beginner mistake. The glue might feel solid, but it hasn’t reached its full strength. Give it the full recommended time.
- Applying Too Much Glue: While it seems counterintuitive, excessive glue often leads to a weaker bond, especially if it interferes with proper clamping. It also creates a mess and can be difficult to clean up, potentially marring your clear plexiglass.
- Not Testing First: Especially with new materials or glues, not doing a small test on scrap pieces means you’re flying blind. A quick test can reveal potential issues before they ruin your main project.
- Working in Poor Ventilation: Ignoring safety warnings about fumes can be harmful to your health. Always work in a well-ventilated area. You can find more safety guidelines for working with adhesives from official sources like OSHA.
- Forgetting to Dry Fit: Trying to align pieces once glue is applied can be stressful and lead to misalignments. Always dry fit your pieces to ensure they match perfectly before introducing any adhesive.
Frequently Asked Questions About Gluing Plexiglass to Wood
You’ve got questions, and I’ve got answers! Here are some common queries I hear from folks trying to glue plexiglass to wood:
Q1: Can I use regular wood glue to glue plexiglass to wood?
No, absolutely not. Regular wood glue (PVA glue) is designed to bond wood fibers together. It won’t form a strong, lasting bond with non-porous plexiglass. You need a specialized adhesive like epoxy or acrylic cement.
Q2: How long does it take for the glue to dry completely?
The “drying” time (or cure time) varies greatly depending on the adhesive you choose. Epoxy can set in 5-30 minutes but needs 24 hours for a full cure. Construction adhesives might take a few hours to set and up to 2-3 days to fully cure. Always check the specific instructions on your adhesive’s packaging.
Q3: Is the bond waterproof for outdoor projects?
It depends on the adhesive. Two-part epoxies and many construction adhesives (like PL Premium) offer excellent water resistance and are suitable for outdoor use. Silicone adhesives are also very waterproof. Acrylic cement, while strong, is generally not recommended for continuous outdoor exposure due to UV degradation and lack of flexibility.
Q4: What if I accidentally get glue on the visible part of the plexiglass?
Act fast! For epoxy, try to wipe it off immediately with a rag dampened with rubbing alcohol before it cures. Once cured, epoxy is very difficult to remove without damaging the plexiglass. For acrylic cement, it’s even harder as it melts the surface; prevention is key here with careful application and masking tape.
Q5: Do I need special tools to glue plexiglass to wood?
Not really “special” tools, but having the right basic tools makes a big difference. Clamps are essential for a strong bond. Safety glasses and gloves are a must. Other items like fine-grit sandpaper, cleaning alcohol, and rags are standard workshop supplies.
Q6: Is gluing plexiglass to wood an expensive process?
It doesn’t have to be! The most significant cost will likely be the plexiglass itself, depending on size and thickness. Adhesives range in price, but a good tube of epoxy or construction adhesive is relatively affordable and will last for several projects. It’s a very cost-effective way to create custom pieces.
Q7: Can I paint the wood before gluing the plexiglass?
Yes, you can, but it’s often better to paint or finish the wood *after* gluing, especially if you’re worried about glue squeeze-out. If you must paint beforehand, make sure the paint is fully cured and tape off the exact areas where the glue will be applied to ensure the adhesive bonds directly to the wood, not the paint.
Final Thoughts From Your Woodworking Mentor
There you have it, my friend! You’ve now got the knowledge and confidence to tackle your next project that involves gluing plexiglass to wood. Remember, the journey of a thousand projects begins with a single, well-glued step!
The key takeaways are simple: **preparation is everything**, **choose the right adhesive**, **apply even pressure with clamps**, and most importantly, **be patient** during the curing process. Don’t rush it, and your bond will be strong and lasting.
Woodworking is all about learning, trying, and achieving fantastic results. With these steps, you’re well on your way to creating beautiful, durable pieces that combine the best of both materials. So grab your materials, put on your safety glasses, and let’s get crafting! You’ve got this!