How To Get Ink Off Wood: A Woodworker’s Guide to Clean Restoration
To get ink off wood, start with the gentlest method: a pencil eraser for fresh marks. For tougher stains, gently dab with rubbing alcohol on a clean cloth, working from the outside in. If needed, try mineral spirits or denatured alcohol, always testing in an inconspicuous area first. For deep stains, a mild oxalic acid solution or light sanding might be necessary.
Spills and stray marks happen, especially when you’re busy crafting or just living life around beautiful wooden pieces. Ink stains on your cherished woodworking projects or furniture can be frustrating, making you wonder if that perfect finish is ruined forever. But don’t despair! With the right approach and a bit of patience, you can often remove those unsightly ink marks without damaging the wood. I’m here to guide you through clear, simple steps to tackle ink stains, restoring your wood’s natural beauty and your confidence in your DIY skills.
Getting ink off wood doesn’t have to be a daunting task. As your woodworking mentor, I’ve seen my share of accidental marks, and I’ve learned that a methodical approach is key. We’ll start with the least aggressive methods and move to more potent solutions only if necessary. Remember, patience and testing are your best friends here.
Essential Tools and Materials for Ink Removal
Before you begin, gather your supplies. Having everything ready will make the process smoother and more efficient. Safety first, always!
- Clean, Soft Cloths: Several lint-free cloths or old T-shirts.
- Cotton Swabs or Q-tips: For precise application on small spots.
- Pencil Eraser: A clean, white vinyl eraser works best.
- Rubbing Alcohol (Isopropyl Alcohol): Common household item.
- Mineral Spirits: A mild solvent, good for many finishes.
- Denatured Alcohol: Stronger than rubbing alcohol, use with caution.
- Oxalic Acid (Wood Bleach): For stubborn, deep ink stains (read instructions carefully!).
- Fine-Grit Sandpaper (220-400 grit): For light sanding if other methods fail.
- Wood Cleaner/Soap: Mild dish soap and water for cleanup.
- Gloves and Eye Protection: Crucial for working with solvents and acids.
- Masking Tape: To protect surrounding areas if sanding or using strong chemicals.
- Plastic Container: For mixing oxalic acid solution.
Step-by-Step Guide: How To Get Ink Off Wood
Let’s walk through the process together. Always start with the gentlest method and progress only if the stain persists. Test any solution on an inconspicuous area of the wood first to ensure it doesn’t damage the finish or color.
Step 1: The Gentle Approach – Erasers and Mild Cleaning
This is where we begin, especially for fresh or superficial ink marks. Don’t underestimate the power of simple tools!
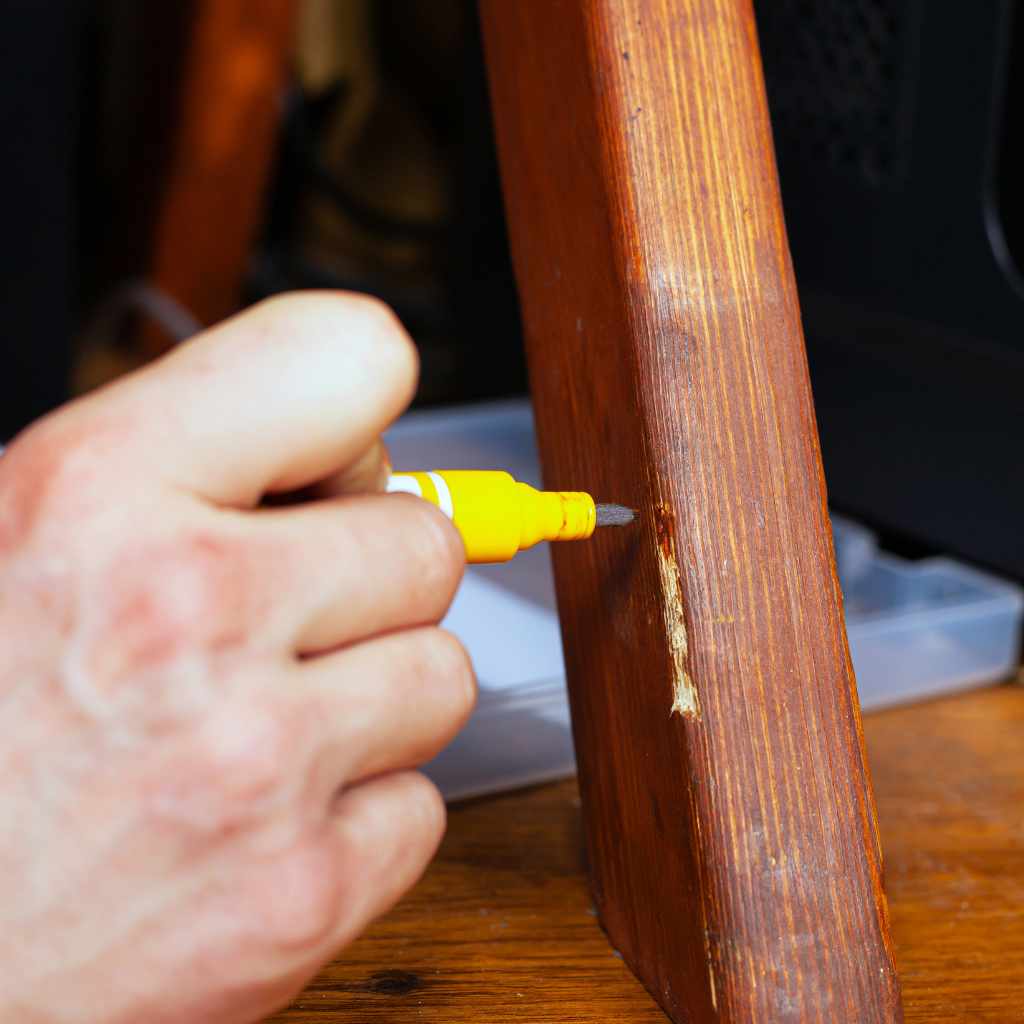
- Pencil Eraser: For fresh ballpoint pen marks, a clean, white vinyl eraser can sometimes lift the ink right off. Gently rub the eraser over the ink mark, applying light pressure. Wipe away eraser debris with a clean cloth.
- Mild Soap and Water: Mix a few drops of mild dish soap with warm water. Dampen a clean cloth (don’t soak it!) and gently dab the ink stain. Avoid rubbing vigorously, as this can spread the ink. Immediately wipe dry with another clean cloth. This works best for water-based inks or very fresh spills.
Safety Tip: Always ensure the cloth is only damp, not wet, to prevent water damage to the wood.
Step 2: Moving to Solvents – Rubbing Alcohol and Mineral Spirits
If the eraser or mild soap didn’t do the trick, it’s time to introduce some gentle solvents. These are often effective on various ink types without being overly aggressive on wood finishes.
- Rubbing Alcohol (Isopropyl Alcohol):
- Dampen a cotton swab or the corner of a clean cloth with rubbing alcohol.
- Gently dab the ink stain, working from the outside edge of the stain towards the center. This prevents the stain from spreading.
- Use a fresh part of the cloth or a new swab as it picks up ink.
- Do not rub or scrub, just dab.
- Once the ink is lifted, wipe the area with a clean, damp cloth (water only) and then immediately dry thoroughly.
- Mineral Spirits:
- Mineral spirits are excellent for oil-based inks and often safe for many wood finishes.
- Apply mineral spirits to a clean cloth.
- Gently wipe the ink stain, again working from the outside in.
- As the ink transfers to the cloth, move to a clean section.
- After removing the ink, wipe the area with a clean, dry cloth. No need to rinse with water, as mineral spirits evaporate cleanly.
Safety Tip: Work in a well-ventilated area when using rubbing alcohol or mineral spirits. Wear gloves to protect your hands.
Step 3: Stronger Solutions – Denatured Alcohol and Oxalic Acid
For more stubborn or deeply set ink stains, we might need to bring out the big guns. These methods require more caution and careful application.
- Denatured Alcohol:
- Denatured alcohol is a stronger solvent often used in woodworking, but it can strip some finishes. Always test it first!
- Dampen a cotton swab or the corner of a clean cloth with denatured alcohol.
- Very carefully dab the ink stain. Work quickly and precisely.
- As soon as the ink begins to lift, stop dabbing.
- Wipe the area immediately with a clean, dry cloth. You might need to reapply a finish to the spot afterward.
- Oxalic Acid (Wood Bleach):
- This is a powerful solution for deep, dark ink stains that have penetrated the wood fibers. It’s especially good for iron-based inks (like fountain pen ink).
- Preparation: Mix oxalic acid crystals with warm water according to package directions in a plastic container. Typically, it’s about 1 part oxalic acid to 10 parts water.
- Application: Using a brush or clean cloth, apply the solution directly to the ink stain.
- Wait: Allow the solution to sit for 15-30 minutes, or as directed, keeping an eye on it. The stain should begin to lighten or disappear.
- Neutralize: After the stain is gone, neutralize the acid by wiping the area with a cloth dampened with a solution of baking soda and water (1 tablespoon baking soda per cup of water).
- Rinse & Dry: Rinse the area thoroughly with clean water, then immediately wipe dry.
- Refinish: Oxalic acid can lighten the wood, so you will likely need to sand lightly and reapply a matching stain or finish to the entire piece for an even look.
Safety Tip: When using denatured alcohol or oxalic acid, wear gloves, eye protection, and work in a very well-ventilated area. Read all product labels carefully. Oxalic acid is corrosive and should be handled with extreme care. Keep pets and children away from the work area.
Step 4: The Last Resort – Light Sanding
If all else fails and the ink stain is still visible, very light sanding might be your final option. This method removes a thin layer of wood, so it’s best for unfinished wood or pieces you plan to completely refinish.
- Prepare the Area: If the ink stain is small, you can mask off the surrounding area with painter’s tape to protect it.
- Sand Gently: Using fine-grit sandpaper (220-400 grit), very gently sand the stained area. Work with the wood grain, not against it.
- Check Progress: Frequently check your progress. You only want to remove enough wood to get rid of the stain.
- Clean and Refinish: Once the stain is gone, clean the dust from the area. You will need to reapply a matching stain and finish to the sanded spot, or to the entire piece for a seamless look.
Craftsmanship Tip: Sanding is irreversible. Only use this method if you’re comfortable with refinishing the area afterward. It’s often better to blend a slight discoloration than to create a noticeable divot.
Comparing Ink Removal Methods
Here’s a quick overview of the methods we discussed, helping you choose the right approach for your specific situation.
| Method | Ink Type Best For | Wood Finish Impact | Safety Considerations | Difficulty |
|---|---|---|---|---|
| Pencil Eraser | Fresh ballpoint, pencil marks | Minimal to none | Very low | Easy |
| Mild Soap & Water | Fresh, water-based inks | Low (can cause water rings if not dried) | Very low | Easy |
| Rubbing Alcohol | Many common inks, fresh to moderate stains | Low to moderate (can dull some finishes) | Low (ventilation, gloves) | Beginner |
| Mineral Spirits | Oil-based inks, moderate stains | Low (generally safe for most finishes) | Moderate (ventilation, gloves) | Beginner |
| Denatured Alcohol | Stubborn inks, deep stains | High (can strip finishes) | High (ventilation, gloves, eye protection) | Intermediate |
| Oxalic Acid | Deep, iron-based inks (fountain pen), water stains | High (lightens wood, requires refinishing) | Very high (corrosive, gloves, eye protection, ventilation, neutralization) | Advanced |
| Light Sanding | Any deep stain, unfinished wood | High (removes wood, requires refinishing) | Moderate (dust mask, eye protection) | Intermediate |
Tips for Better Results When Getting Ink Off Wood
Achieving a seamless repair takes a little extra care. Here are some pro tips to help you get the best possible outcome.
- Act Quickly: The fresher the ink stain, the easier it is to remove. Don’t let it set!
- Test, Test, Test: Always test any cleaning solution on an inconspicuous area of the wood first. This is crucial for preventing further damage or discoloration.
- Work from Outside In: When dabbing, always start at the outer edge of the stain and work your way towards the center. This technique helps prevent the ink from spreading and making the stain larger.
- Use Clean Cloths/Swabs: As soon as your cloth or swab picks up ink, switch to a clean section or a new one. Reusing a soiled cloth will only reapply the ink.
- Don’t Rub Vigorously: Rubbing can push the ink deeper into the wood fibers or damage the finish. Gentle dabbing is almost always preferred.
- Ventilation is Key: When using solvents like mineral spirits or denatured alcohol, ensure your workspace is well-ventilated. Open windows, use fans, or work outdoors.
- Re-finish the Area: After successfully removing a tough stain, especially with stronger chemicals or sanding, you’ll likely need to reapply a matching finish to the treated area to restore its protection and appearance. This might involve light sanding, staining, and applying a clear coat. For guidance on wood finishing, you can find excellent resources from organizations like the USDA Forest Products Laboratory.
Common Mistakes to Avoid When Removing Ink Stains
Even experienced DIYers can make mistakes. For beginners, being aware of these pitfalls can save you a lot of headache (and wood!).
- Ignoring the “Test First” Rule: This is the biggest mistake. Different wood finishes react differently to solvents. What works for one piece might ruin another.
- Rubbing Instead of Dabbing: As mentioned, vigorous rubbing can embed the ink deeper, spread it, or damage the wood grain and finish.
- Using Too Much Liquid: Oversaturating the wood can lead to water rings, swelling, or damage to the finish. Damp is good; soaked is bad.
- Mixing Chemicals: Never mix different cleaning agents unless specifically instructed. Chemical reactions can be dangerous or create unexpected, irreversible damage to your wood.
- Forgetting Safety Gear: Solvents and acids can irritate skin, eyes, and lungs. Always wear gloves and eye protection, and ensure good ventilation.
- Skipping the Neutralization Step (with Oxalic Acid): If you use oxalic acid and don’t neutralize it with a baking soda solution, the acid can continue to react with the wood, potentially causing future discoloration or damage.
- Not Refinishing After Strong Treatments: Stronger methods like denatured alcohol, oxalic acid, or sanding will remove the protective finish. Leaving the wood exposed makes it vulnerable to future stains and damage.
Frequently Asked Questions About Getting Ink Off Wood
Q1: Is it safe to use nail polish remover to get ink off wood?
A: I strongly advise against using nail polish remover (which contains acetone) on wood. Acetone is a very strong solvent that can quickly strip most wood finishes, dissolve plastics, and even lighten the wood itself, causing more damage than the ink stain.
Q2: How do I know what type of finish my wood has?
A: Identifying your wood finish can be tricky. A simple test is to dab a tiny amount of denatured alcohol on an inconspicuous spot. If it softens or becomes sticky, it’s likely shellac. If it causes no reaction, it could be varnish, lacquer, or polyurethane. If it turns white, it might be lacquer. When in doubt, always start with the mildest cleaning method.
Q3: Can I use hairspray to remove ink from wood?
A: Hairspray often contains alcohol, which is why some people suggest it. However, the alcohol content is usually lower and it contains other ingredients that can leave a sticky residue or dull your wood finish. It’s better to use pure rubbing alcohol for more controlled results.
Q4: What if the ink stain has been there for a very long time?
A: Older, set-in ink stains are much harder to remove. You’ll likely need to move past the gentle methods and use stronger solvents like denatured alcohol or even oxalic acid. Be prepared for the possibility that you might need to refinish the entire piece for a uniform look.
Q5: Will removing an ink stain always require refinishing the wood?
A: Not always. If you use gentle methods like an eraser, mild soap, or even rubbing alcohol for a fresh, superficial stain, you might not need to refinish. However, if you use stronger solvents, oxalic acid, or sanding, you will almost certainly need to reapply a finish to the treated area to protect the wood and blend the repair.
Q6: How long does the ink removal process usually take?
A: The time varies greatly depending on the ink type, how long it’s been there, and the method you choose. A fresh, small stain might take minutes. A deep, old stain requiring oxalic acid and refinishing could take several hours or even a full day, including drying times for finishes.
Conclusion: Restore Your Wood with Confidence
Seeing an ink stain on your beautiful woodworking project or furniture can be disheartening, but I hope this guide has shown you that it’s often a fixable problem. By starting with the gentlest methods, patiently working your way through the steps, and always prioritizing safety, you can successfully get ink off wood and restore its original charm.
Remember, every project is a learning opportunity. Don’t be afraid to tackle these challenges; with practice and the right guidance, you’ll build both your skills and your confidence. Keep those woodworking tools handy, stay safe, and enjoy the satisfaction of bringing your wood pieces back to life!