DIY Father’s Day Wooden Gifts: Proven & Essential
Create heartfelt, lasting Father’s Day gifts with simple DIY wooden projects. These beginner-friendly ideas are proven, essential, and designed for ease and impressive results, ensuring a special handmade present he’ll cherish forever.
Finding the perfect Father’s Day gift can feel tough, especially when you want something truly personal and lasting. Store-bought items are convenient, but a handmade wooden gift carries a special warmth and story. If you’re new to woodworking or just looking for simple projects, you might worry about complex tools or techniques. Don’t let that stop you! Building beautiful, functional wooden gifts is absolutely achievable, even with basic skills. We’ll guide you through beginner-proven projects that require minimal tools and offer maximum dad-appreciation. Get ready to craft a gift that’s as sturdy and dependable as he is.
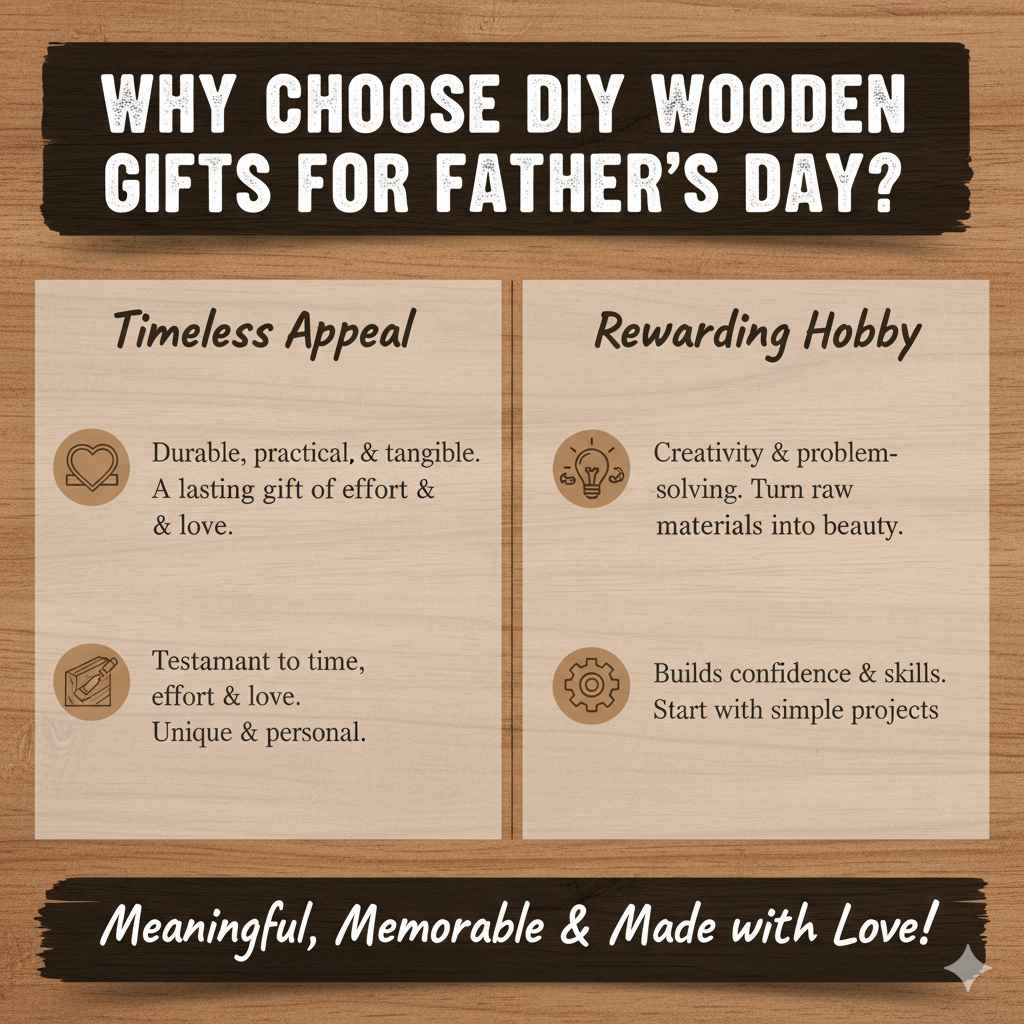
Why Choose DIY Wooden Gifts for Father’s Day?
Wooden gifts hold a timeless appeal. They’re durable, can be incredibly practical, and offer a tangible connection to the maker. For Father’s Day, a DIY wooden gift is more than just an item; it’s a testament to the time, effort, and love you’ve invested. It shows you’ve put thought into creating something unique, rather than just picking something off a shelf. This approach deeply resonates with many dads who appreciate craftsmanship and personal touches.
Furthermore, woodworking can be a very rewarding hobby. It allows for creativity, problem-solving, and the satisfaction of turning raw materials into something functional and beautiful. For beginners, starting with simple projects is key to building confidence and learning fundamental skills safely. These DIY wooden gifts are designed with exactly that in mind.
Essential Tools for Beginner Woodworking Gifts
When you’re starting out, you don’t need a workshop full of expensive machinery. A few essential hand tools and some basic power tools can get you far. Safety is always the top priority, so make sure you understand how to use each tool responsibly. Always wear safety glasses!
Must-Have Hand Tools:
- Measuring Tape: For accurate measurements – the foundation of any good project.
- Pencil: For marking your cuts and designs.
- Hand Saw: A good quality crosscut saw will handle most cuts needed for these projects.
- Hammer: For tapping in nails or assembling parts.
- Screwdriver Set: Both Phillips and flathead, for screws.
- Sandpaper: Various grits (e.g., 80, 120, 220) for smoothing wood.
- Clamps: At least two, to hold pieces together while glue dries.
Helpful Power Tools (Optional but Recommended):
- Cordless Drill/Driver: Makes drilling holes and driving screws much faster and easier.
- Orbital Sander: Speeds up the sanding process significantly, especially for larger surfaces.
- Jigsaw: Useful for cutting curves or more intricate shapes if your project calls for it.
For the projects we’ll discuss, a drill/driver and an orbital sander will greatly enhance your experience and the finish quality, but many can be accomplished with just hand tools if you’re patient. You can find comprehensive safety guides on tool usage from reputable sources like the Woodworking Handbook Safety Guidelines.
Proven Beginner-Friendly DIY Father’s Day Wooden Gift Projects
These projects are chosen for their simplicity, minimal tool requirements, and high-impact results. They are perfect for building confidence and creating a gift your dad will genuinely love and use.
Project 1: The Personalized Wooden Coaster Set
Coasters are always useful, and personalizing them makes them extra special. This project is incredibly simple and can be scaled up easily.
Difficulty: Very Easy
Time: 1-2 hours (plus drying time)
Materials Needed:
- Wood: 1×4 pine board (about 2 feet long) or pre-cut wooden circles/squares.
- Wood Glue.
- Sandpaper (120 and 220 grit).
- Wood Finish (e.g., Danish oil, polyurethane, or wax).
- Optional: Wood burner or stencil for personalization.
Tools Needed:
- Saw (hand saw or miter saw).
- Measuring Tape.
- Pencil.
- Clamps.
- Drill with a countersink bit (if using screws) or just for making pilot holes.
- Safety Glasses
Steps:
- Measure and Cut: Decide on the size of your coaster. A good size is around 3.5 to 4 inches square or round. If using a 1×4 board, you can cut it into four equal lengths. For example, if your board is 3.5 inches wide, cut four 3.5-inch pieces to make ~3.5″ x 3.5″ coasters.
- Sand: Sand all the cut edges and surfaces smooth. Start with 120-grit sandpaper and finish with 220-grit for a silky feel.
- Clean: Wipe down the wood pieces thoroughly with a dry cloth to remove all sawdust.
- Personalize (Optional): This is where you add a special touch. You can use a wood burner to write initials, a date, or a short message. Alternatively, use a stencil and paint, or even stain certain areas for a simple design. Another easy method is to apply a transfer medium and print a small image or text to transfer onto the wood.
- Apply Finish: Apply your chosen wood finish according to the manufacturer’s instructions. This protects the wood and enhances its natural beauty. You might need 2-3 coats, allowing drying time between each.
- Attach Felt Pads (Optional): Once the finish is dry, glue small felt pads to the bottom of each coaster to protect tables from scratches.
Project 2: The Simple Wooden Phone Stand
A practical gift that dads can use every day on their desk or nightstand. This stand is stable, easy to build, and looks quite professional.
Difficulty: Easy
Time: 2-3 hours (plus drying time)
Materials Needed:
- Wood: A piece of 1×4 or 1×6 lumber, about 12 inches long. Hardwoods like oak or walnut look great but pine is budget-friendly and easy to work with.
- Wood Glue.
- Sandpaper (120 and 220 grit).
- Wood Finish.
Tools Needed:
- Saw (hand saw, miter saw, or table saw).
- Measuring Tape.
- Pencil.
- Drill with bits (including a spade bit or Forstner bit if you want clean holes for charging cables).
- Clamps.
- Safety Glasses
Steps:
- Cut the Main Pieces:
- Base: Cut one piece 7 inches long from your 1×4 or 1×6.
- Back Support: Cut one piece 5 inches long from the same board.
- Front Lip: Cut one piece 3 inches long.
- Cut the Angle on the Back Support: On the 5-inch back support piece, you’ll want to cut an angle at the top. Measure down about 1 inch from the top edge on one side and draw a line to the opposite top corner. Cut along this line for a nice slope.
- Drill Cable Slot (Optional): On the front lip piece (3 inches long), you can drill a hole near the top center if you want to allow a charging cable to pass through. A 1/2 inch to 3/4 inch diameter bit works well.
- Sand Everything: Thoroughly sand all pieces. Ensure the angled cut on the back support is smooth. Sand all edges and surfaces, progressing from 120 to 220 grit.
- Assemble the Base:
- Apply wood glue to the bottom edge of the back support piece and position it flush with the back edge of the 7-inch base piece. Ensure it’s square.
- Apply wood glue to the bottom edge of the front lip piece and position it about 1 inch from the front edge of the base piece. Ensure it’s square.
- Secure with Screws (Optional but Recommended): For added strength, drill pilot holes and then countersink screws up through the bottom of the base into the back support and front lip. Use 1.5-inch wood screws.
- Use Clamps: Clamp the pieces together firmly while the glue dries. Wipe away any excess glue that squeezes out with a damp cloth.
- Apply Finish: Once dry, sand any rough spots lightly and apply your chosen wood finish.
Project 3: The Rustic Wooden Key Holder
A simple yet stylish way for Dad to keep his keys organized. This project adds a touch of rustic charm to any entryway.
Difficulty: Easy
Time: 1-2 hours (plus drying time)
Materials Needed:
- Wood: A piece of 1×6 lumber, about 10-12 inches long. A reclaimed or rough-sawn board would be perfect for a rustic look.
- Hooks: 3-4 small screw-in hooks (check the thread size to ensure they won’t split the wood if over-tightened).
- Screws or D-rings: For mounting the holder to the wall.
- Wood Glue (optional, for decorations).
- Sandpaper (80, 120, and 220 grit).
- Wood Finish (e.g., a dark stain, wax, or polyurethane).
- Optional: Small decorative elements like a small piece of contrasting wood, metal brackets, or rope.
Tools Needed:
- Saw (hand saw, miter saw, or table saw).
- Measuring Tape.
- Pencil.
- Drill with small bits for pilot holes and a larger bit for mounting holes.
- Screwdriver.
- Safety Glasses
Steps:
- Cut the Wood: Cut your 1×6 board to a desired length, for example, 10 inches. This will be your main mounting board.
- Prepare the Surface: If using reclaimed wood, clean off any loose dirt or debris. You can leave it rustic or sand it. If you want a smoother finish, start with 80-grit sandpaper to remove rough patches, then move to 120 and 220. For a rustic look, just lightly sand edges and any very sharp splinters.
- Mark Hook Placement: Decide on the spacing for your hooks. Measure and mark evenly spaced points along the lower half of the board.
- Install Hooks: Drill small pilot holes at your marked spots. Ensure the pilot hole is slightly smaller than the hook’s screw thread. Carefully screw in the hooks. If they feel too tight and you’re worried about splitting the wood, widen the pilot hole slightly.
- Add Mounting Hardware: Attach two D-rings or drill two holes on the back of the board for mounting with screws. Position them so the holder will hang straight.
- Decorate (Optional): You can add a small decorative element to the top of the board, like a contrasting wood piece glued on, or wrap some twine around the piece for extra flair.
- Apply Finish: Apply your wood finish. A dark stain would enhance a rustic look. Apply according to the product instructions.
- Allow to Dry: Let everything dry completely before mounting it in Dad’s favorite spot.
Table: Wood Project Comparison for Beginners
Here’s a quick comparison to help you choose the best project for your skill level and Dad’s preferences:
| Project | Ease of Assembly | Tool Requirements | Customization Potential | Practicality |
|---|---|---|---|---|
| Wooden Coasters | Very Easy | Minimal (hand saw, sandpaper) | High (personal messages, designs) | High (protects furniture) |
| Wooden Phone Stand | Easy | Moderate (power drill recommended) | Medium (wood type, finish) | Very High (daily use) |
| Wooden Key Holder | Easy | Minimal (hand saw, drill for pilot holes) | High (style, number of hooks) | High (organization tool) |
Tips for a Professional Finish
Even beginner projects can look incredibly polished with a few key techniques:
- Take Your Time with Sanding: This is the most critical step for a smooth, professional look. Don’t rush it. Sand with the grain of the wood. Make sure to remove all dust between grits and before finishing.
- Wipe Away Excess Glue Immediately: Dried glue on the surface of the wood is very difficult to remove and will resist stain or finish, leaving unsightly splotches. Use a damp cloth or a specialized glue-removal tool.
- Test Finishes on Scraps: If you’re uncertain about how a stain or finish will look, test it on a piece of scrap wood from the same project.
- Even Application of Finish: Apply finishes thinly and evenly. Multiple thin coats are better than one thick coat. Follow the manufacturer’s instructions carefully.
- Consider the Wood Type: While pine is an excellent beginner wood, hardwoods like oak, maple, or cherry offer a more durable and premium feel. However, they can be slightly harder to work with and more expensive.
For more detailed finishing techniques, explore resources like Wood Finishing School’s Tips.
Safety First: Essential Woodworking Practices
Woodworking is fun, but it’s crucial to stay safe. Here are some core principles:
- Always Wear Safety Glasses: Protect your eyes from sawdust, chips, and flying debris.
- Understand Your Tools: Read the manuals and know how each tool operates before you use it.
- Keep Your Workspace Tidy: A cluttered workshop is a dangerous workshop. Remove scraps, dust, and trip hazards.
- Secure Your Work: Use clamps to hold pieces firmly in place when cutting or drilling.
- Dress Appropriately: Avoid loose clothing, dangling jewelry, or anything that could get caught in power tools. Tie back long hair.
- Use Sharp Tools: Dull tools require more force, making them more likely to slip and cause injury.
- Disconnect Power Tools When Changing Bits or Blades: Always ensure the tool is unplugged or the battery is removed.
The Occupational Safety and Health Administration (OSHA) provides extensive guidelines for safe workshop practices and machinery operation.

Frequently Asked Questions (FAQ) about DIY Father’s Day Wooden Gifts
Q1: I have never done woodworking before. Are these projects really doable?
A1: Absolutely! These projects are specifically chosen for their beginner-friendliness. They use basic techniques and don’t require highly specialized tools. With a little patience and careful following of the steps, you can achieve fantastic results. Think of it as painting by numbers, but with wood!
Q2: What if I don’t have a lot of tools? Can I get by with just a few?
A2: Yes, you can! For most of these projects, a reliable hand saw, measuring tape, pencil, sandpaper, and a hammer or screwdriver will get you started. A cordless drill is highly recommended as it makes drilling pilot holes and driving screws much easier, but it’s not strictly essential for every step.