Can You Sand Wet Wood? Essential Guide
Can you sand wet wood? Generally, no, it’s not recommended. Sanding wet wood creates a gummy mess, clogs sandpaper quickly, and can lead to an uneven, fuzzy finish. This guide will explain why and offer the best practices for preparing your wood for a smooth sanding process.
Hello there, fellow woodworkers! Ever found yourself with a piece of wood that just got rained on, or maybe you’ve been prepping for a project and need to work with some wood that’s still a bit damp? You might be wondering, “Can you sand wet wood?” It’s a question many beginners wrestle with, and it’s completely understandable. You want to get the job done, and waiting for wood to dry can feel like a delay. But trust me, trying to sand wood when it’s still wet is a shortcut that often leads to more frustration than progress. It can clog your sandpaper, ruin the finish, and leave you with a fuzzy, uneven surface that’s harder to fix later.
But don’t worry! This guide is here to demystify the process. We’ll walk through exactly why sanding wet wood is a bad idea and, more importantly, what you should do instead. We’ll talk about how to properly dry your wood, the best tools for the job, and how to achieve that wonderfully smooth finish you’re aiming for. By the end, you’ll have all the confidence you need to tackle any woodworking project, wet wood or dry!
Why Sanding Wet Wood is a Big No-No
Let’s dive into why you should steer clear of sanding wood when it’s still carrying a lot of moisture. It all comes down to the wood’s fibers and how they react to both water and abrasive friction.
The Gummy Mess and Clogged Sandpaper
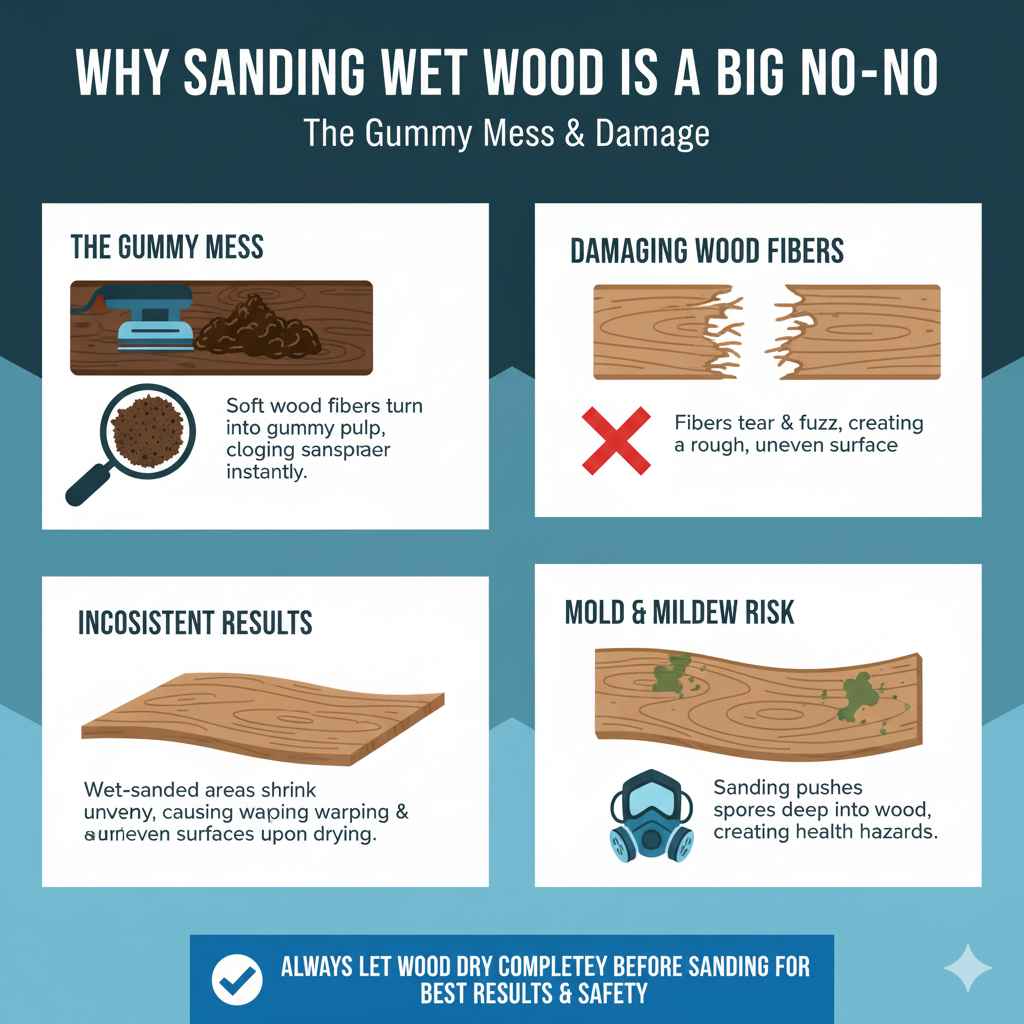
When wood is wet, its fibers swell and become soft. As you try to sand this damp material, the wood fibers don’t break away cleanly. Instead, they turn into a pulpy, gummy substance. This sticky residue loves to cling to your sandpaper, filling up the grit almost instantly. Imagine trying to scrub a floor with a mop full of mud – it just smears around and doesn’t clean anything effectively. It’s the same principle with wet wood and sandpaper. The abrasive grains get coated and are no longer able to do their job, making the sanding process incredibly inefficient and frustrating. You’ll find yourself going through sheets of sandpaper much faster, which costs you money and time.
Damaging Wood Fibers
Sanding is about shaping and smoothing surfaces by removing thin layers of wood. When wood is wet, the fibers are more prone to tearing and fuzzing out rather than being cut cleanly. This can leave behind a rough, shredded surface that’s even more difficult to work with than if it were dry. This fuzzy texture is sometimes called “raising the grain,” but in the case of wet sanding, it’s more like shredding it. This can then require significantly more work with finer grits to achieve a smooth finish, or worse, might necessitate planing the entire surface to get rid of the damage.
Inconsistent Results
Wooding with moisture tends to swell. If you try to sand wood that has swollen due to moisture, you might end up with an uneven surface. Once the wood dries out, it will likely shrink, and the areas you sanded might end up lower than the surrounding areas, creating an undesirable wavy or uneven look. This is particularly problematic if you’re working on a project that requires precise dimensions or a perfectly flat surface.
Potential for Mold and Mildew
Working with damp wood also increases the risk of mold and mildew growth, especially if the wood stays wet for an extended period. Sanding can push these spores deeper into the wood, and the dust created can become a health hazard. It’s always best to work with wood that is properly dried to avoid these issues. For more information on wood moisture and its impact, the Forest Products Laboratory (FPL) offers excellent resources on wood science and drying.
The Right Way: Letting Your Wood Dry
The most crucial step before you even think about sanding is ensuring your wood is properly dry. Dry wood sands cleanly, efficiently, and results in a much smoother, more professional finish.
How Dry is Dry Enough?
For most indoor woodworking projects, wood is considered dry when its moisture content is between 6% and 12%. For outdoor projects, this range can be slightly higher, perhaps 12% to 18%, depending on the climate. If you’re unsure, a moisture meter is a fantastic, affordable tool for any woodworker. You simply insert the probes into the wood, and it gives you a digital reading of the moisture content.
Here’s a quick guide to typical moisture content:
| Project Type | Ideal Moisture Content Range (%) |
|---|---|
| Indoor furniture | 6 – 10 |
| Cabinets and trim | 6 – 12 |
| Outdoor decks | 12 – 18 |
| Fences and siding | 12 – 19 |
Drying Methods
There are several ways to help your wood dry:
1. Air Drying: This is the simplest method. Stack your wood in a dry, well-ventilated area, off the ground, and with stickers (thin strips of wood) placed between each layer to allow air circulation. This can take weeks to months, depending on the wood species and humidity.
2. Kiln Drying: This is a faster, more controlled process most lumber mills use. Wood is placed in a large oven (kiln) to remove moisture to a specific level. Most lumber you buy at a reputable yard is kiln-dried.
3. Accelerated Air Drying: You can speed up air drying by keeping the wood in a controlled environment, like a garage or shed, with fans running to improve airflow. Placing a dehumidifier in the space can also help significantly.
A word of caution: If you’re drying wood that has been submerged or thoroughly soaked, it’s essential to dry it slowly and evenly. Rapid drying can lead to cracking and warping.
When Slight Dampness Happens: Surface Drying and Light Working
Sometimes, wood might seem dry but still feel slightly cool or have a very light surface dampness, especially after a brief exposure to humidity or a quick wipe-down. In these rare instances, for very light sanding and preparation, you might get away with it, but it’s still not ideal.
If your wood is only very slightly damp on the surface, and you need to do some prep work before a final drying period, here’s what you can do:
Surface Wiping
Use a clean, dry cloth to wipe down the surface of the wood. You can also gently use fans to increase air circulation around the piece. If the wood feels cool to the touch, it likely contains a significant amount of internal moisture, and you’ll need to wait longer.
Very Light Scuff Sanding (Use with Extreme Caution)
If you absolutely must do some very light scuffing on wood that is just barely touch-damp on the surface (and not wet through), use a very coarse grit sandpaper (like 60 or 80 grit) very sparingly. The goal here isn’t to create a smooth finish, but to perhaps knock down a splinter or prepare for a proper sanding once it’s fully dry. Be prepared for clogs even with coarse grit.
The absolute best practice here is to wait until the wood is fully dry. Patience is a woodworker’s best friend!
Preparing Wood for Sanding: A Step-by-Step Approach
Once your wood is at the correct moisture content, you’re ready to prepare it for sanding. This involves more than just grabbing sandpaper.
Gather Your Tools
Before you start, make sure you have the right equipment. This ensures efficiency and safety.
Safety Gear:
Safety glasses or goggles
Dust mask or respirator
Ear protection (if using power tools)
Sandpaper: A range of grits. Start with a coarser grit to remove imperfections and progress to finer grits for smoothness. Common grits include 60/80, 100/120, 150/180, 220/320.
Sanding Block or Pad: For hand sanding, this provides an even surface and makes sanding less tiring.
Orbital Sander or Detail Sander (Optional): Power sanders speed up the process, especially on larger areas.
Scraper (Optional): A cabinet scraper can be useful for removing imperfections before sanding.
Vacuum or Compressed Air: For dust removal between grits.
The Sanding Process: From Coarse to Fine
This is where you’ll transform your wood surface. Always sand with the grain of the wood. Sanding across the grain will leave visible scratches that are hard to remove.
1. Start with a Coarse Grit: Begin with a grit like 60, 80, or 100. This is for removing mill marks, significant imperfections, or shaping. If the wood is rough, this is your starting point. Apply even pressure.
2. Progress to Medium Grits: Once you’ve addressed the major issues with the coarse grit, move to a medium grit like 120 or 150. The goal here is to remove the scratches left by the coarser grit. Again, sand with the grain.
3. Step Up to Fine Grits: Continue this process with finer grits (180, 220). Each subsequent grit removes the scratches from the previous one and creates a smoother surface.
4. Final Smoothing: For most projects, 220 grit is a good stopping point before applying a finish. Some applications might call for grits up to 320 or even higher for an ultra-smooth feel, but 220 is a standard for a good base.
5. Clean Between Grits: This is critical! After each grit, thoroughly remove all dust from the surface. You can use a vacuum with a brush attachment, compressed air, or a tack cloth. If you don’t remove the dust, it will get ground into the wood by the next sandpaper grit, negating your efforts and creating a duller finish.
Tip: For power sanders, ensure you don’t press down too hard, as this can create swirl marks or gouges. Let the tool do the work.
Hand Sanding vs. Power Sanding Wet Wood (What Not To Do)
As established, sanding wet wood is problematic. But if we were to hypothetically compare the inefficiency of hand sanding versus power sanding wet wood, here’s what you’d observe:
Hand Sanding Wet Wood:
Pros (in this hypothetical, undesirable scenario): More control over pressure, easier to get into small corners.
Cons (the dominant reality): Very fast sandpaper clogging, extremely labor-intensive, poor and uneven results, high risk of fuzzy fibers being pressed into the surface.
Power Sanding Wet Wood (e.g., Orbital Sander):
Pros (in this hypothetical, undesirable scenario): Covers larger areas quickly (if you could do it effectively).
Cons (the dominant reality): Extreme sandpaper clogging, high risk of creating swirl marks due to the gummy residue sticking unevenly, potential for overheating the sandpaper and wood, very difficult to control and can lead to severe surface damage.
The Verdict: Wait for Dryness!
Both methods are severely hampered by moisture. The gummy residue renders sandpaper useless, and the damage to wood fibers is significant. The best approach, every single time, is to wait for the wood to dry completely.
Common Mistakes to Avoid When Sanding
Even with dry wood, beginners often make mistakes that can impact the final finish. Awareness of these pitfalls can save you a lot of work.
Common Sanding Mistakes
Not Sanding with the Grain: This is probably the most common and damaging mistake, leaving visible scratches.
Skipping Grits: Jumping from, say, 80 to 220 grit. You’ll need more work to remove the scratches from the 80 grit than if you had used intermediate grits.
Uneven Pressure: Especially with hand sanding, pressing harder in some spots than others leads to an uneven surface.
Not Cleaning Dust: As mentioned, dust left on the surface ends up being ground into the wood.
Oversanding: Sanding too deeply or for too long can change the shape of your piece or thin out delicate areas.
Using Worn-Out Sandpaper: Old, dull sandpaper takes longer and doesn’t cut effectively, potentially leading to more friction and heat.
The “Raising the Grain” Technique (for when you do finish sanding but before the final coat)
This is an important step that’s often misunderstood. After you’ve sanded your wood to your desired grit (e.g., 220), but before applying your finish (like stain or poly), you can “raise the grain.” This involves lightly wetting the wood surface with water or a dilute dye/stain. This causes the wood fibers to swell. Once it dries, the surface will feel rough again. You then give it a very light sanding with your finest grit (e.g., 220 or 320). This process ensures that any grain that might raise after you apply your finish will be minimal or already dealt with, leading to a smoother final product. This is done after you have completed your primary sanding and before the final finish is applied, not by sanding wet wood.
Essential Tools for Achieving a Smooth Finish
Having the right tools makes all the difference in woodworking. For sanding, a few key items can make your life much easier and your results a lot better.
Recommended Sanding Tools
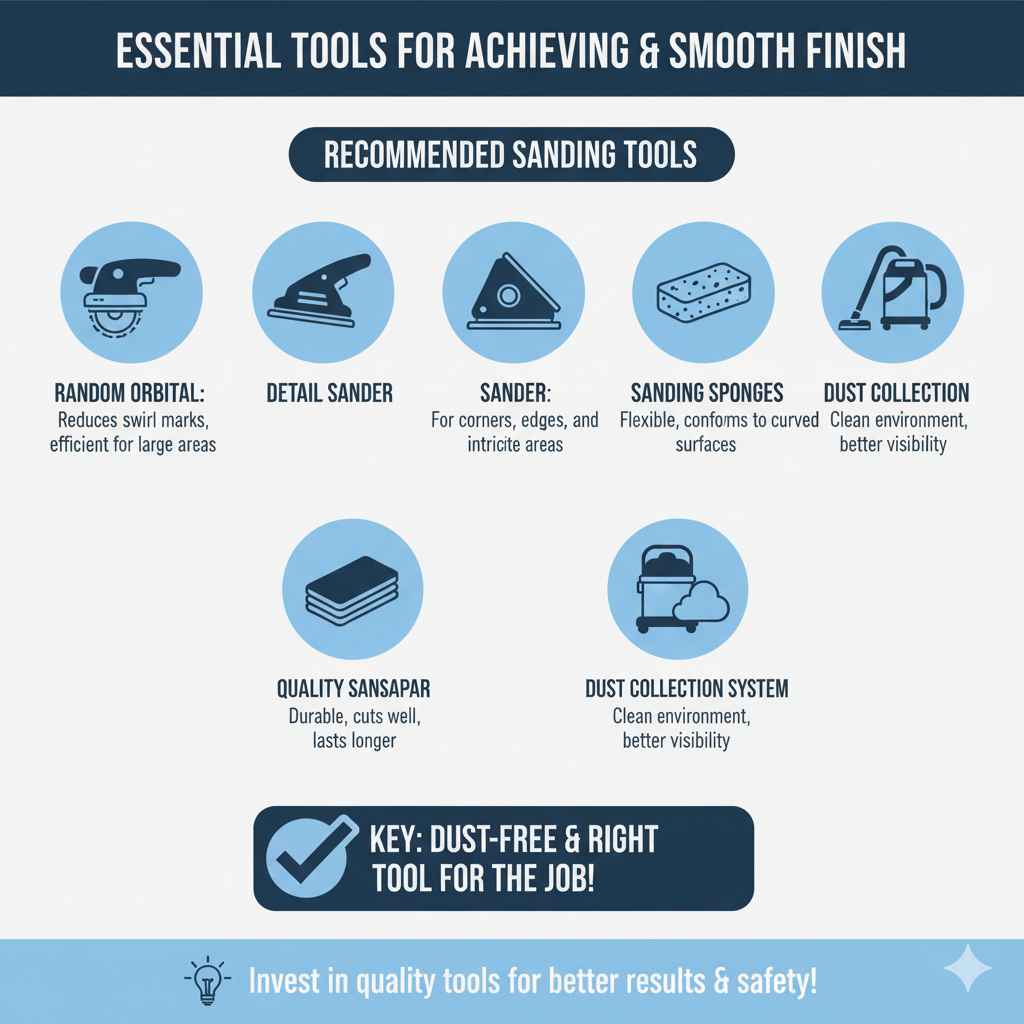
Let’s look at some essential tools that will help you achieve that perfect, smooth finish:
Random Orbital Sander: This is a favorite for a reason. It sands in a random orbital pattern, which significantly reduces the chance of swirl marks compared to a traditional circular orbital sander. It’s efficient for large flat surfaces.
Detail Sander (or Mouse Sander): For intricate areas, corners, and edges, a detail sander with its pointed tip is invaluable.
Sanding Sponges: These are flexible and conform to curved surfaces, making them great for molding, trim, and other irregular shapes. They are also excellent for “wiping” dust off surfaces.
Quality Sandpaper: Invest in good quality sandpaper. Brands like 3M, Norton, or Mirka offer durable paper that cuts well and lasts longer than cheaper alternatives.
Dust Collection System or Shop Vacuum: Efficient dust extraction is key to clean sanding and a better working environment. For many, a good shop vacuum with a HEPA filter is a great start.
Frequently Asked Questions About Sanding Wood
Here are some common questions beginners have about sanding wood.
Can I sand particle board when it’s wet?
No, definitely not. Particle board is made from wood particles mixed with resin and binders. When wet, it swells significantly, loses its structural integrity, and becomes very fragile. Sanding it wet will just turn it into a mushy, unusable mess and will likely damage the board permanently. Always ensure particle board is completely dry.
Will sanding damp wood ruin my power sander?
While it might not permanently ruin* your sander, it will severely shorten the life of your sandpaper and require you to clean the sander’s pad more frequently due to the gummy buildup. The friction from clogged sandpaper can also cause the sander to overheat, which isn’t good for its motor. It’s much better for your tools and your sanity to wait for the wood to dry.
How can I speed up the drying process for wood before sanding?
You can use fans to increase air circulation around the wood, place it in a warm, dry room, or use a dehumidifier. For faster, more controlled drying, consider using a small space heater (with caution and constant supervision) in a well-ventilated area. Never try to dry wood too quickly, as this can lead to cracking.
Is it okay to sand wood that has just been planed but still feels cool?
If the wood feels merely cool but not wet to the touch, it’s a good sign it’s close to dry. However, “cool” wood often means it still contains a significant amount of moisture. It’s best to let it acclimate to room temperature for a day or two in a dry environment before sanding. Sanding before it’s fully dry can still lead to a less-than-ideal surface.
What’s the purpose of sanding blocks?
Sanding blocks provide a flat, solid surface that distributes pressure evenly across the sandpaper. This helps you achieve a flat and uniform sanding job, preventing divots or unevenness that can occur when sanding with just folded sandpaper or your bare hand. They are essential for effective hand sanding.
Can I use steel wool on wet wood?
Similar to sandpaper, steel wool will clog very quickly when used on wet wood, turning into a damp, metallic sludge. It can also leave rust marks on the wood surface, especially if the steel wool itself starts to rust from the moisture. It’s best to reserve steel wool for dry wood finishing, often used with polish or wax.
What grit sandpaper should I use after planing?
After planing, the surface is usually quite smooth but may still have some minor tool marks or fibers that need addressing. Starting with a grit like 100 or 120 grit is typically a good choice for most planed wood before moving to finer grits like 150, 180, and 220.