Can You Sand Blast Wood? Essential Guide
Yes, you absolutely can sandblast wood! It’s a powerful technique for stripping finishes, removing paint, or creating unique textures. This guide breaks down everything a beginner needs to know, from safety to choosing the right media, ensuring you get fantastic results.
Ever stared at a weathered piece of furniture or a deck that’s seen better days and wondered if there’s a faster, more effective way to bring it back to life? You’ve probably seen impressive before-and-afters online, showcasing projects transformed almost magically. Sometimes, that magic involves sandblasting. It’s a technique that can seem intimidating, especially for those new to woodworking or DIY projects. But what if I told you it’s more accessible than you think? If you’ve been asking yourself, “Can you sandblast wood?”, the answer is a resounding yes! This guide is your friendly introduction, demystifying the process and empowering you to tackle your own projects with confidence. We’ll cover the basics, safety, the tools involved, and what you can achieve, so you can start restoring and creating with ease.
What is Sandblasting Wood and Why Use It?
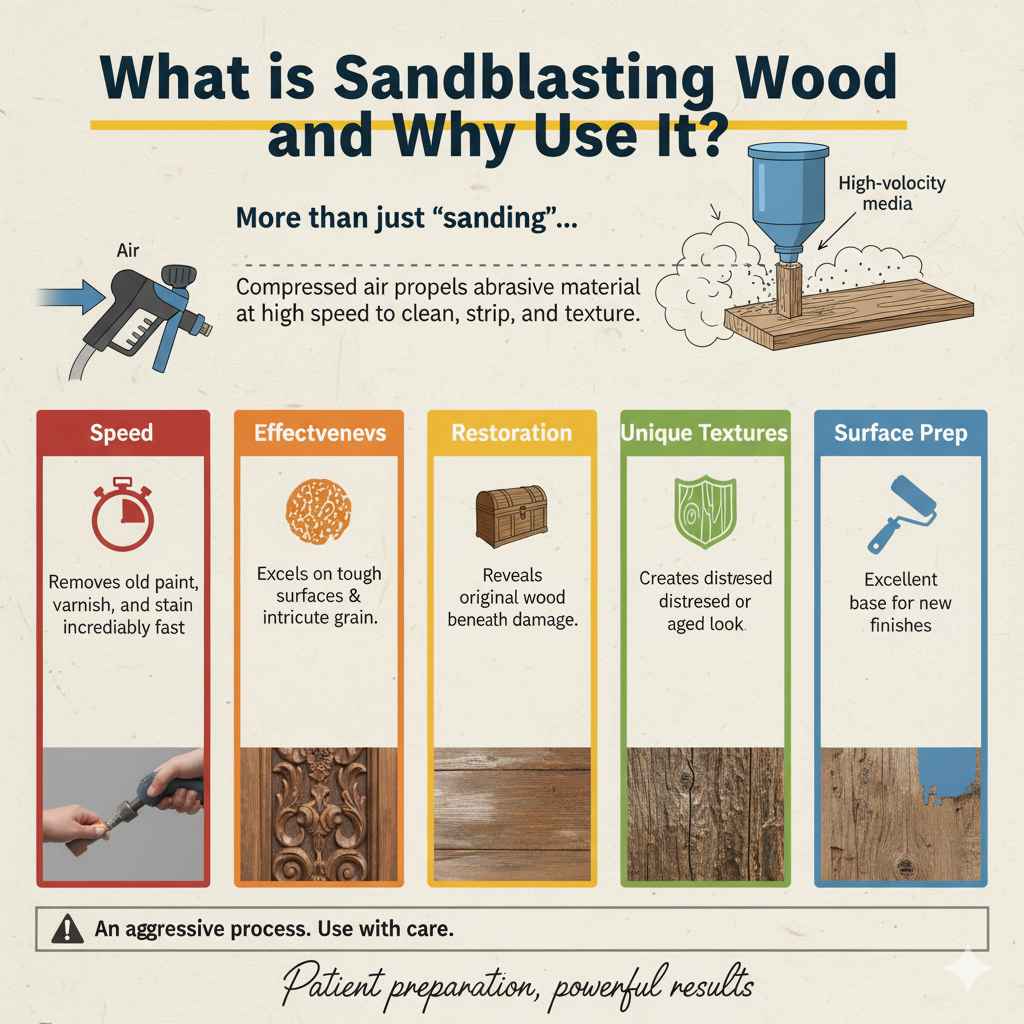
Sandblasting, also known as abrasive blasting, is a process that uses compressed air to propel a stream of abrasive material (the blast media) at high speed against a surface. When applied to wood, it’s much more than just “sanding.” It’s a powerful method for cleaning, stripping, and texturing wood surfaces. Think of it as an extremely fast and efficient way to clean away old finishes.
So, why would you choose sandblasting over traditional sanding or chemical stripping? There are several compelling reasons:
- Speed: It’s incredibly fast at removing old paint, varnish, stain, and even coatings like epoxy or tar. What could take hours or days with manual sanding can be done in a fraction of the time.
- Effectiveness on Tough Surfaces: It excels at removing stubborn finishes, especially on rough or intricate wood grain where scraping and sanding would be difficult and time-consuming.
- Restoration of Old Wood: For antique furniture or historical restoration projects, sandblasting can reveal the original wood beneath layers of damage and grime, often much better than other methods.
- Creating Unique Textures: Beyond cleaning, it can be used to impart a “distressed” or “aged” look by softening the wood’s surface or highlighting the grain. This is popular for rustic decor projects.
- Surface Preparation: It provides an excellent surface for new finishes by creating a consistent profile for paint, stain, or sealant to adhere to.
However, it’s crucial to understand that sandblasting is an aggressive process. It requires care and the right approach to avoid damaging the wood. We’ll explore this further as we go.
Is Sandblasting Wood Safe? Essential Safety Precautions
Safety is paramount when working with any power tool, and sandblasting is no exception. The blast media, even common ones like sand, can be harmful if inhaled, and the high-pressure air can also pose risks. Think of wearing protective gear as your non-negotiable workshop uniform.
Always prioritize these safety measures:
- Full Respiratory Protection: This is the most critical. You need a proper respirator, preferably a supplied-air respirator (SAR) or a high-quality dust mask rated for fine particulates. Regular dust masks are not sufficient when sandblasting. The Occupational Safety and Health Administration (OSHA) has specific standards for respiratory protection, emphasizing the need for a clean air supply when dealing with silica dust generated from sand or other fine media. You can find more information on their Respiratory Protection Standard.
- Eye Protection: Always wear safety goggles or a full face shield over your respirator. The blast media can ricochet, and even a tiny particle can cause serious eye injury.
- Hearing Protection: Sandblasting equipment can be loud. Wear earplugs or earmuffs to protect your hearing.
- Protective Clothing: Cover your entire body with durable clothing, like a canvas work suit or thick overalls. This protects your skin from abrasion and reduces the amount of dust that settles on your clothes, which you’d then track into your home. Thicker gloves are also recommended.
- Ventilation: If possible, sandblast outdoors or in a very well-ventilated area. This helps disperse the dust and debris. If working indoors, ensure you have powerful dust collection or ventilation systems.
- Secure Your Workpiece: Ensure the wood you are blasting is stable and won’t move unpredictably.
- Awareness of Surroundings: Keep pets, children, and other people away from the blasting area.
Never skimp on safety gear. It’s the only way to enjoy the benefits of sandblasting without compromising your health.
Choosing the Right Sandblasting Equipment
You don’t necessarily need a massive industrial setup to sandblast wood. For DIY and homeowner projects, there are several types of equipment you can use, ranging in complexity and cost.
Types of Sandblasters
The most common tools you’ll encounter for DIY sandblasting are:
- Siphon Feed (Suction Gun) Blasters: These are typically handheld tools connected to an air compressor. They work by drawing the blast media up a tube and mixing it with the compressed air stream. They are relatively inexpensive and good for small projects or touch-ups. Their efficiency can be lower than pressure-feed systems.
- Pressure Pot Blasters: These units store the blast media in a pressurized tank. The media is then fed into the air stream under pressure, delivering a more powerful and consistent blast. They come in various sizes, from small portable units to larger floor-standing ones. These are generally more efficient for larger areas and tougher jobs.
- Blast Cabinets: These are enclosed units where you place the workpiece. You operate the blaster gun through gloves attached to the cabinet. They are excellent for containing the mess and are ideal for smaller items like hardware, car parts, or decorative wood pieces. They offer enclosed protection, making them safer and cleaner.
Air Compressor Requirements
A critical component for any sandblaster is a reliable air compressor. Sandblasting uses a large volume of air at high pressure. You need to match your compressor to the sandblaster’s requirements. Most handheld sandblasters and smaller pressure pots will need a compressor that can deliver at least 5-10 CFM (Cubic Feet per Minute) at 90 PSI (Pounds per Square Inch). Larger units will require significantly more.
Always check the sandblaster’s specifications for their recommended air compressor size. Using an undersized compressor will result in weak blasting performance and can overheat your compressor.
Choosing Blast Media
The “sand” in sandblasting is a bit of a misnomer today; while historically sand was used, many better and safer alternatives are now available, especially for wood. The choice of media significantly impacts the results. Too aggressive a media can damage soft wood, while too light won’t strip effectively. For wood, you want something that cleans without destroying the grain.
Here’s a look at common blast media and their suitability for wood:
| Blast Media | Pros for Wood | Cons for Wood | Typical Mesh Size |
|---|---|---|---|
| Glass Beads | Gentle, cleans without significantly altering surface profile, good for softwoods. | Can be slower for heavy coatings, can be dusty. | 8-40 mesh |
| Walnut Shells | Very gentle, biodegradable, excellent for detailed work and removing soft finishes without damaging wood. | Not effective for very hard paints or thick finishes. | 10-40 mesh |
| Corn Cobs | Soft, biodegradable, effective for light cleaning and removing dust/dirt, safe for delicate surfaces. | Very slow for paint or varnish. | 8-60 mesh |
| Baking Soda | Extremely gentle, water-soluble (easy cleanup), safe for food-grade surfaces. | Only for very light, dusty residue; ineffective for paint. | Fine (around 325 mesh equivalent) |
| Sand (Silica) | Aggressive and fast for heavy coatings. Inexpensive. | Can easily damage soft wood, creates hazardous silica dust (carcinogenic and requires strict safety protocols). Generally not recommended for wood unless absolutely necessary and with extreme caution. | 20-80 mesh (coarser) |
| Aluminum Oxide | Hard and sharp, good for stripping tough finishes. | Can be aggressive; requires careful use on wood. | 20-220 mesh |
For most beginner woodworking projects involving stripping paint or finishes, glass beads or walnut shells are excellent choices. They offer effective cleaning without the risk of damaging the wood grain or creating hazardous dust like silica sand.
How to Sandblast Wood: A Step-by-Step Beginner’s Guide
Ready to put your knowledge into practice? Here’s a breakdown of how to sandblast wood, keeping things simple and safe for your first go.
Step 1: Prepare Your Workspace and Wood
This is where you put on all that safety gear we discussed! Set up in your prepared blasting area. Make sure the workpiece is secure, perhaps clamped to a workbench or suspended if it’s not too heavy. If the wood has loose hardware or fragile parts, remove them first. Brush off any loose dirt or debris from the wood’s surface.
Step 2: Set Up Your Sandblaster
Connect your sandblaster to the air compressor. Ensure the compressor is turned off and the tank is drained of any water. Fill the sandblaster’s media hopper or pressure pot with your chosen blast media. Follow the manufacturer’s instructions for your specific sandblasting tool. Don’t overfill it; leave some room for the media to flow.
Step 3: Test on a Scrappy Piece
Before touching your main project, grab a scrap piece of similar wood. This is crucial for dialing in your technique. Set your air compressor to the recommended pressure (start on the lower end if unsure). Test your spray pattern and pressure. See how quickly the media removes the finish. Adjust the media flow control on your sandblaster if it has one.
Step 4: Begin Blasting Your Project
Hold the sandblaster nozzle at a consistent distance from the wood surface – usually 6 to 12 inches. Work in smooth, overlapping strokes, moving the nozzle back and forth. Think of it like spray painting or using a sander. Avoid holding the nozzle in one spot for too long, as this can gouder or damage the wood, especially softer areas.
Focus on one section at a time. If you’re removing paint, watch for the paint to lift and expose the wood. For texturing, you might use lighter passes or a wider spray.
Step 5: Clean As You Go
Periodically stop and brush away the dust and residue. This allows you to see your progress and identify any areas you might have missed or areas that need more attention. It also helps prevent media from getting blown around unnecessarily.
Step 6: Final Cleaning and Inspection
Once you’ve finished blasting the entire piece, thoroughly clean the wood. Use a brush, compressed air (at a lower setting), or a vacuum cleaner with a brush attachment to remove all residual blast media and dust. Inspect your work. You should have a clean surface, ready for its next stage.
Step 7: Prepare for Finishing
Depending on the blast media used and your desired finish, you may need a light pass with traditional sandpaper (like 120-220 grit) to smooth out any minor abrasions or “fuzzies” created by the blasting. Clean the surface again after sanding. Now your wood is perfectly prepped for refinishing with paint, stain, oil, or a clear coat!
Tips for Success with Sandblasting Wood
Beyond the basic steps, a few insider tips can make your sandblasting experience smoother and more successful:
- Work in Sections: Don’t try to blast your entire project at once. Break it down into manageable areas to ensure consistency and prevent fatigue.
- Maintain a Consistent Distance and Angle: Holding the nozzle at the same distance and angle relative to the wood is key to an even finish.
- Use Light Passes: It’s better to make multiple light passes than one heavy pass that could damage the wood. You can always go back and add more.
- Consider the Wood Type: Softer woods like pine will be more susceptible to damage than hardwoods like oak. Adjust pressure and media accordingly.
- Clean Your Equipment: After each use, clean your sandblaster and air filter. This prevents clogs and extends the life of your tools.
- Proper Media Disposal: Dispose of used blast media responsibly, especially if it contains old paint chips that could be hazardous. Consult local regulations.
When NOT to Sandblast Wood
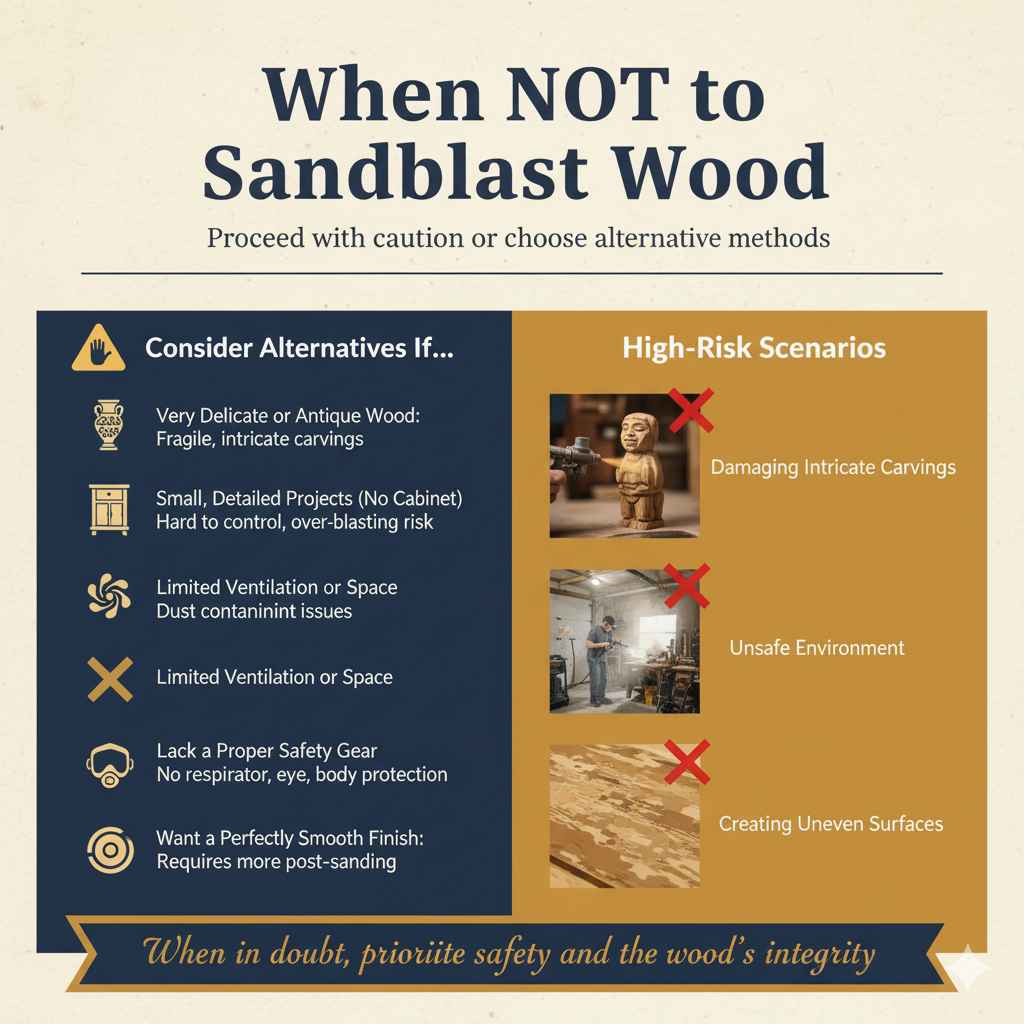
As much as sandblasting can be a powerful tool, it’s not always the best solution. Here are a few scenarios where you might want to reconsider:
- Very Delicate or Antique Wood: If the wood is extremely fragile, has intricate carvings that could be easily damaged, or is a valuable antique where originality is paramount, manual methods or gentler abrasive techniques might be safer.
- Small, Detailed Projects (without a Cabinet): Trying to sandblast small, intricate furniture pieces with a handheld blaster can be challenging to control and may lead to over-blasting or missed spots. A blast cabinet is ideal for such items.
- Limited Ventilation or Space: If you can’t ensure proper ventilation and containment due to dust, it’s safer to opt for other methods.
- Lack of Proper Safety Gear: If you don’t have access to a suitable respirator, eye, and body protection, do not attempt sandblasting.
- When You Want a Perfectly Smooth, Untextured Finish: While sandblasting can prepare wood for finishing, it often leaves a slightly rougher profile. Achieving a glass-smooth finish might require more extensive sanding afterward than if you had started with conventional sanding.
If in doubt, always err on the side of caution and explore alternative methods like chemical stripping, power sanding, or hand sanding.
Frequently Asked Questions About Sandblasting Wood
Here are some common questions beginners have about sandblasting wood:
Q1: Can regular sand be used for sandblasting wood?
While technically possible, using regular silica sand is generally not recommended for wood. It’s very aggressive, can easily damage the wood grain, and produces hazardous silica dust, which is a serious health risk requiring specialized safety equipment and procedures. Safer and more effective media like walnut shells or glass beads are preferred for woodworking.
Q2: How deep does sandblasting go into wood?
The depth sandblasting penetrates depends on several factors: the type and coarseness of the media, the pressure of the air, the distance of the nozzle from the wood, and the type of wood itself. Aggressive media and high pressure at close range can remove a significant amount of material, while gentle media at a distance will only affect the surface layer. It’s crucial to test and adjust for your specific application.
Q3: Will sandblasting remove all old paint and varnish?
Yes, sandblasting is very effective at removing most old paint, varnish, stains, and other coatings, especially when using appropriate media and pressure. It can even handle multiple layers or tough finishes that are difficult with other methods. However, extremely thick or adhered coatings might require multiple passes.
Q4: Can I sandblast reclaimed wood?
Sandblasting is excellent for reclaiming old wood! It can effectively strip away old finishes, dirt, grime, and even mild surface contaminants, revealing the natural beauty of the wood underneath. However, be mindful of any metal fasteners (nails, screws) embedded in the wood, as they can damage your sandblasting equipment or cause dangerous ricochets.
Q5: How do I clean up after sandblasting wood?
Cleanup involves removing all residual blast media and dust. This can be done with a stiff brush, a shop vacuum with a brush attachment, and compressed air. If you used water-soluble media like baking soda, you can also wipe the surface down with a damp cloth. Ensure the wood is completely dry before applying any new finish.
Q6: Is sandblasting suitable for intricate wood carvings?
Sandblasting can be used on intricate carvings, but with extreme caution. Softer media like walnut shells or corn cobs, combined with lower pressure and a good distance, are best. It’s essential to test on a hidden area or a scrap piece first, as aggressive blasting can easily damage delicate details.