Can You Put Water Over Oil? Essential Guide
Yes, you can put water-based polyurethane over oil-based polyurethane, but it requires proper preparation to ensure a smooth, durable finish. Cleanliness and sanding are key!
Hello there, fellow DIYers and woodworking enthusiasts! Md Meraj here, your trusted guide in the workshop. If you’ve ever found yourself staring at a project, unsure about the next step in finishing, you’re in the right spot. One question that pops up quite often, and can cause a bit of head-scratching, is about mixing finishes: specifically, “Can you put water over oil?” It sounds a bit like trying to mix oil and water in a glass, doesn’t it?
Don’t let that confuse you! Today, we’re going to break down exactly how you can successfully apply a water-based finish over an existing oil-based one, ensuring your projects get that professional, long-lasting sheen they deserve. We’ll make it simple, safe, and totally achievable, even if you’re just starting out. Let’s dive in and banish that finishing confusion for good!
Understanding Oil-Based vs. Water-Based Finishes
Before we get to applying one over the other, it’s super helpful to know a little about what makes these two types of finishes different. Think of them as different families of paint or varnish, each with its own personality.
Oil-Based Finishes: The Classic Choice
Oil-based finishes, like oil-based polyurethane or varnish, have been around for a long time. They are known for their durability and the warm, amber tone they impart on wood. They also tend to be more forgiving when you’re applying them; they often level out nicely, meaning fewer brush marks show up. However, they take longer to dry, have strong fumes that require good ventilation, and cleanup involves mineral spirits or turpentine. This makes them less convenient for quick projects or indoor work with sensitive lungs. Because they penetrate the wood and harden, they create a very tough surface.
- Pros: Excellent durability, warm amber tone, good leveling properties, often more resistant to heat and solvents.
- Cons: Long drying times, strong fumes (require good ventilation), cleanup requires solvents, can yellow over time, not ideal for light-colored finishes.

Water-Based Finishes: The Modern Solution
Water-based finishes, like water-based polyurethane or acrylics, have become incredibly popular, especially for DIYers. Their biggest advantages are their fast drying times, low odor, and easy soap-and-water cleanup. They dry clear, which is fantastic if you want to maintain the natural color of your wood, especially for lighter woods or if you’re using a light stain. While historically they weren’t as durable as oil-based options, modern water-based formulations are incredibly robust and can stand up to daily wear and tear very well. They form a protective film on top of the wood surface.
- Pros: Fast drying times, low odor, easy water cleanup, dries completely clear (won’t yellow wood), more environmentally friendly.
- Cons: Can be less forgiving with application (brush marks can show more easily if not careful), may not offer the same amber warmth, historically less durable (though this gap has closed significantly).
The Big Question: Can You Put Water-Based Over Oil-Based?
So, to get straight to the heart of it: Yes, you absolutely can put a water-based finish over an oil-based finish. This is a common scenario if you’ve refinished an old piece of furniture or if you’re just changing your mind about the type of topcoat you want to use. The key to success isn’t the direction of the application (water over oil is fine), but the preparation you do beforehand.
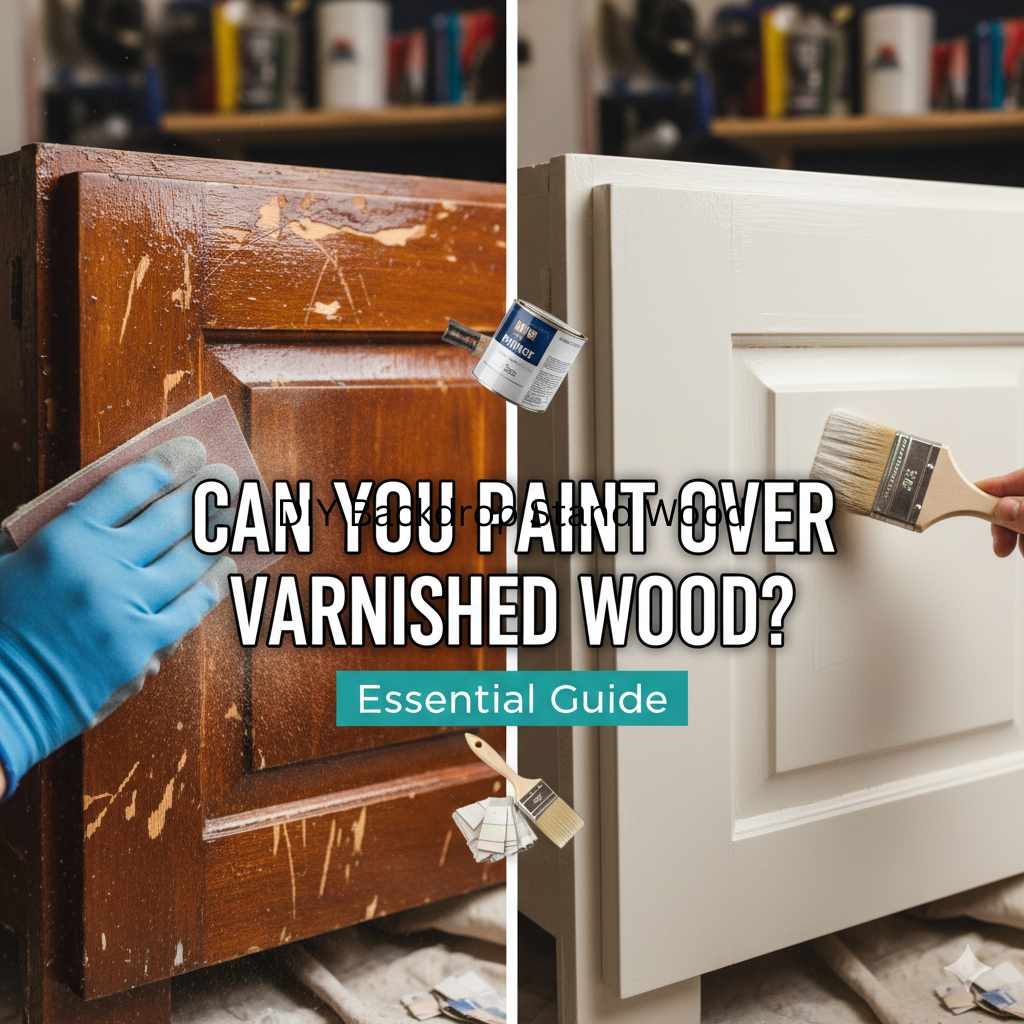
Think of it like painting over old paint. If you just slap new paint on without cleaning or sanding, you’re likely to have problems like peeling or poor adhesion. The same principle applies here. An oil-based finish creates a relatively smooth, non-porous surface. A water-based finish needs something to ‘grip’ onto. That’s where sanding comes in. It creates tiny scratches that act as anchor points for the new layer of finish.
The opposite, putting oil-based over water-based, is generally not recommended without extensive testing and preparation, as the solvents in oil-based finishes can soften or even lift water-based coatings. But for water-based over oil-based, we’re in good shape with the right steps!
Essential Steps for Applying Water-Based Finish Over Oil-Based
Here’s how to make sure your water-based finish adheres beautifully to your oil-based base. Follow these steps carefully, and you’ll get a fantastic result.
Step 1: Cleanliness is Paramount
This is the most critical step. Any dust, dirt, grease, or wax on the surface will prevent your new finish from adhering properly. You need a pristine surface.
- Dust Removal: Start by removing all loose dust. A soft brush or compressed air works well for this.
- Degreasing: If the surface has come into contact with anything oily or waxy (like furniture polish), you’ll need to degrease it. Mineral spirits (also known as white spirit) are excellent for cutting through oils and waxes. Apply mineral spirits to a clean, lint-free cloth and wipe down the entire surface. Work in small sections and use a clean part of the cloth as it picks up residue. Be sure to wipe off any excess mineral spirits with a separate clean cloth.
- Allow to Dry: Let the surface dry completely. Mineral spirits evaporate quickly, but ensure there’s no lingering smell before proceeding.
- Final Dusting: After drying, give the surface another gentle dusting with a tack cloth. A tack cloth is a slightly sticky cloth designed to pick up the finest dust particles. This is your final defense against airborne dust settling on your project.
Step 2: Lightly Sand for Adhesion
You don’t need to strip the old finish off, but you do need to ‘scuff’ it up. This creates a microscopic texture that the new water-based finish can ‘grab’ onto.
- Choose Your Sandpaper: Use fine-grit sandpaper. A grit between 180 and 220 is usually ideal. Too coarse, and you risk damaging the existing finish or creating deep scratches; too fine, and you won’t get enough grip.
- Sand Gently and Evenly: Sand the entire surface that will be coated with the water-based finish. Apply light, even pressure. Go with the grain of the wood. The goal is to dull the sheen of the oil-based finish, not to remove it. You’re looking to create a uniform dull surface rather than a shiny one.
- Inspect Your Work: After sanding, check the surface. It should look uniformly dull from every angle. If you see any shiny spots, sand them again.
Step 3: Remove All Sanding Dust
This is another crucial step where many DIYers stumble. Sanding creates fine dust, and if this dust isn’t removed, it will get embedded in your new finish, creating a rough or cloudy appearance.
- Vacuuming: Use a shop vacuum with a brush attachment to thoroughly vacuum the entire surface and surrounding areas.
- Tack Cloth Again: Follow up with a tack cloth. This is truly your best friend for a perfect finish. Wipe down the surface gently. You’ll see the tack cloth pick up any remaining dust, even the stuff you can’t see.
- Work in a Clean Environment: Try to do this step (and the application) in an area that is as dust-free as possible. Close windows and doors if necessary.
Step 4: Apply the Water-Based Finish
Now for the exciting part – applying your new coat! Read the instructions on your specific water-based product, as they can vary slightly.
- Stir, Don’t Shake: If you’re using a water-based polyurethane, make sure to stir the contents gently with a stir stick. Do NOT shake the can, as this introduces bubbles that can transfer to your finish.
- Application Method: You can use a high-quality synthetic bristle brush, a foam brush, or a paint sprayer. For beginners, a good synthetic brush is often easiest.
- Apply Thin Coats: Apply the finish in thin, even coats. It’s always better to apply two or three thin coats than one thick one. This helps prevent drips, runs, and pooling.
- Work with the Grain: Maintain a wet edge as you work, and always brush or spray in long, smooth strokes following the direction of the wood grain.
- Drying Time: Allow each coat to dry completely according to the manufacturer’s instructions. This is usually much faster than oil-based, often within 1-2 hours for re-coating.
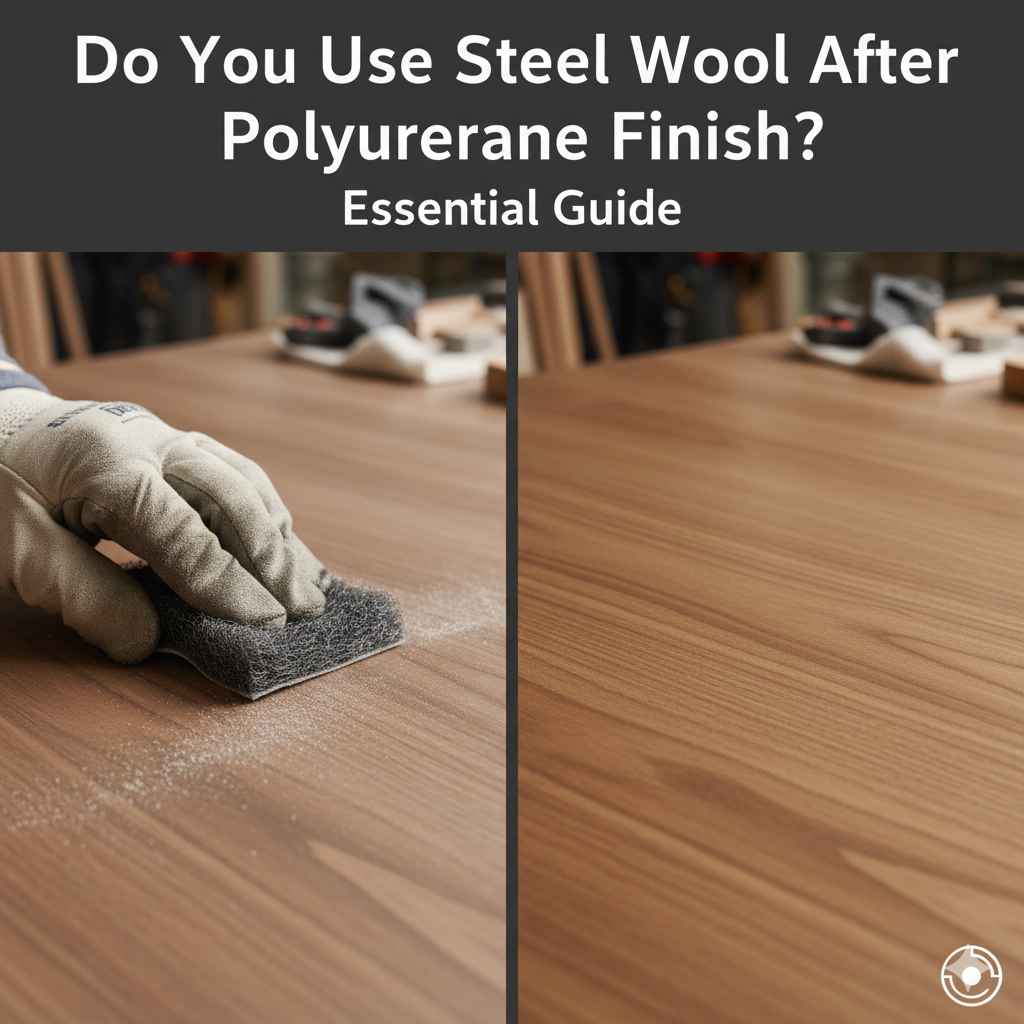
Step 5: Light Sanding Between Coats (Optional but Recommended)
For the smoothest possible finish, a light sanding between coats is a good idea, especially before the final coat.
- Fine Grit: Use an even finer grit than before, like 320 or 400.
- Light Touch: Gently sand each dried coat of the water-based finish. The goal is to knock down any tiny dust nibs or imperfections, not to remove the finish.
- Thorough Cleaning: After sanding, again, vacuum thoroughly and wipe down with a tack cloth. This is crucial before applying subsequent coats.
Step 6: Apply Additional Coats
Apply as many coats as needed for your desired level of protection and sheen. Typically, 2-3 coats are standard for most projects. More coats might be needed for high-wear surfaces like tabletops. Always sand and clean between coats (except after the very last coat).
Step 7: Final Cure Time
While the finish may feel dry to the touch within hours, most finishes take days, or even weeks, to fully cure and reach maximum hardness. Be gentle with your project during this time. Avoid placing heavy objects on it, or exposing it to moisture, until it has fully cured.
Tools and Materials You’ll Need
Gathering the right supplies makes the job so much smoother. Here’s a checklist to get you started:
- Mineral Spirits (for cleaning oil/wax residues)
- Clean, lint-free cloths (for applying mineral spirits and wiping)
- Fine-grit sandpaper (180-220 grit for scuff-sanding, 320-400 grit for between coats)
- Sanding block (optional, but helps with even pressure)
- Tack cloths (essential for dust removal)
- Shop vacuum (with brush attachment)
- Water-based polyurethane or finish of your choice
- High-quality synthetic bristle brush, foam brush, or paint sprayer
- Stir stick
- Safety glasses and gloves (always good practice!)
Common Mistakes to Avoid
Even with the best intentions, a few common pitfalls can derail your finish. Knowing about them can help you steer clear!
Failing to Clean Thoroughly
This is the number one mistake. If there’s any grease, wax, or invisible grime, it will compromise the bond between your old and new finish layers. Always degrease and use a tack cloth!
Aggressive Sanding
Using sandpaper that’s too coarse or sanding too hard can gouge the wood or the existing finish, creating imperfections that will show through your new, clear coat. Remember, you’re just dulling the surface, not removing it.
Inadequate Dust Removal
That fine dust from sanding is sneaky. If you don’t vacuum and tack cloth meticulously after sanding, those dust particles will be trapped in your new finish. This makes the surface feel rough and look cloudy. Patience here pays off!
Applying Thick Coats
Water-based finishes can dry quickly, but thick coats are more prone to sagging, dripping, and bubbling, especially if applied over a less-than-perfectly-prepared surface. Thin, even coats build a better finish and are easier to manage.
Not Reading Product Labels
While the general principles are the same, always check the manufacturer’s specific instructions for your chosen water-based finish. Drying times, recoat windows, and specific application advice can vary. For example, some finishes may recommend specific surface preparation products or techniques. Resources like those from the Forest Products Society, a leading authority in wood science and technology, often detail the science behind proper surface prep and adhesion.
Pros and Cons of Applying Water-Based Over Oil-Based
Let’s summarize the advantages and disadvantages you might encounter with this specific finishing transition.
| Pros | Cons |
|---|---|
| Allows use of a clearer finish (water-based) over a warm-toned base (oil-based) without ambering. | Requires diligent surface preparation (cleaning and sanding) to ensure adhesion. |
| Faster drying times compared to oil-based finishes, allowing for quicker project completion. | If not sanded properly, the water-based finish can peel or chip over time. |
| Low odor and easy soap-and-water cleanup for water-based products. | The existing undertones of the oil-based finish might still subtly influence the final appearance, though usually minimally. |
| Modern water-based finishes offer excellent durability, comparable to many oil-based types. | Potential for dust contamination during application if the workspace and surface aren’t meticulously clean. |
| Environmentally friendlier choice with water-based finishes. | Some very specific oil-based finishes (e.g., those with waxes or silicones) might be exceptionally difficult to adhere to even with preparation. |

Frequently Asked Questions (FAQ)
Q1: Will the oil-based finish show through the water-based finish?
A1: A properly prepared surface (clean and scuffed) and thin, even coats of clear water-based finish should not allow the oil-based finish to show through. The water-based finish creates a new, clear protective layer on top. The primary visible difference will be the lack of ambering that oil-based finishes can impart.
Q2: How long do I need to wait after the oil-based finish has cured before applying water-based?
A2: It’s best to wait at least 24-72 hours after the oil-based finish has dried to the touch. For best results and to ensure it’s fully cured and hardened, waiting several days or even a week is ideal, especially if it’s a thicker application of oil-based product. This ensures you’re not trying to apply over a surface that’s still slightly soft or releasing solvents.
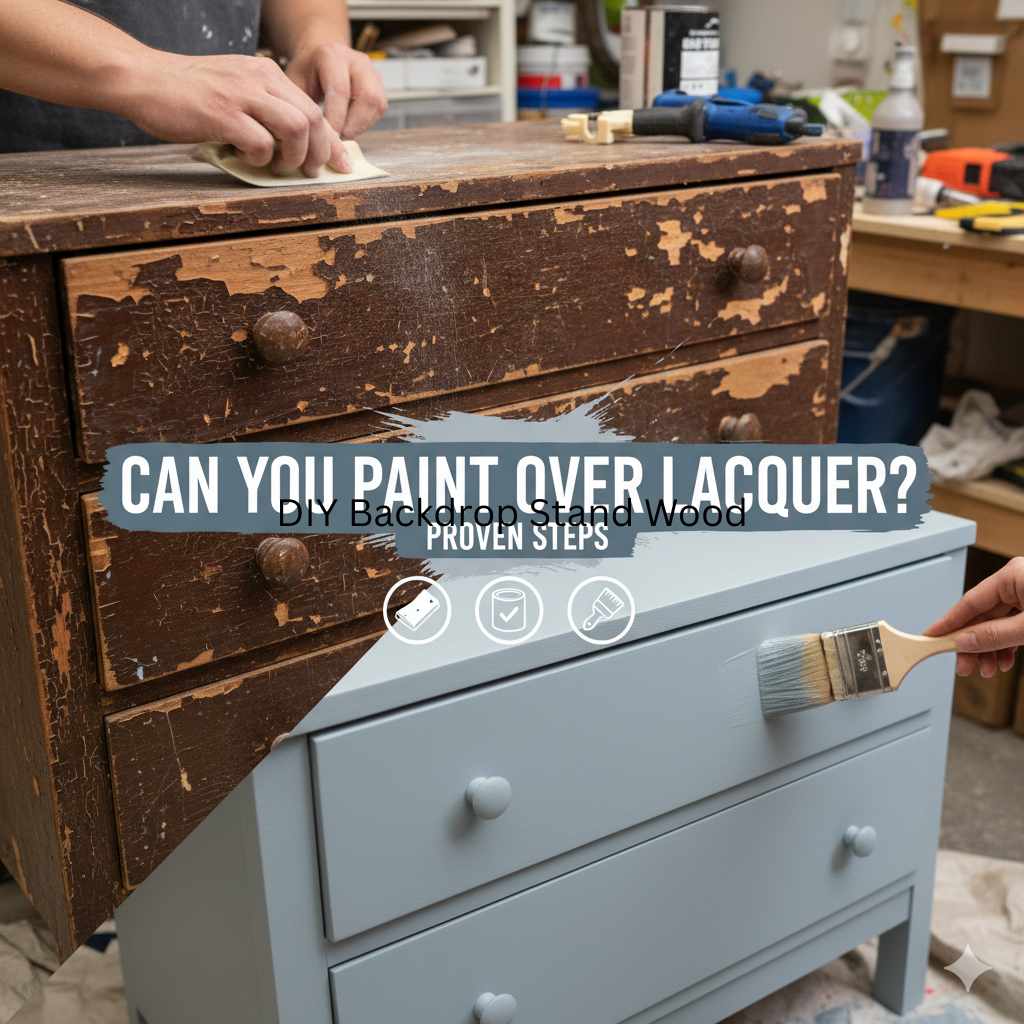
Q3: Can I paint over an oil-based finish with a water-based paint or topcoat?
A3: Yes, the same principles apply. Clean, scuff-sand the oil-based paint or finish, remove all dust, and then apply your water-based paint or topcoat in thin, even layers. This is a very common and successful method for refreshing furniture or cabinets.
Q4: What if I only applied one coat of oil-based polyurethane? Does that change anything?
A4: No, not significantly. Whether it’s one coat or several, the surface preparation steps (cleaning, sanding, dust removal) remain identical and are crucial for proper adhesion of the water-based finish. The key is the integrity and surface condition of the existing oil-based layer.
Q5: Can I use a deglosser instead of sanding?
A5: Some woodworkers use chemical “deglossers” (often containing solvents) as an alternative to sanding for dulling a finish. While they can work, they still require thorough cleaning afterward to remove residues and often don’t provide quite the same reliable mechanical adhesion as light sanding. For beginners, traditional sanding is generally more straightforward and predictable. Always follow product instructions and ensure good ventilation.
Q6: My water-based finish still feels a bit rough after drying. What should I do?
A5: This is a sign of either dust nibs or a slight texture from the brush/applicator. The solution is gentle sanding with a very fine grit (320-400) after the coat of finish has fully dried. Follow up with vacuuming and a tack cloth before applying the next coat.