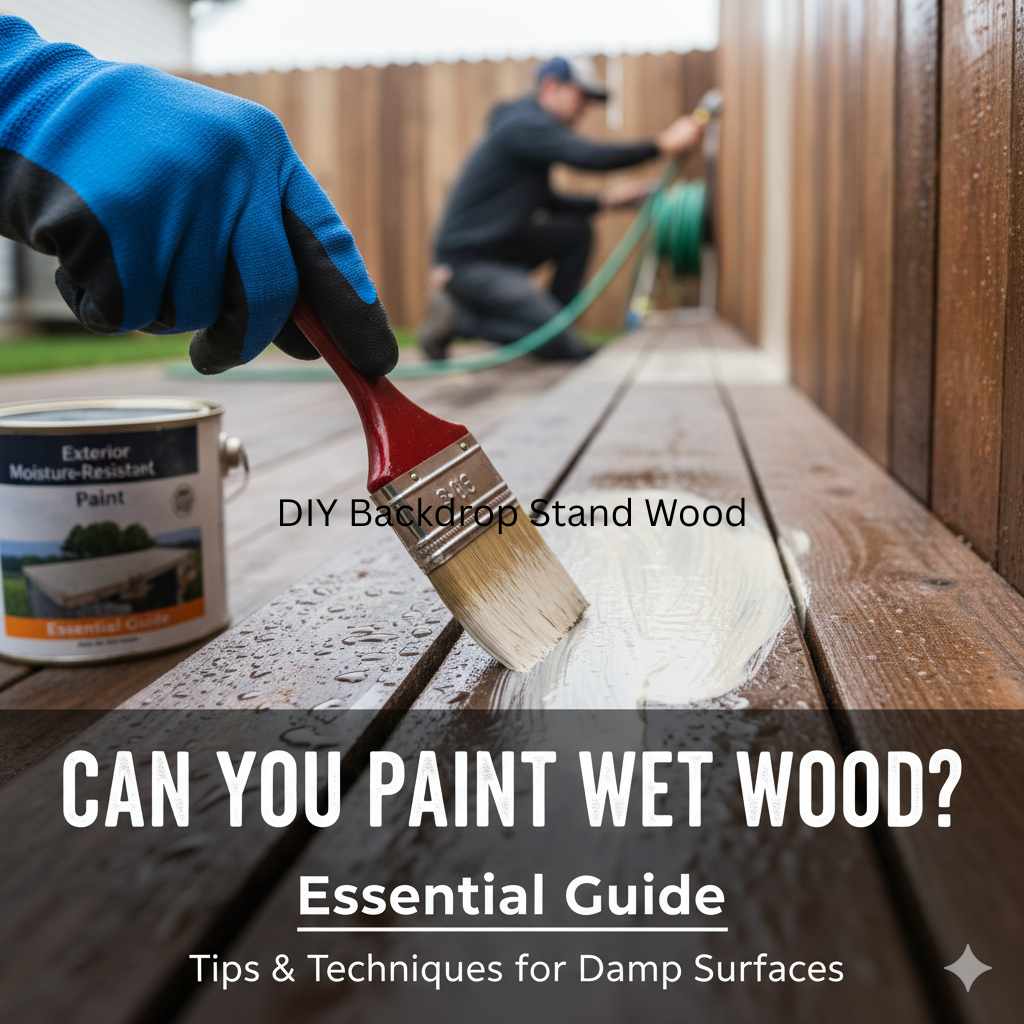
Can You Paint Wet Wood Or Damp Wood: Essential Guide
Can you paint wet wood or damp wood? The short answer is: it’s generally not a good idea. Painting wood that is still wet or damp can lead to peeling, bubbling, mold growth, and a poor finish. For the best results and long-lasting durability, wood must be thoroughly dry before painting.
Hey there, DIY enthusiasts and fellow wood lovers! Md Meraj here, your go-to mentor for all things woodworking. Ever faced that moment when you’re eager to get a project finished, only to realize your wood feels a bit… moist? That sticky, damp feeling on freshly worked wood can be frustrating, especially when you’re itching to slap on a fresh coat of paint. You might wonder, “Can I just paint it anyway? Will it really make a difference?” It’s a common question, and honestly, it’s one many beginners (heck, even experienced folks!) ponder. The temptation to skip drying time and power through is real. But here’s the thing: painting wet or damp wood is like building a house on sand – it’s a recipe for disaster down the road. Don’t worry, though! We’re going to walk through exactly why this is a problem and, more importantly, how to ensure your wood is perfectly ready for paint, leading to a beautiful, lasting finish you’ll be proud of. Let’s get that project looking its absolute best!
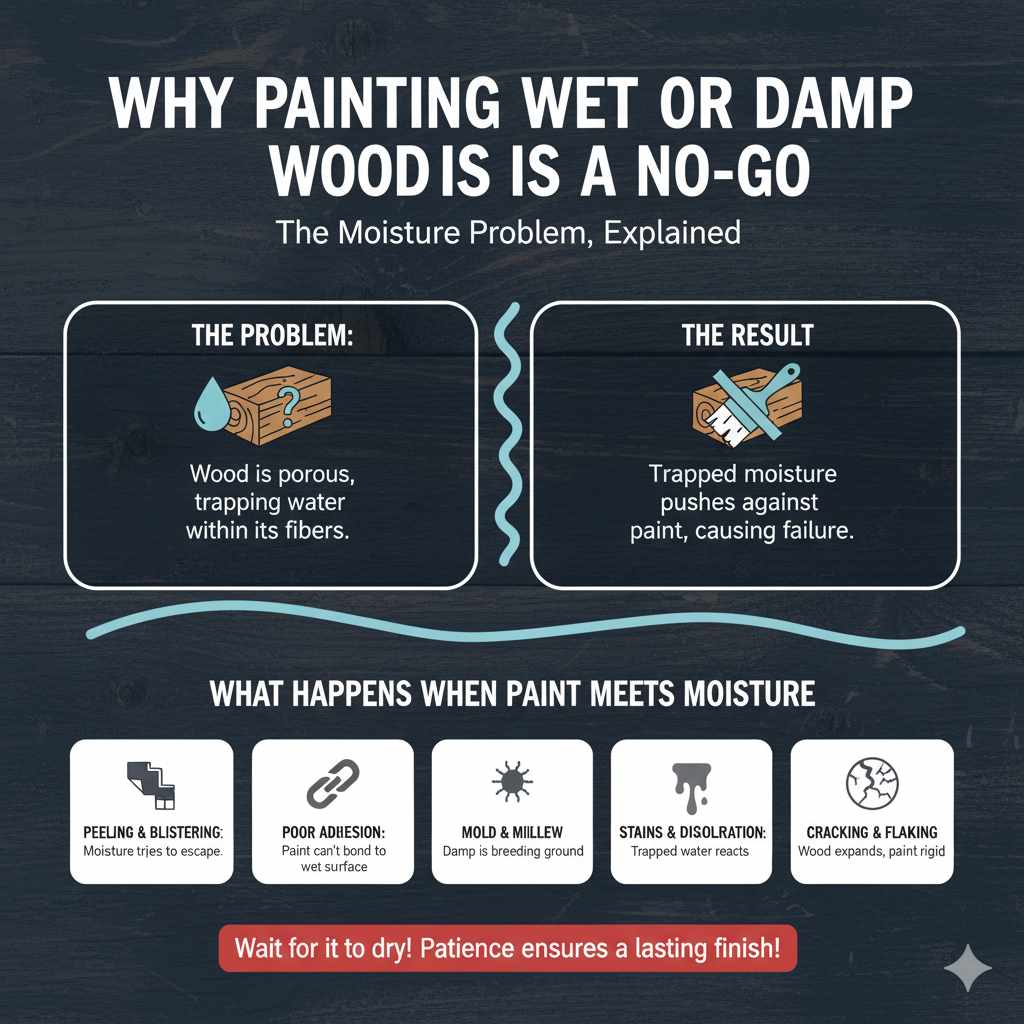
Why Painting Wet or Damp Wood is a No-Go
Imagine trying to apply a clear, beautiful coat of nail polish to wet fingernails. It’s messy, it doesn’t stick well, and it’s just not going to look good, right? Painting wood is similar, but with longer-term consequences. When wood is wet, water pockets are trapped within its fibers. This moisture doesn’t play nicely with paint.
The Moisture Problem, Explained
Wood is a natural material that absorbs and releases moisture based on its surroundings. When it gets wet – perhaps from rain, humidity, or even cleaning – water gets into the wood’s cells. This water needs to go somewhere before you can effectively cover it with paint. If you paint over damp wood, that trapped moisture has nowhere to escape.
What Happens When Paint Meets Moisture
When paint is applied to wet or damp wood, several issues can arise, all of which compromise the final look and longevity of your project:
Peeling and Blistering: As the trapped moisture tries to evaporate, it pushes against the paint film, causing it to bubble or blister. Once these blisters break, the paint will peel away, exposing the wood underneath. This is one of the most common and frustrating outcomes.
Poor Adhesion: Paint needs a clean, dry surface to stick to properly. Moisture acts as a barrier, preventing the paint from forming a strong bond with the wood. This weak bond means the paint is much more likely to fail over time.
Mold and Mildew Growth: Damp conditions are a breeding ground for mold and mildew. If you seal in that moisture with paint, you’re essentially creating a perfect, humid environment for these unsightly growths to flourish underneath your paint job. This can lead to dark spots and a musty smell.
Stains and Discoloration: Trapped moisture can react with the wood fibers or any existing tannins in the wood. This can cause new stains to appear or existing ones to bleed through the fresh paint.
Cracking and Flaking: The expansion and contraction of wood due to moisture changes, especially when sealed under a rigid paint layer, can stress the paint film, leading to cracking and flaking.
Extended Drying Times: Even after painting, the trapped moisture will significantly prolong the drying and curing time of your paint, leaving your project vulnerable to damage for longer.
How to Properly Dry Wood Before Painting
So, we know painting wet wood is a bad idea. The good news is, drying wood is usually a straightforward process. The key is patience and ensuring the wood is truly dry all the way through.
Assessing Wood Moisture Content
How do you know if your wood is dry enough? You can often tell by touch, but for woodworking certainty, especially for outdoor projects or when you want to be absolutely sure, using a moisture meter is your best friend.
A wood moisture meter is a tool that measures the percentage of water in the wood. For interior projects, you generally want the moisture content to be between 6% and 8%. For exterior projects, aiming for 12% to 15% is often recommended, as outdoor wood will naturally experience more fluctuations. You can find reliable moisture meters from brands like General Tools or Neill Tools. For a beginner-friendly overview on using one, resources from The Forest Products Laboratory (run by the USDA) offer great insights into wood drying principles.
Natural Air Drying Techniques
This is the simplest method and often sufficient for many situations.
1. Find a Suitable Location: Choose a dry, well-ventilated spot. An open garage, a covered porch, or even a sunny, breezy area outdoors works well. Avoid damp basements or steamy bathrooms.
2. Provide Airflow: Stack the wood with small spacers (like thin scraps of wood or “stickers”) between each board or piece. This allows air to circulate fully around all surfaces, greatly speeding up the drying process.
3. Give it Time: The amount of time needed depends heavily on the wood’s initial wetness, the temperature, humidity, and airflow. A slightly damp piece might dry in a day or two, while a waterlogged piece could take a week or more. Be patient!
4. Check with a Meter: Periodically check the moisture content with your meter to be sure it’s at the desired level.
Accelerated Drying Methods (Use with Caution!)
Sometimes you need to speed things up, but you need to be careful not to dry the wood too quickly, which can cause warping or cracking.
Gentle Heat: Using a fan can significantly improve airflow and speed up evaporation. Placing the wood near a gentle heat source (like a space heater, but never too close or unattended) can also speed drying, but extreme heat can cause damage. Always ensure there’s good general ventilation when using heat.
Dehumidifiers: In a more enclosed space like a garage or workshop, a dehumidifier can work wonders to pull moisture out of the air and thus out of the wood.
Preparing Wood for Painting: The Essential Steps
Once your wood is bone dry, the real magic begins! Proper preparation ensures your paint job looks professional and lasts for years. Think of it as getting your canvas ready before you paint a masterpiece.
Step 1: Clean the Surface Thoroughly
Even after drying, wood can accumulate dust, dirt, or grime. A clean surface is crucial for good paint adhesion.
For lightly dusty wood: A soft brush or a microfiber cloth can often do the trick.
For greasy or grimy wood: Use a sponge with a mild detergent and water. Rinse thoroughly with clean water and allow the wood to dry completely again. For tougher residues, a degreaser specifically designed for wood might be necessary. Always follow the product’s instructions.
Step 2: Smooth the Surface (Sanding!)
Sanding is key to creating a smooth canvas for your paint. It removes imperfections and provides a slightly “grippy” surface for the primer and paint to adhere to.
Choose the Right Grit: For most wood painting projects, start with a medium-grit sandpaper (around 100-120 grit) to remove any rough spots or old finish. Then, move to a finer grit (180-220 grit) for a smoother finish.
Sand with the Grain: Always sand in the direction of the wood grain. Sanding against the grain will create visible scratches that will show through your paint.
After Sanding: Wipe away all sanding dust with a tack cloth or a slightly damp microfiber cloth. Dust left behind will result in a gritty, uneven paint finish.
Step 3: Apply a High-Quality Primer
Primer is your secret weapon for a perfect paint job. It seals the wood, prevents knots from bleeding through, provides a uniform surface for the topcoat, and dramatically improves paint adhesion and durability.
Types of Primers:Oil-based primers (e.g., Zinsser B-I-N): Excellent for sealing stains, knots, and odors. They offer superior adhesion but can be harder to clean up.
Water-based (latex) primers: Easier to work with and clean up, and modern latex primers are very effective for most general-purpose wood priming.
Stain-blocking primers: Essential if your wood has a tendency to bleed tannins (like cedar or redwood) or if you’re painting over a dark color.
Application: Apply primer evenly with a brush or roller, following the manufacturer’s instructions. Allow it to dry completely according to the product’s recommendations – this is usually a few hours.
Second Coat (Optional but Recommended): For a truly professional finish, especially on challenging woods or when making a drastic color change, a second coat of primer can be beneficial. Lightly sand with a very fine grit (220-300) after the primer is dry and wipe away dust before applying the topcoat.
Applying the Paint: Getting That Beautiful Finish
With your wood prepped and primed, you’re ready for the main event! Applying your chosen paint color. Patience and technique are key here for a smooth, durable finish.
Choosing the Right Paint
The type of paint you choose depends on the wood’s location (interior vs. exterior) and the desired finish.
Interior Paint: Typically latex (water-based) paints are used for indoor furniture, trim, and walls. They offer good durability and are easy to clean.
Exterior Paint: Use paints specifically designed for outdoor use. These are formulated to withstand UV rays, temperature fluctuations, and moisture. Oil-based or high-quality acrylic latex exterior paints are common choices.
Sheen: Matte, eggshell, satin, semi-gloss, and high-gloss finishes offer different looks and durability. Matte finishes hide imperfections best, while glossier finishes are more durable and easier to clean.
Application Techniques
1. Stir, Don’t Shake: Always thoroughly stir your paint before and during use to ensure pigments are evenly distributed. Shaking can create air bubbles.
2. Use the Right Tools: High-quality brushes (for details and cut-ins) and rollers (for larger surfaces) make a huge difference. Synthetic bristles are best for latex paints, while natural bristles are for oil-based paints.
3. Apply Thin Coats: It’s almost always better to apply two thin coats of paint rather than one thick one. Thin coats dry more evenly, adhere better, and are less prone to drips and runs.
4. Work Systematically: For furniture, start with any hardware you’ve removed, then drawers or doors, followed by the main body. For trim, work in sections. This prevents you from accidentally touching still-wet paint.
5. Allow Drying Time Between Coats: This is critical! Refer to the paint can for recommended drying times between coats. Rushing this step can lead to adhesion issues.
6. Curing vs. Drying: Remember that paint dries to the touch relatively quickly, but it takes days or even weeks to fully cure and reach its maximum hardness and durability. Be gentle with your freshly painted items during this time.
Common Wood Painting Scenarios and Considerations
Let’s look at some specific situations you might encounter:
Painting Exterior Wood (Fences, Decks, Siding)
Outdoor wood takes a beating from the elements. If your exterior wood is wet from rain or dew:
Wait it Out: The best approach is to wait for a period of dry weather. Exterior wood can often take longer to dry than interior wood due to its exposure.
Use Exterior-Specific Products: Always use an exterior primer and exterior-grade paint. These are formulated to be more flexible and resistant to moisture and UV damage.
Check for Mold/Mildew: Before painting, inspect carefully for any signs of mold or mildew. If found, clean the area thoroughly with a solution of one part bleach to three parts water, rinse, and let dry completely. You might need a specialized primer that inhibits mold growth.
Consider a Wood Sealer: In some cases, especially for decks or areas prone to extreme moisture, applying a dedicated wood sealer after the paint has fully cured can add an extra layer of protection. Resources like those from the Environmental Protection Agency (EPA) offer guidance on safe practices when dealing with painted surfaces, especially older ones that might contain lead.
Painting Interior Wood (Furniture, Trim, Doors)
Interior wood painting projects often face less extreme conditions but still require dry wood.
Humidity is the Enemy: High humidity in bathrooms, kitchens, or even basements can keep wood perpetually damp. Ensure good ventilation in these areas.
Cleanliness is Key: Interior wood can accumulate dust, grease (especially in kitchens), and grime. A thorough cleaning is essential before priming.
Proper Prep for Smoothness: Interior projects often demand a very smooth finish. Invest time in proper sanding and consider using a fine-grit sanding sponge for trim.
Painting Treated Lumber
Treated lumber is designed to resist rot and insects. However, it often comes from the factory quite wet.
Drying is Essential: Treated lumber needs to dry thoroughly before painting. It can take weeks or even months depending on the treatment process and conditions.
Moisture Meter is Your Friend: Seriously, get one! It’s the most reliable way to know when treated lumber is ready. Manufacturers often recommend specific moisture content levels for painting.
Check for Residue: Sometimes, a waxy residue can be present on the surface of treated lumber. Wash the wood with a detergent and water solution and rinse well before painting.
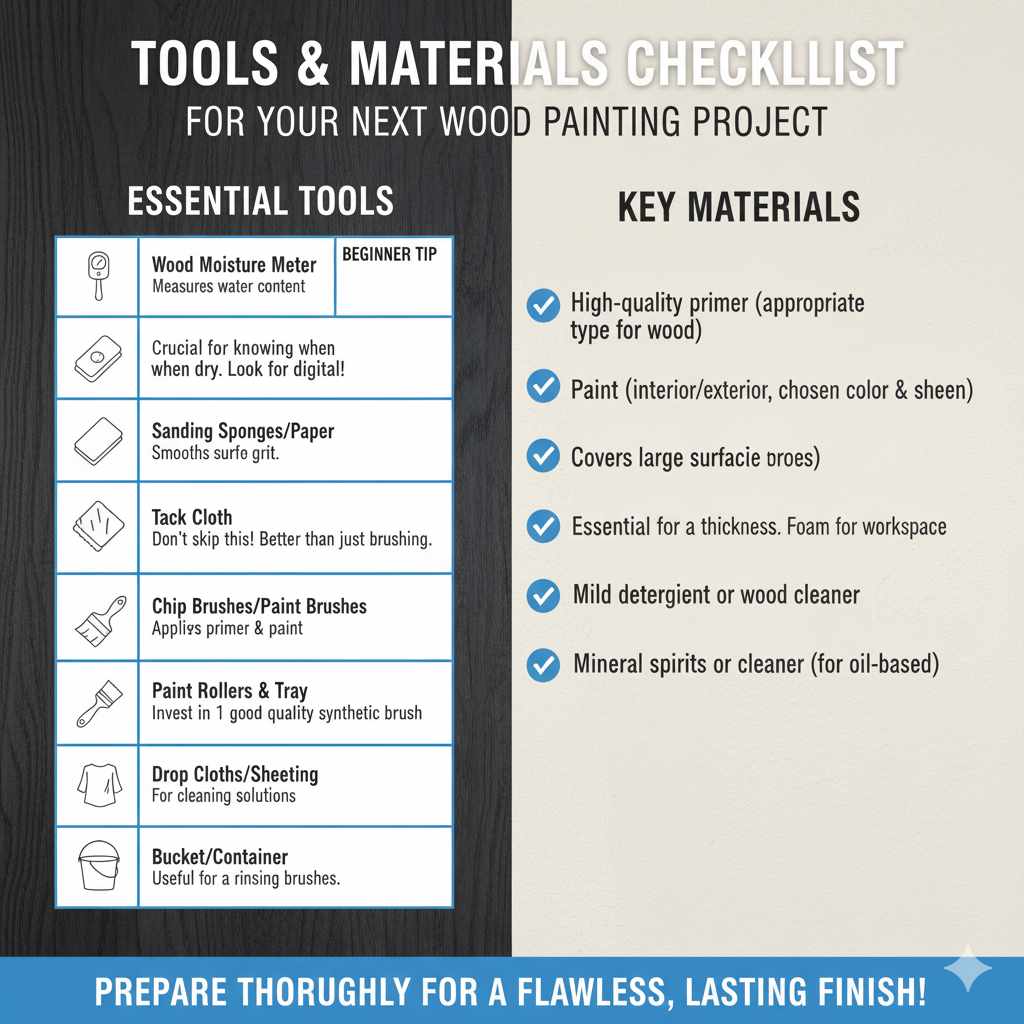
Tools and Materials Checklist
To help you prepare for your next painting project, here’s a handy list of what you might need:
Essential Tools for Wood Painting Prep
| Tool | Purpose | Beginner Tip |
|---|---|---|
| Wood Moisture Meter | Measures water content in wood. | Crucial for knowing when wood is dry enough. Look for digital models for easy readouts. |
| Sanding Sponges/Sandpaper (various grits) | Smooths wood surfaces. | Start with 100-120 grit, finish with 180-220 grit for most jobs. Sponges are great for curves and trim. |
| Tack Cloth | Removes fine dust after sanding. | Don’t skip this! It’s much better than just brushing off dust. |
| Chip Brushes/Paint Brushes | Applies primer and paint. | Invest in at least one good quality synthetic brush for latex paint. |
| Paint Rollers & Tray | Covers larger flat surfaces quickly. | Choose the right nap thickness for your surface. Foam rollers are good for smooth finishes. |
| Drop Cloths/Plastic Sheeting | Protects surrounding areas from paint drips. | Essential for keeping your workspace clean. |
| Bucket/Container | For cleaning solutions or water. | Useful for rinsing brushes and wiping surfaces. |
Key Materials for Wood Painting
- High-quality primer (appropriate type for your wood and project)
- Paint (interior or exterior grade, chosen color and sheen)
- Mild detergent or wood cleaner
- Mineral spirits or appropriate cleaner (for oil-based products)
Troubleshooting Common Painting Problems
Even with the best preparation, sometimes issues pop up. Here are a few common ones and how to tackle them:
Paint is Bubbling/Peeling: This is the classic sign of painting too soon. If it’s minor, you might be able to carefully peel away the affected paint, let the wood dry thoroughly, and repaint. For larger areas, you may need to scrape, sand, prime, and repaint.
Sanding Dust Won’t Go Away: Ensure you’re using a tack cloth or a method that truly lifts the dust, not just moves it around. Damp cloths can work, but make sure the wood dries again afterward.
Knots Bleeding Through: This means your primer wasn’t sufficient. You’ll need to spot-treat the knots with a good quality stain-blocking primer (often oil-based is best for this) and let it dry before painting the rest of the surface.
Drips and Runs:** Usually caused by applying paint too thickly or painting too quickly. For fresh drips, you might be able to smooth them out with your brush. For dried ones, let them dry completely, then sand them smooth and reapply paint in thin layers.
FAQ: Your Wood Painting Questions Answered
Here are some questions you might have about painting damp wood:
Q1: I accidentally painted some wood yesterday, and it rained. Is it ruined?
A1: Not necessarily ruined, but likely compromised. The rain is equivalent to painting wet wood. You’ll probably see issues like blistering or peeling as it dries. Once it’s completely dry, you’ll need to inspect the area. You may need to scrape, sand, prime, and repaint. For future projects, always check the weather forecast!