Can You Paint Over Varnished Wood: Essential Guide
Yes, you can paint over varnished wood, but proper preparation is key for a smooth, durable finish. Skipping steps like cleaning and sanding will lead to peeling paint. This guide will walk you through everything you need to know to get beautiful results.
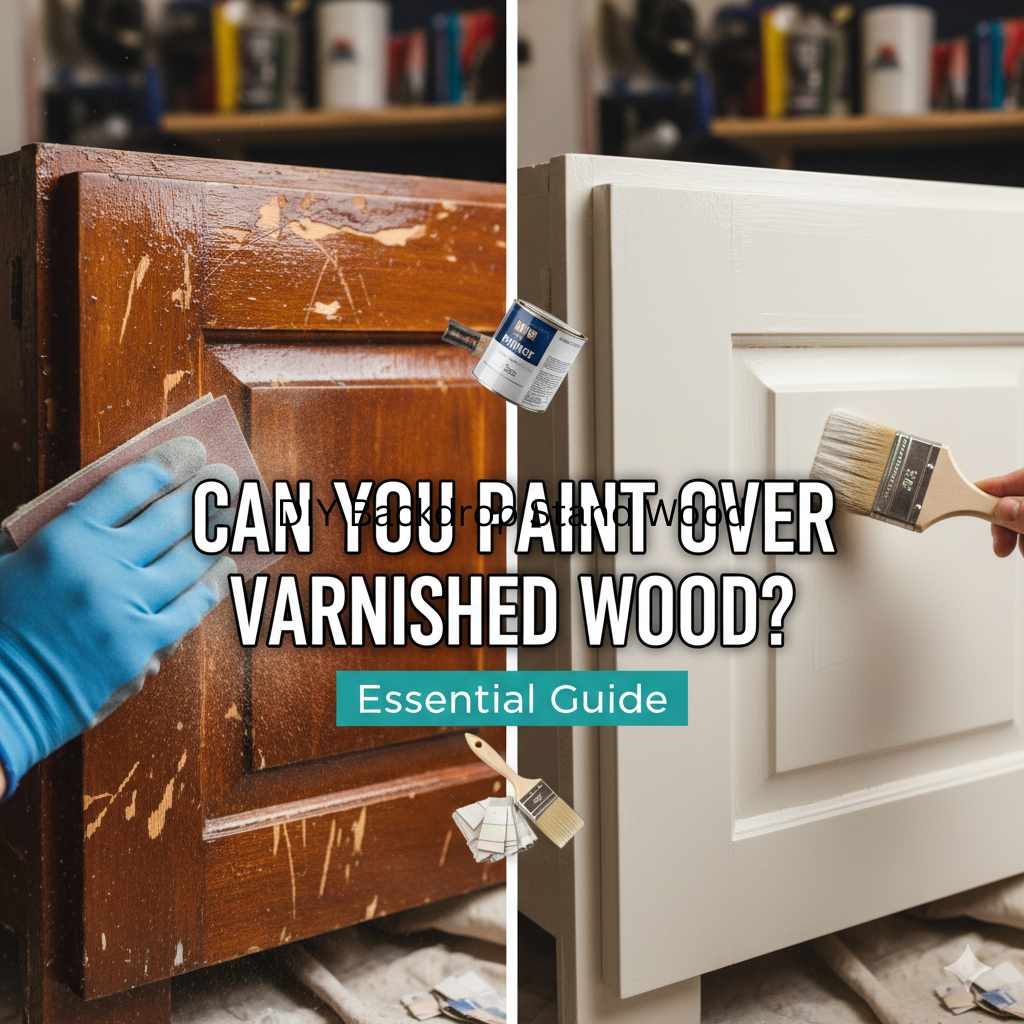
Hey there, fellow DIYers and wood lovers! Md Meraj here, ready to tackle a question I hear a lot: “Can you paint over varnished wood?” It’s a common situation, isn’t it? You find a beautiful piece of furniture, but that dark varnish just isn’t your style anymore. Or maybe you’ve got an old wooden door that needs a fresh coat of color. The thought of stripping all that varnish can seem overwhelming, right? Well, good news! You absolutely can paint over varnished wood without the grueling task of complete stripping. With the right approach, you can achieve a professional-looking finish that lasts. We’ll go step-by-step, covering what you need and how to do it safely and effectively. Let’s transform that varnished piece into something you’ll love!
Can You Paint Over Varnished Wood: The Essential Guide
Painting over varnished wood might sound like a shortcut, but if done incorrectly, it can lead to frustration and a poor finish that peels or chips. The good news is that with the right preparation, it’s entirely possible and can save you a lot of time and effort compared to completely stripping the varnish. This guide will break down the process, ensuring you get a beautiful, long-lasting painted surface.
As a woodworking mentor, I’ve seen many projects where a little attention to detail upfront makes all the difference. Painting over varnish is no different. We’re aiming for adhesion – that’s the paint sticking well to the surface. Without it, you’ll be redoing the job sooner rather than later. So, grab your supplies, and let’s get started on making that varnished wood ready for a fresh new look!
Why Proper Preparation is Crucial
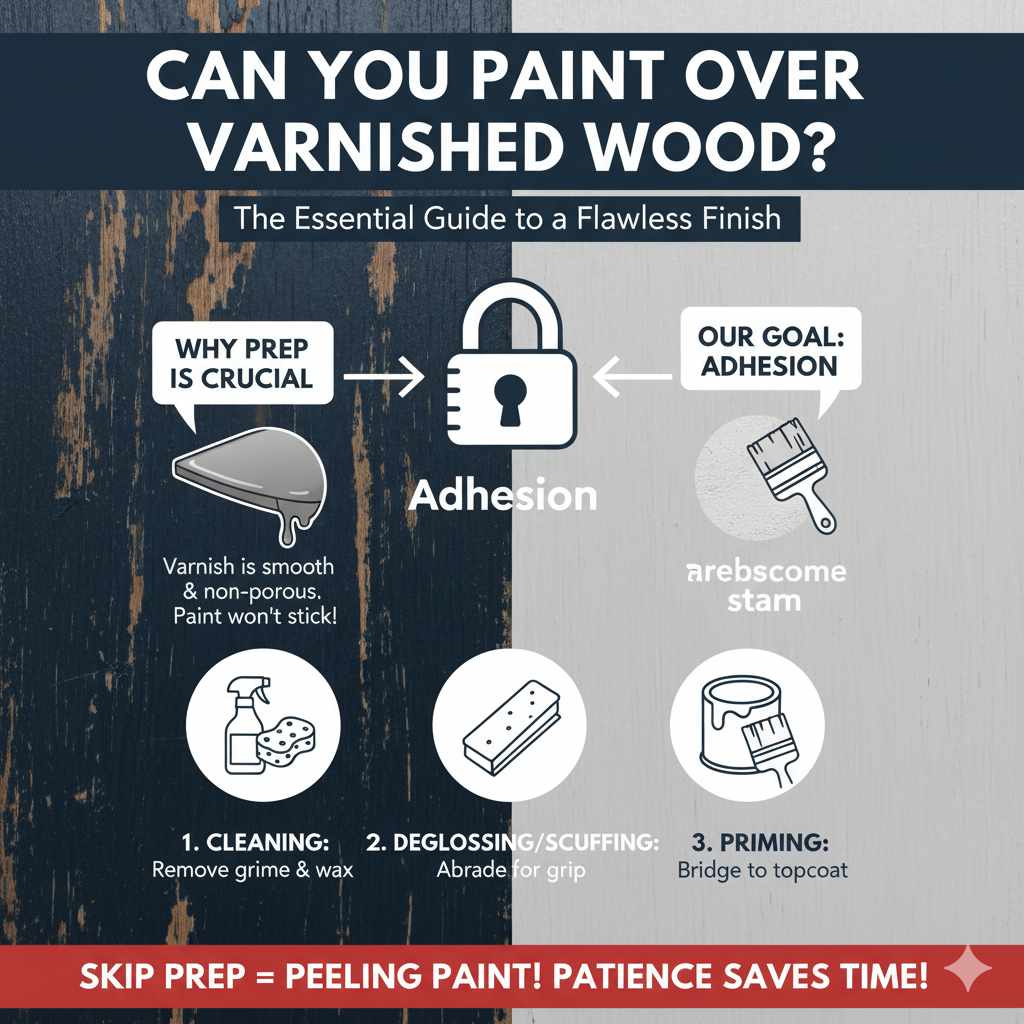
Think of the varnish on your wood like a slippery, shiny suit of armor. Paint just doesn’t want to stick to something that smooth and non-porous! If you try to paint directly over it, the paint will sit on top, waiting for the slightest nudge to peel off. That’s why preparation is the MOST important step.
Our goal is to create a surface that the new paint can grab onto. This involves a few key things:
- Cleaning: Removing any grease, grime, or wax buildup.
- Deglossing/Scuffing: Lightly abrading the surface so it’s no longer slick.
- Priming: Adding a special coat that acts as a bridge between the varnish and your topcoat of paint.
Skipping any of these could mean your beautiful paint job ends up looking… well, less than beautiful, very quickly.
What You’ll Need: Gathering Your Supplies
Before we jump into the “how-to,” let’s make sure you have everything you need. Having all your tools and materials ready makes the project much smoother and more enjoyable. Think of it like a chef gathering their ingredients before cooking!
Essential Tools and Materials
- Safety Gear: Safety glasses, gloves, and a dust mask are non-negotiable. Wood dust and chemical fumes can be harmful.
- Cleaning Supplies:
- Mild detergent (like dish soap)
- Water
- Clean cloths or sponges
- Scuff Sanding Materials:
- Medium-grit sandpaper (120-grit is a good starting point)
- Fine-grit sandpaper (180-220 grit for a smoother finish)
- Sanding block (optional, but helpful for even pressure)
- Tack Cloth: Essential for removing fine dust after sanding.
- Primer: An oil-based or stain-blocking primer is highly recommended. These are excellent at adhering to tricky surfaces and blocking any potential bleed-through from the wood or old finish.
- Paint: Your chosen paint color and finish (e.g., satin, semi-gloss, flat).
- Applicators:
- High-quality paintbrush (for cutting in edges and detailed areas)
- Paint roller (for larger, flat surfaces – a foam roller works well for smooth finishes)
- Paint tray
- Optional:
- Sanding pole (for reaching high areas)
- Wood filler (for any dings or holes)
- Mineral spirits (for cleaning certain types of grime or prepping for oil-based primer/paint)
Choosing the Right Primer
This is where we can really set ourselves up for success. When painting over varnish, a good primer is your best friend. Why? Because primers are designed to:
- Enhance Adhesion: They create a surface that the paint can stick to effectively.
- Block Stains/Bleed-Through: Varnished wood, especially if it’s older or made of certain woods like mahogany or oak, can have tannins or old stain chemicals that might seep through your new paint. A good stain-blocking primer prevents this.
- Provide an Even Base Coat: It makes your final paint color look more uniform and true.
For varnished wood, I almost always recommend an oil-based primer or a high-quality stain-blocking primer. These are tougher and have excellent adhesion. Brands like Kilz or Zinsser offer great options specifically designed for challenging surfaces. Latex or water-based primers can work, but you need to be extra diligent with your sanding and ensure the varnish is well-scuffed.
Step-by-Step: How to Paint Over Varnished Wood
Alright, team, let’s get down to business! Follow these steps carefully, and you’ll be amazed at the results. Remember, patience is key in DIY!
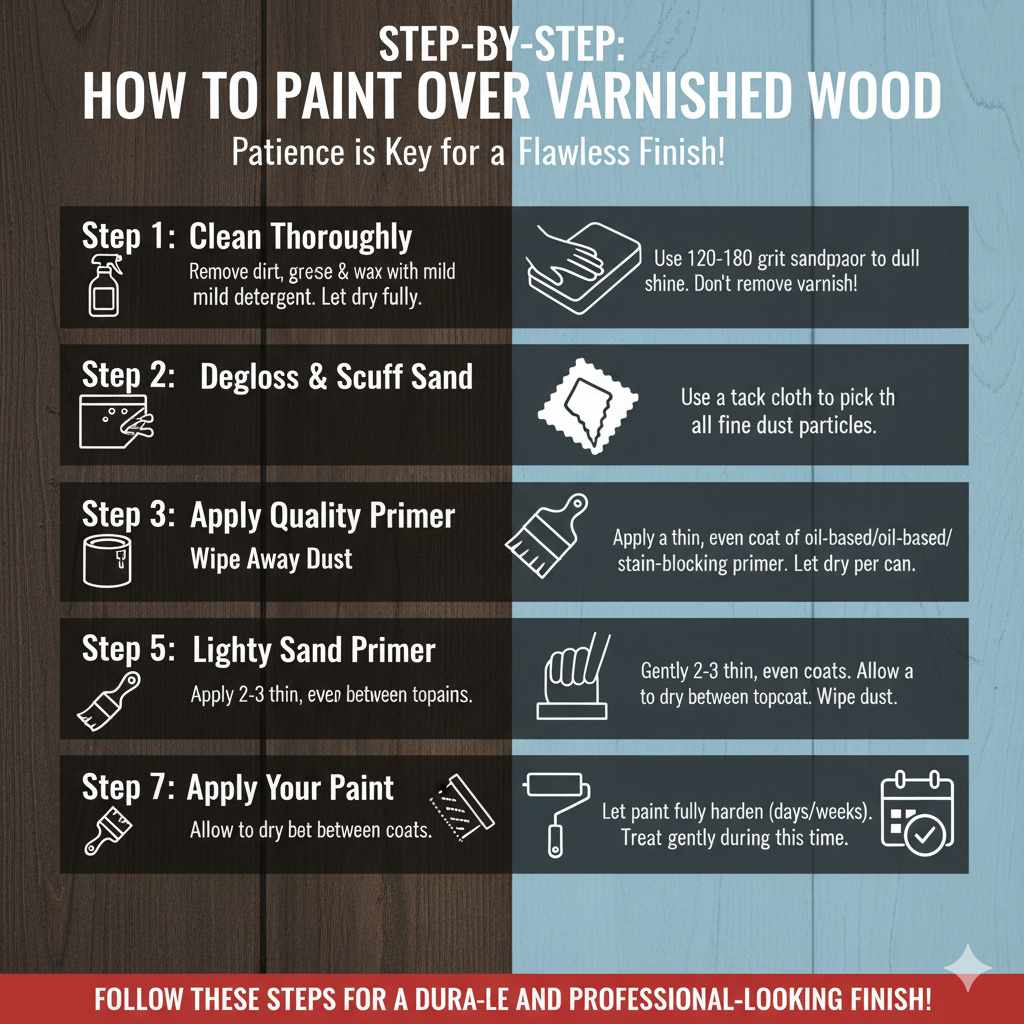
Step 1: Clean the Surface Thoroughly
You can’t paint over dirt, grease, or old wax. First, give the varnished wood a good cleaning. Mix a mild detergent with warm water. Use a soft cloth or sponge to wipe down the entire surface. Pay attention to any areas that look grimy. Rinse the surface with a clean, damp cloth to remove any soap residue. Finally, let the wood dry completely. This might take a few hours, depending on humidity.
Why this is important: Any contaminants left on the surface will prevent the primer and paint from adhering properly, leading to peeling and bubbling later on.
Step 2: Degloss and Scuff Sand
This is the most critical step for adhesion. The goal here isn’t to remove the varnish, but to create a slightly rough texture that the primer and paint can grip.
- Start with your medium-grit sandpaper (around 120-grit). Work in consistent, overlapping strokes. If you’re sanding a flat surface like a tabletop, sand in the direction of the wood grain. For curved surfaces or detailed areas, try to be as consistent as possible.
- Don’t press too hard. You’re not trying to get down to bare wood, just dull the shine. You should be able to see that the glossy sheen is gone, and the surface looks a bit matte or hazy.
- Once you’ve gone over the entire piece with the medium-grit paper, switch to your fine-grit sandpaper (180-220 grit). This smooths out any faint scratches left by the coarser paper, ensuring a smoother finish for your paint. Sand lightly.
Pro Tip: A sanding block or even sanding sponges can help you apply even pressure and reach into nooks and crannies more effectively than just a flat sheet of sandpaper.
Step 3: Wipe Away the Dust
After sanding, your piece will be covered in fine dust. Using a shop vacuum with a brush attachment can get the bulk of it, but you need to get the really fine particles. This is where a tack cloth comes in. Tack cloths are slightly sticky and are designed to pick up every last bit of dust.
Gently wipe down the entire surface with the tack cloth. Be careful not to rub too hard or leave the cloth stuck to the surface. Fold the cloth periodically to expose a clean, sticky surface.
Why this matters: Dust left behind will get trapped under your primer and paint, creating a bumpy, unprofessional finish. It can also interfere with adhesion.
Step 4: Apply a Quality Primer
Now it’s time to apply your chosen primer. As we discussed, an oil-based or stain-blocking primer is your best bet here. Stir the primer thoroughly before you start. If it’s too thick, you can often thin it slightly according to the manufacturer’s instructions (check the can!).
- Application: Use a good quality paintbrush for edges and details, and a roller (a foam roller is great for a smooth finish) for larger flat areas. Apply a thin, even coat. Avoid applying it too thickly, as this can lead to drips and an uneven surface.
- Coverage: You’re looking for good coverage, but you don’t need to achieve perfect, opaque color with the primer. The goal is to create that important bonding layer.
- Drying Time: Allow the primer to dry completely. This is critical! Check the primer can for recommended drying times. It’s often several hours, and sometimes overnight, especially if you used an oil-based primer. Rushing this step can compromise the whole job.
Inspect After Priming: Once dry, lightly inspect the surface. If you see any areas where the varnish still seems too glossy or if there are minimal signs of bleed-through, you might opt for a second coat of primer. If you spot any drips or unevenness, you can lightly sand them smooth with fine-grit sandpaper (220-grit) and wipe again with a tack cloth.
Step 5: Lightly Sand the Primer
After the primer has fully dried, give the entire surface a very light sanding with fine-grit sandpaper (220-grit). This step might seem counterintuitive, but it helps create an even smoother surface for your paint to adhere to and knocks down any imperfections. You’re not trying to remove the primer, just very lightly abrading it.
Again, use overlapping strokes and follow the direction of the wood grain where possible. After sanding, use your tack cloth to remove all the sanding dust.
Step 6: Apply Your Paint
You’re finally ready for the color! Stir your paint well. Apply your first coat of paint using your chosen applicator (brush or roller). Aim for thin, even coats. It’s always better to apply two or three thin coats than one thick, gloppy coat. This will give you a much more durable and professional-looking finish.
- First Coat: Apply the paint smoothly. Work in sections, keeping a “wet edge” to avoid brush marks. If using a roller, load it evenly and roll in a consistent pattern.
- Drying Time: Allow the first coat to dry thoroughly according to the paint manufacturer’s instructions. This is crucial. Painting over wet or even slightly tacky paint will cause problems.
- Second Coat (and possibly Third): Once the first coat is dry, inspect it. You’ll likely see some imperfections or areas that need more coverage. Apply a second coat. If the color or coverage isn’t perfect after two coats, apply a third.
Step 7: Allow for Curing
This is a stage many DIYers overlook! Paint dries to the touch relatively quickly, but it takes much longer to fully “cure.” Curing is when the paint hardens completely and reaches its maximum durability. This can take anywhere from a few days to a month, depending on the type of paint used.
During the curing period, treat your freshly painted surface gently. Avoid placing heavy objects on it, wiping it vigorously, or subjecting it to extreme temperatures or moisture. The longer you can let it cure undisturbed, the harder and more durable your finish will become.
Common Surfaces and Considerations
While the general steps apply to most varnished wood, some surfaces might have specific needs.
Table 1: Common Varnished Wood Surfaces and Tips
| Surface Type | Key Considerations | Recommended Approach |
|---|---|---|
| Wooden Furniture (Chairs, Tables, Dressers) | Often has detailed carvings, multiple surfaces, and high-touch areas. Varnish can be thick. | Thorough cleaning and scuff sanding are vital. Use a good primer to block stains. Brad new brushes are excellent for detailed work. Allow ample drying time between coats. |
| Wooden Doors (Interior) | Large, flat areas. Can have hardware that needs masking. Varnish quality can vary greatly. | A roller is efficient for large panels. Ensure smooth, even scuff sanding. Consider a stain-blocking primer if the wood is prone to tannins (like oak). |
| Wooden Trim/Moulding | Can be intricate or have curves. Often sealed with thinner varnish. | A quality angled paintbrush is essential for clean lines. Gentle scuff sanding is usually sufficient. Test minimal primer adhesion in an inconspicuous spot first if you’re concerned. |
| Wooden Cabinets | High-traffic areas, prone to grease and grime. Varnish can be chipped or worn. | Deep cleaning is paramount. A degreasing cleaner is recommended. Scuff sanding is critical for adhesion. Follow with a robust primer and a durable topcoat (like semi-gloss or satin latex paint). |
Veneered Wood
Be extra gentle when sanding veneered wood. Veneer is a very thin layer of wood glued onto a substrate. If you sand too aggressively, you could sand through the veneer, exposing the layer underneath. Focus on just dulling the sheen. A tack cloth is your best friend here after light sanding.
Older Varnish or Lacquer
Older finishes, especially lacquers, can sometimes be brittle. While we’re not stripping, be mindful of this. Some older finishes can react with certain primers or solvents. Always test your primer in an inconspicuous area if you can. If you encounter extreme stickiness or softening of the old finish during sanding, it might indicate a solvent-based lacquer that could be softened by certain paints or thinners. Stick to water-based or latex paints over a good stain-blocking primer for safety.
Oil-Based vs. Water-Based Paints
Generally, it’s advisable to paint over an oil-based primer with either oil-based or water-based (latex/acrylic) paint. Painting over latex primer with oil-based paint can be done, but it’s more prone to adhesion issues if not perfectly prepped. For simplicity and ease of cleanup, many people opt for a good oil-based primer followed by a durable water-based acrylic or latex enamel paint for their topcoats. These water-based paints offer good durability and a wide range of finishes, from matte to high-gloss, and clean up easily with soap and water.
Frequently Asked Questions (FAQ)
Q1: Will painting over varnish last?
Painting over varnish can last a very long time, provided you prepare the surface correctly. This means thorough cleaning, proper scuff sanding to create a surface for adhesion, using a quality stain-blocking primer, and applying paint in thin, even coats. Skipping any of these steps significantly increases the risk of peeling or chipping over time.
Q2: Do I need to strip the varnish completely?
No, you do not need to strip the varnish completely. The key is to ‘degloss’ or ‘scuff’ the surface by sanding it lightly. This creates enough of a mechanical bond for the primer and paint to adhere to, saving you a lot of labor compared to full stripping.
Q3: What kind of primer should I use on varnished wood?
For varnished wood, an oil-based primer or a high-quality stain-blocking primer is highly recommended. These primers adhere exceptionally well to slick surfaces and prevent any potential bleed-through from the varnish or wood tannins into your topcoat of paint.