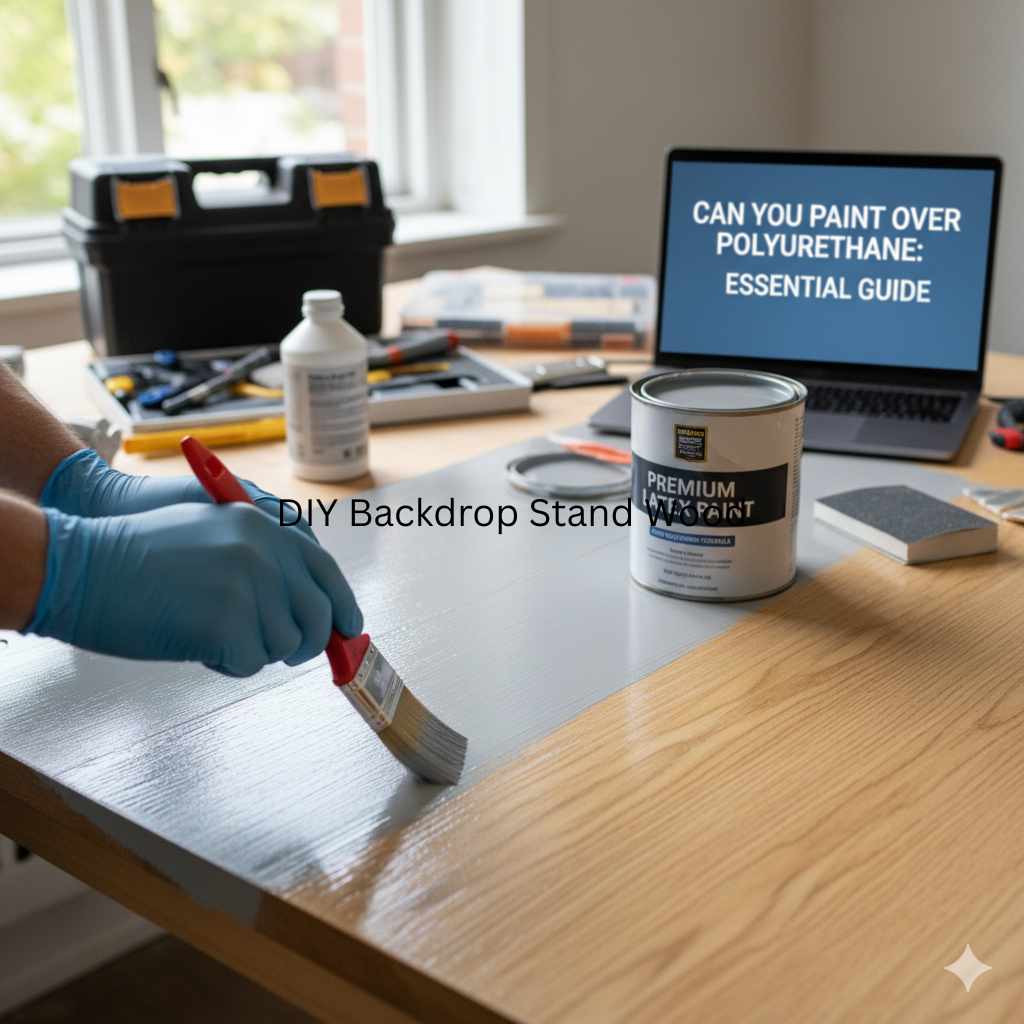
Can You Paint Over Painted Wood: Essential Guide
Yes, you absolutely can paint over painted wood! It’s a fantastic way to refresh furniture, trim, or cabinets without stripping. With the right preparation, you can achieve a smooth, durable finish that looks brand new. This guide will walk you through every step, ensuring a beautiful result for your DIY projects.
Hey there, fellow DIYers! Ever look at a piece of painted wood furniture, a cabinet door, or even your baseboards and think, “This needs a refresh, but do I have to sand it all down to bare wood?” It’s a question many of us face when wanting to update our homes without a huge hassle. Well, you’re in luck! Painting over existing paint is not only possible but often the most practical approach for many projects. You don’t need to be a seasoned pro to get a fantastic, smooth finish. We’re going to break down the entire process, step-by-step, making it easy for anyone to tackle.
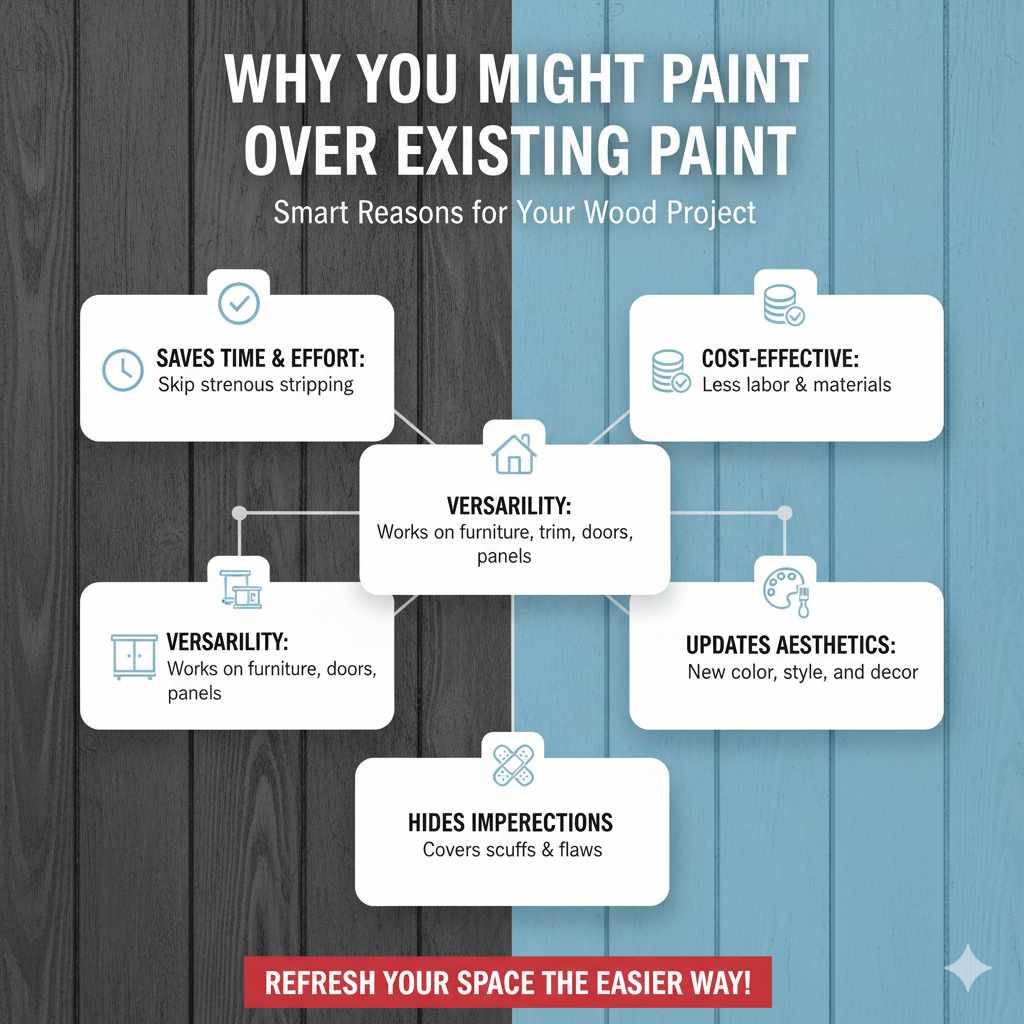
Why You Might Paint Over Existing Paint
There are several great reasons why painting over existing painted wood is a smart choice for your home improvement projects:
Saves Time and Effort: Stripping old paint can be incredibly time-consuming and physically demanding. Painting over it, with proper prep, bypasses this strenuous step.
Cost-Effective: Less intensive labor and potentially fewer materials (no need for expensive strippers) can make this a more budget-friendly option.
Versatility: It’s a technique that works on a variety of wood surfaces, from furniture and cabinets to trim, doors, and even walls with wood paneling.
Updates Aesthetics: It’s the easiest way to change the color scheme of a room, update outdated furniture, or match new decor.
Hides Imperfections: A fresh coat of paint can cover minor scuffs, scratches, or previous paint job flaws, giving a cleaner, more uniform look.
Can You Paint Over Any Painted Wood?
In most cases, the answer is yes, but there are a few considerations:
Paint Type: Different types of paint can be painted over. Acrylic, latex, oil-based, and shellac-based paints can generally be painted over with the right primer. However, painting over certain finishes like wax or high-gloss oil-based paint can require special preparation.
Paint Condition: If the existing paint is peeling, cracking, blistering, or heavily damaged, it’s best to remove those compromised areas before proceeding. Painting over a damaged finish will only result in the new paint peeling along with the old.
Surface Type: This method is suitable for most finished wood surfaces, including furniture, cabinets, doors, trim, and even some previously painted wood paneling.
Essential Tools and Materials You’ll Need
Having the right supplies on hand makes the job much smoother. Here’s what you’ll want to gather:
| Category | Item | Why You Need It |
|---|---|---|
| Cleaning | Mild detergent (like dish soap) | To remove dirt, grease, and grime. |
| Clean cloths or sponges | For washing and rinsing the surface. | |
| Surface Preparation | Sanding sponges or sandpaper (120-180 grit) | To create a smooth, scannable surface for primer and paint adhesion. |
| Tack cloth | To remove fine dust after sanding. | |
| Priming & Painting | High-quality primer (e.g., Zinsser B-I-N or Kilz) | Ensures excellent adhesion, blocks stains, and creates a uniform base for your topcoat. |
| Paint (e.g., latex enamel, alkyd enamel, or cabinet-specific paint) | Your chosen color and finish for the final look. | |
| Application Tools | Paintbrushes (angled sash brush for details, flat brush for larger areas) | For cutting in edges and applying paint in tight spots. |
| Paint rollers (foam or low-nap rollers for smooth finishes) | For applying paint evenly to larger, flat surfaces. | |
| Paint tray and roller covers | To hold and apply paint efficiently. | |
| Protection | Painter’s tape | To protect areas you don’t want to paint, like hardware or adjacent surfaces. |
| Safety | Safety glasses | To protect your eyes from dust and paint splatter. |
| Gloves | To keep your hands clean and protected. | |
| Optional but Recommended | Drop cloths | To protect floors and furniture from drips. |
Step-by-Step Guide: Painting Over Painted Wood
Follow these straightforward steps for a durable and beautiful finish you’ll be proud of!
Step 1: Clean the Surface Thoroughly
This is arguably the most crucial step for good paint adhesion. Any dirt, grease, wax, or grime left on the surface will prevent the new paint from sticking properly, leading to peeling or an uneven finish.
Mix a cleaning solution: Use a mild detergent mixed with warm water. Avoid ammonia-based cleaners, as they can sometimes interfere with paint adhesion.
Wipe down the surface: Use a clean cloth or sponge dipped in the solution to thoroughly clean the entire area you plan to paint. Pay extra attention to high-traffic areas like cabinet doors or handrails, which might have more grime.
Rinse well: Use a separate clean cloth dampened with plain water to rinse away any soap residue. This is important!
Dry completely: Allow the wood to air dry for at least 24 hours, especially if it’s a humid environment. Moisture is the enemy of good paint jobs.
Step 2: Inspect and Repair
Before you grab sandpaper, take a good look at the existing paint.
Look for peeling or chipping: If you see any areas where the paint is lifting, flaking, or peeling, you’ll need to address them. Gently scrape away any loose paint with a putty knife or scraper. Sand the feather edges smooth so they blend into the intact paint.
Fill holes and cracks: Use a good quality wood filler or spackling compound to fill any nail holes, gouges, or cracks. Allow the filler to dry completely according to the product instructions. Once dry, sand it smooth.
Step 3: Sand the Surface for Adhesion
Sanding might seem like a lot of work, but it’s essential for ensuring your new paint has something to grip onto. You’re not trying to remove the old paint, just scuff it up.
Choose the right grit: Use 120-180 grit sandpaper or a sanding sponge. This is fine enough to create a good “tooth” for the primer without being so coarse that it’s difficult to work with or leaves deep scratches.
Sand gently but thoroughly: Work your way over the entire surface in smooth, even strokes. Focus on dulling any glossy areas. If you have intricate details or carvings, a sanding sponge or fine-grit sandpaper wrapped around a block will work well.
Smooth out repairs: Ensure any areas you filled or scraped are now flush and smooth with the surrounding surface.
Step 4: Clean Again (Dust Removal is Key!)
After sanding, dust is everywhere! This dust MUST be removed for a smooth finish.
Vacuum First: Use a vacuum cleaner with a brush attachment to remove the bulk of the dust from the surface and surrounding areas.
Use a Tack Cloth: A tack cloth has a slightly sticky surface designed to pick up the finest dust particles that even a vacuum might miss. Wipe down the entire surface with the tack cloth. You’ll be amazed at how much dust it collects!
Step 5: Apply a Quality Primer
Primer is your secret weapon for a professional-looking finish when painting over existing paint. It acts as a vital bonding layer.
Choose the right primer: For most projects, a good quality water-based or oil-based primer will work. If you’re painting over a dark color and want to switch to a light one, or if you suspect there might be stains (like water or crayon marks) that could bleed through, opt for a stain-blocking primer. For tough surfaces like glossy oil-based paint, a bonding primer is excellent. According to Popular Mechanics, the right primer can be more important than the topcoat for durability and finish.
Apply a thin, even coat: Use your brush or roller to apply a thin, even coat of primer. Avoid applying it too thick, as this can lead to drips and an uneven texture.
Let it dry completely: Allow the primer to dry for the time recommended on the product label. This is usually at least a few hours.
Step 6: Lightly Sand the Primed Surface (Optional but Recommended)
Once the primer is dry, a quick, light sanding can make a big difference in the smoothness of your final paint job.
Use fine-grit sandpaper: Grab some 220-grit or finer sandpaper.
Sand very lightly: The goal here is to knock down any tiny imperfections, dust nibs, or brush/roller marks left by the primer. You’re not trying to remove the primer, just to create an ultra-smooth surface.
Wipe with a tack cloth again: Just like after the initial sanding, thoroughly wipe down the surface with a clean tack cloth to remove all sanding dust.
Step 7: Apply Your Topcoat(s) of Paint
Now for the fun part – applying your chosen paint color!
Choose your paint: For furniture and cabinets, consider a durable enamel paint (like a latex enamel or an alkyd enamel) for its toughness and scrubbability. For trim and doors, most high-quality latex paints will work well.
Stir your paint: Always stir your paint thoroughly before and periodically during use. Don’t shake it, as this can introduce air bubbles.
Apply your first coat: Using your brush for edges and details and your roller for larger areas, apply a thin, even coat of paint. Work systematically, maintaining a wet edge as you go to avoid lap marks.
Allow adequate drying time: Refer to the paint can for recommended drying times between coats. This can vary significantly based on paint type and humidity. Rushing this step can ruin your finish.
Apply additional coats: Most projects will require two to three thin coats of paint for full coverage and a rich color. Repeat the drying and application process for each coat.
Step 8: Final Inspection and Touch-ups
Once your final coat of paint is dry to the touch, it’s time for a final review.
Check for missed spots or drips: Look closely for any areas that might need a little touch-up.
Carefully remove painter’s tape: If you used painter’s tape, remove it while the paint is still slightly soft (but not wet) to prevent the paint from peeling up with the tape. Pull it away slowly at a 45-degree angle.
Allow for full curing: Be aware that the paint will continue to harden over the next few days or even weeks. This is called “curing.” During this time, be gentle with the painted surface to avoid nicks or scratches. You can find more details on paint curing times from resources like Sherwin-Williams.
Tips for a Professional Finish
Here are some pro tips to elevate your painted wood project:
Work in Good Light: Proper lighting helps you see imperfections and ensure even coverage.
Use High-Quality Tools: Better brushes and rollers mean a smoother finish and less frustration.
Apply Thin Coats: Multiple thin coats are always better than one thick coat for durability and appearance.
Don’t Rush the Drying: Patience is key. Let each layer dry completely before moving on.
Consider Paint Type: For high-traffic areas like kitchen cabinets or furniture, opt for harder, more durable paints like alkyd enamels or specialized cabinet paints.
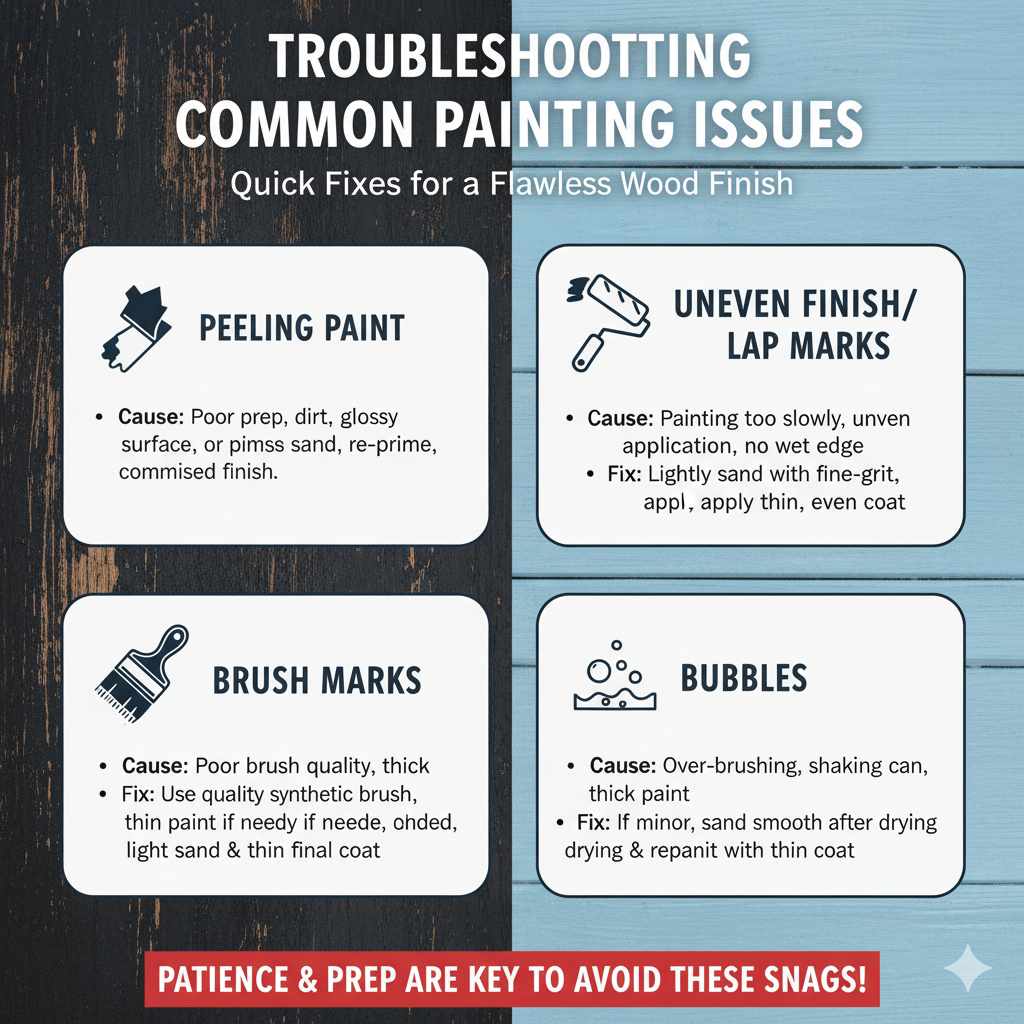
Troubleshooting Common Issues
Even with the best intentions, you might run into a snag. Here’s how to fix common problems:
Peeling Paint: This usually happens due to poor surface prep (grease, dirt, glossy surface not scuffed) or painting over a compromised finish. You’ll likely need to scrape off the loose paint, sand, prime again, and re-paint.
Uneven Finish/Lap Marks: These are caused by painting too slowly, applying paint unevenly, or not maintaining a wet edge. Lightly sanding with fine-grit sandpaper and applying another thin, even coat can often fix minor issues.
Brush Marks: Ensure you’re using a good quality brush and that the paint isn’t too thick. Try using a high-quality synthetic brush for latex paints and an oil-based brush for oil-based paints. Sometimes, a very light sanding after drying and a final very thin coat can help.
Bubbles: Bubbles typically form from over-brushing, shaking the paint can, or applying paint too thickly. If minor, they can sometimes be smoothed out after drying with fine-grit sandpaper and repainting.
Frequently Asked Questions (FAQs)
Q1: Do I really need to sand painted wood before painting it?
A1: Yes, sanding is crucial! It creates a slightly rough surface (called “tooth”) that your primer and new paint can grip onto. Without it, the new paint might just peel off later. You’re not trying to remove the old paint, just scuff up its surface.
Q2: What kind of primer should I use for painted wood?
A2: For most situations, a good quality latex or oil-based primer is fine. If you have issues like stains, water marks, or are painting over a very glossy surface, a stain-blocking or bonding primer is recommended. Always check the manufacturer’s instructions.
Q3: Can I paint over chalk paint or milk paint?
A3: Yes, but chalk paint and milk paint often have a matte finish and can be chalky. It’s vital to clean them thoroughly and then seal them with a quality primer before applying your topcoat to prevent chalking or peeling.
Q4: What happens if the old paint is oil-based and I want to use latex paint?
A4: This is a common scenario! You absolutely can paint latex over oil-based paint, but priming is non-negotiable. You’ll need to clean, sand, and then apply a good quality oil-based primer or a specialized bonding primer. Once the primer is dry, you can safely paint with latex.
Q5: How many coats of paint should I apply?
A5: Generally, two to three thin coats of your topcoat paint are recommended. This ensures full, even coverage, a durable finish, and the truest color. Always let each coat dry thoroughly before applying the next.
Q6: Can I paint over peeling or chipped paint?
A6: It’s not recommended. If the existing paint is peeling or chipping, the new paint will likely peel along with it. You need to remove all the loose or flaking paint first, sand the edges smooth, then prime and paint.
Q7: How long should I wait before using the freshly painted wood item?
A7: While paint is dry to the touch within a few hours, it takes much longer to fully “cure” and harden. For furniture or cabinets, it’s best to wait at least 3–7 days before placing items on them or using them regularly. Be gentle during the curing period.
Conclusion
As you can see, painting over existing painted wood is a perfectly achievable DIY project that can dramatically transform your furniture, cabinets, or trim. The keys to success are thorough cleaning, adequate sanding for adhesion, using a quality primer, and applying thin, even coats of your chosen paint. By following these steps and taking your time, you’ll be able to achieve a smooth, durable, and beautiful finish that will breathe new life into your home. So, go ahead and embrace that color change you’ve been dreaming of – you’ve got this!