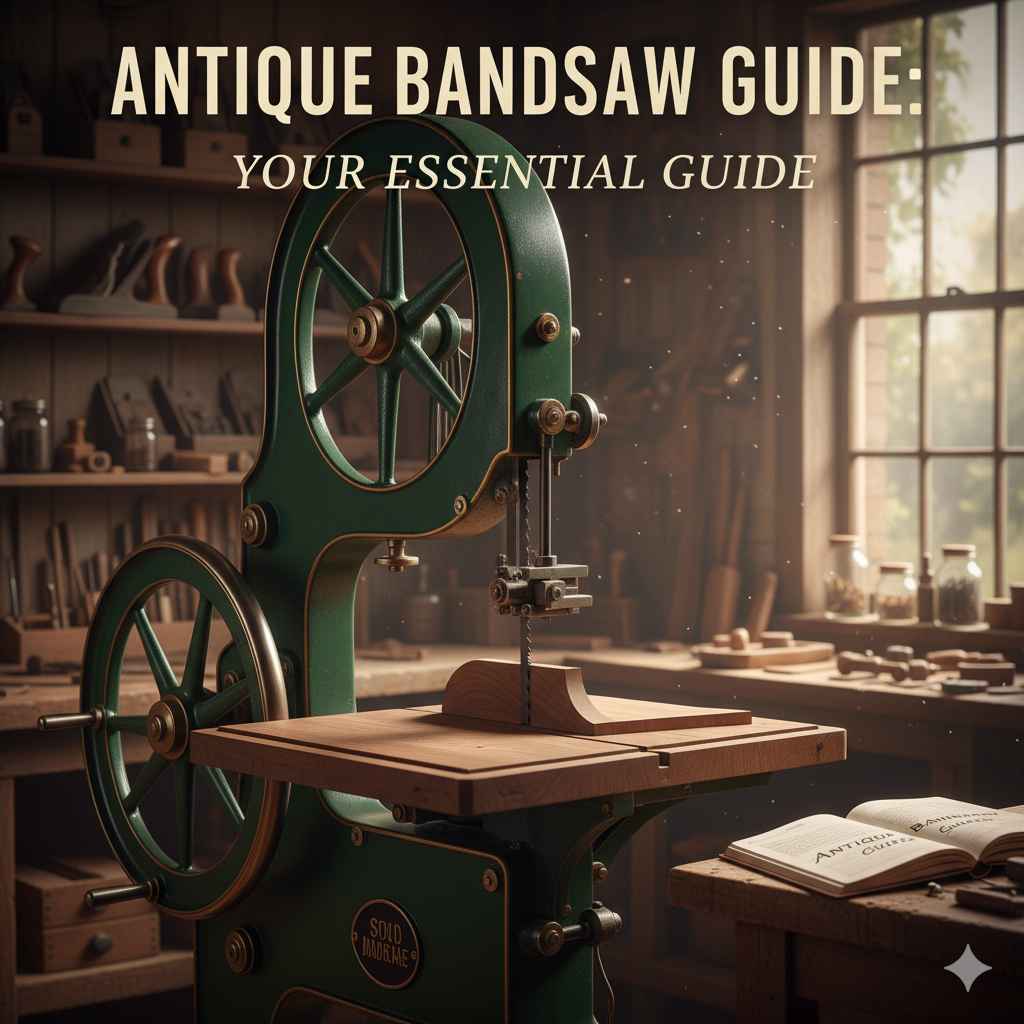
Antique Bandsaw: Your Essential Guide
Antique bandsaw: Your essential guide to finding, restoring, and using a classic woodworking tool for durable, beautiful crafts. Learn how to select a quality machine and bring it back to life safely and effectively.
Have you ever admired the smooth curves of antique furniture or the unique character of handcrafted wooden items and wondered how they were made? A big part of that magic often comes from the tools used. For many craftspeople, an antique bandsaw is a treasured piece of equipment, capable of making those flowing cuts. But finding one and getting it ready to use can feel a bit daunting if you’re new to woodworking. Don’t worry, I’m here to help! This guide will walk you through everything you need to know, step-by-step, so you can confidently choose, restore, and enjoy the benefits of an antique bandsaw for your own projects.
Why an Antique Bandsaw Might Be Your Next Workshop Gem
In today’s world of sleek, modern tools, why would you consider an older machine? There are several compelling reasons, especially for the budding woodworker or the DIY enthusiast looking for that special something. Antique bandsaws often represent a different era of manufacturing, one focused on robustness and longevity.
Many older bandsaws were built with heavier cast iron frames. This solid construction means less vibration during operation, leading to smoother cuts and a more stable tool. Think of it like a sturdy old truck versus a modern sports car – both get you there, but one is built for endurance and power. These machines were often designed to be repaired rather than replaced, meaning parts can sometimes be found or even fabricated.
Furthermore, an antique bandsaw can bring a unique charm and character to your workshop. It’s not just a tool; it’s a piece of history. Owning and restoring one can be a rewarding project in itself, giving you a deeper connection to the craft. And let’s not forget affordability. While pristine, highly sought-after models can fetch high prices, many perfectly functional antique bandsaws can be found for a fraction of the cost of a new, comparable machine. This makes them an excellent choice for those on a budget who still want high-quality capabilities.

Choosing Your Restorable Bandsaw: What to Look For
Finding the right antique bandsaw is like a treasure hunt! You want something that not only looks good but is fundamentally sound so you can bring it back to life without breaking the bank or your spirit. Here’s what to keep an eye out for:
The Big Picture: Frame and Wheels
Frame: The backbone of any bandsaw is its frame. Look for solid, uncracked cast iron. Small surface rust is fine, but deep pitting or cracks are major red flags. Gently tap the frame with a mallet; it should sound solid, not dull or hollow, which could indicate internal damage.
Wheels: The wheels that hold the blade are critical. They should spin freely and true, meaning they don’t wobble excessively. Check for any damage, especially to the rims where the tires sit. Some older bandsaws use solid metal wheels, while others have rubber tires. Rubber tires can be replaced, but ensure the wheels themselves are in good shape.
The Heart of the Machine: Motor and Drive
Motor: If the bandsaw has a motor attached, try to find out if it works. Even if it doesn’t, determining its voltage and horsepower can tell you if it’s practical to keep or if you’ll need to source a new one. Single-phase motors (common in homes) are usually 110V or 220V. Older motors might need rewinding, or you might opt for a modern replacement for better efficiency and safety.
Drive System: Check the belt connecting the motor to the bandsaw’s lower wheel. Is it intact? While belts are easily replaced, it’s a good sign if the existing one is in decent condition. Look at the overall condition of the pulleys as well.
Blade Control and Safety Features
Tensioning Mechanism: The blade needs to be properly tensioned. Inspect the mechanism that tightens the blade. Is it functional? Can it be adjusted smoothly, or is it rusted and seized?
Guides: Bandsaws use guides to keep the blade straight. Check the upper and lower blade guides. Are they present? Are they adjustable? These are crucial for accurate cuts. Many vintage bandsaws use simple phenolic or steel blocks, while some have roller bearings. Even if they need replacing, the mechanism to hold them should be sound.
Table: The table should be flat and tiltable if advertised. Wobbly or warped tables can lead to inaccurate cuts and dangerous situations. Check the trunnions (the mechanisms that allow the table to tilt) for sturdiness.
Safety Guards: While many antique bandsaws come with minimal guarding by modern standards, check what’s present. Are there at least basic guards around the wheels? Modern safety standards require more, but the presence of original guards can be a good indicator of how well-maintained the machine was.
Essential Restoration Steps: Bringing an Old Bandsaw Back to Life
So, you’ve found a promising antique bandsaw! Now comes the exciting part: bringing it back to functionality. This process can be incredibly rewarding, and with patience, you can transform a dusty relic into a workshop workhorse. Remember, safety is paramount throughout this process.
Step 1: Thorough Cleaning and Inspection
This is the most crucial first step. Rust, grime, and old paint can hide problems or simply make the machine unpleasant to work with. Use a good metal cleaner, degreaser, and wire brushes (both manual and drill-mounted) to get everything clean. Take your time. As you clean, you’ll get a much better feel for the machine’s condition. Look for any cracks or damage you might have missed.
Step 2: Addressing Rust and Corrosion
Light surface rust can often be removed with steel wool and metal polish. For heavier rust, consider naval jelly or a rust converter. For deep pitting, you might need to embrace it as part of the saw’s character. If you plan to repaint, ensure the metal is completely clean and free of any rust inhibitors that might prevent paint adhesion. A good primer designed for metal is essential before applying your chosen paint.
Step 3: Checking and Replacing Tires
The rubber tires on the bandsaw wheels are vital for blade tracking and cushioning. Old tires can become hard, brittle, or cracked. Inspect them carefully. If they are damaged, they’ll need replacement. You can buy generic bandsaw tire stock online. The process involves removing the old tires, cleaning the wheel rims, and carefully gluing or pressing on the new tires. This often requires a bit of wrestling and can be made easier by warming the new tire material slightly.
For guidance on tire replacement, resources like this helpful video from a woodworking enthusiast can provide visual step-by-step instructions and tips.
Step 4: Motor and Electrical Assessment
This is where safety is non-negotiable. If the original motor is present, have a qualified electrician inspect it. They can tell you if it’s safe to run or if it needs servicing. You might need to replace the power cord with a modern, grounded one. For older saws, you might consider mounting a new motor, ensuring it has the correct horsepower and mounting compatibility.
If you’re comfortable with basic electrical work, ensure any wiring is sound. Older machines might have outdated wiring that poses a fire hazard. Upgrading to a modern, safe electrical setup is a wise investment. Consider adding a paddle-style emergency stop switch for quick shut-offs.
Step 5: Bearings and Moving Parts
Check all bearings and pivot points. Do they spin freely? Are they sealed and in good condition? Many older bandsaws use simple oilite bushings or basic ball bearings. If they are stiff or noisy, they likely need replacement. Lubricate all grease points with appropriate woodworking machinery grease. A properly lubricated machine runs smoother, quieter, and lasts longer.
Step 6: Blade Tracking and Alignment
This is a crucial step for performance and safety. Proper blade tracking ensures the blade runs centered on the tires and cuts straight. You’ll need to consult your saw’s manual (if available) or look for guides online specific to your model. Generally, you’ll adjust the upper and lower guides and the angle of the upper wheel until the blade is centered and runs true.
Step 7: Safety Upgrades
Modern bandsaws have more comprehensive safety features than most antiques. While retaining the vintage charm, consider adding some modern safety enhancements. This could include:
- Blade guards: Ensuring full coverage of the blade when it exits the table.
- Dust collection: Most antique bandsaws have rudimentary dust ports, if any. Adding a proper dust collection port and connecting it to a shop vac or dust collector is crucial for air quality and keeping your workshop clean.
- Spark arrestor: Some older bandsaws might have a metal plate behind the blade to prevent sparks flying.
- Push sticks and safety blocks: Always use these when cutting small pieces.
The Occupational Safety and Health Administration (OSHA) provides excellent resources on machine guarding that are applicable even to older equipment.
Operating Your Antique Bandsaw Safely
Once your antique bandsaw is restored and humming, operating it safely is your top priority. These machines are powerful, and respecting their capabilities is key to a long and productive relationship.
Before You Cut: Pre-Operation Checks
Every time you turn on your bandsaw, perform a quick check:
- Is the blade properly tensioned?
- Is the blade tracking correctly on the wheels?
- Are the blade guides set correctly for the blade width?
- Are the tables and fences locked in place?
- Are all guards securely in position?
- Is the area around the saw clear of clutter?
- Do you have your safety glasses and hearing protection on?
Making the Cut: Technique and Best Practices
Here are some fundamental techniques for using your bandsaw:
- Blade Selection: Use the right blade for the job. Wider blades are better for resawing and straighter cuts, while narrower blades are for curves. Ensure the blade is sharp. A dull blade makes cutting harder and is more dangerous.
- Feed Rate: Don’t force the wood. Let the blade do the work. Push the wood through at a steady, consistent pace. Forcing it can bind the blade, cause kickback, or lead to overheating.
- Blade Guides: Adjust the upper blade guides so they are very close to the blade, just kissing the back of the teeth, without rubbing. The lower guides should also be snug. This provides steady support.
- Table Angle: Ensure the table is properly set for your desired cut. For rip cuts or crosscuts, the table should be 90 degrees to the blade. For angled cuts, double-check your settings.
- Feeding Material: Keep your hands well away from the blade path. Use push sticks or push blocks for small pieces or when feeding material close to the blade. Never stand directly behind the cutting line, as you could be hit by kickback or flying debris.
- Resawing: This is where bandsaws shine. When resawing thick lumber, use a wider blade and feed slowly. Be prepared for a lot of dust!
- Curves: For tight curves, use narrow blades. You’ll need to make relief cuts to remove waste wood ahead of the blade on tight turns to avoid binding.
Familiarize yourself with the capabilities of your specific saw. Newer bandsaws often have higher horsepower and more advanced features, but a well-maintained antique bandsaw can perform many of the same tasks effectively.
Common Bandsaw Problems and Quick Fixes
Even the best-restored bandsaw can develop hiccups. Here are some common issues beginners encounter and how to address them:
| Problem | Possible Cause | Solution |
|---|---|---|
| Blade wanders or drifts | Improper blade tension (too loose or too tight). | Adjust tension using the handwheel until the blade is taut but not overly stressed. Refer to manufacturer recommendations if available. |
| Blade wanders or drifts | Misaligned wheels or tires. | Check and adjust wheel tilt and alignment so the blade is centered when the wheels are parallel. |
| Blade wanders or drifts | Worn or improperly adjusted blade guides. | Adjust guides to be snug but not tight against the blade’s back. Replace worn guides. |
| Blade breaks frequently | Blade tension is too high, or blade is old/damaged. | Reduce tension slightly. Inspect blade for cracks or damage. Use a quality blade suitable for your saw and material. |
| Blade breaks frequently | Blade is not tracking correctly and rubbing against wheel flanges. | Ensure blade is centered on wheels and guides are properly set. |
| Excessive vibration | Unbalanced wheels or loose components. | Check wheel balance (often not an easy fix on antique saws). Ensure all bolts and parts are tight. Clean debris from wheels. |
| Excessive vibration | Motor issues or worn bearings. | Inspect motor mountings and bearings. |
| Poor cut quality (rough or wavy) | Dull blade. | Sharpen or replace the blade. |
| Poor cut quality (rough or wavy) | Blade tension is too low. | Increase blade tension. |
| Poor cut quality (rough or wavy) | Blade guides too loose. | Adjust blade guides for proper support. |
| Saw struggles to cut | Blade is too narrow for the intended cut (e.g., resawing with a narrow blade). | Use an appropriate width blade for the task. A wider blade offers more support. |
| Saw struggles to cut | Wood is being pushed too fast. | Reduce feed rate and let the blade do the work. |
| Saw struggles to cut | Blade is dull or damaged. | Maintain sharp blades and inspect for damage. |
Pros and Cons of Owning an Antique Bandsaw
Like any tool, antique bandsaws have their advantages and disadvantages. Understanding these can help you decide if it’s the right choice for you and your workshop space.
Pros:
- Durability and Build Quality: Often constructed with heavier cast iron, leading to a more stable and long-lasting machine.
- Cost-Effectiveness: Can be significantly cheaper than new, comparable bandsaws.
- Smooth Operation: Reduced vibration thanks to solid construction can result in cleaner cuts.
- Aesthetic Appeal: Their vintage look can add character to any workshop.
- Restoration Project: The process of bringing one back to life can be a rewarding learning experience.
- Repairability: Simpler designs can sometimes make repairs easier.
Cons:
- Safety Concerns: May lack modern safety features like advanced blade guarding or emergency stops.
- Maintenance: Can require dedicated time and effort for cleaning, rust removal, and part replacement.
- Parts Availability: Finding exact replacement parts for very old or obscure models can be challenging.
- Potential for Hidden Damage: Cracks or worn components might not be immediately obvious.
- Dust Collection: Older saws often have poor or non-existent dust collection systems.
- Electrical Updates: May require rewiring for safety and compatibility with modern power.

Frequently Asked Questions About Antique Bandsaws
Q1: How much should I expect to pay for an antique bandsaw?
Prices vary wildly based on brand, size, condition, and rarity. You might find a basic functional model for under $200, while highly sought-after or rare models in excellent restored condition could sell for $1000 or more.
Q2: What are the most reliable brands of antique bandsaws?
Some highly regarded brands known for durable antique bandsaws include Delta, Powermatic, Oliver, Boice-Crane, and Walker-Turner. However, many other lesser-known manufacturers also produced quality machines.
Q3: Is it difficult to find replacement parts for antique bandsaws?
It can be challenging. For common brands and models, enthusiast forums and online marketplaces might yield parts. Sometimes, generic parts can be adapted, or custom parts may need to be fabricated by a machinist.