
How Do You Sand Wood? Essential Step-by-Step Tips
Sanding wood smooths rough surfaces and prepares them perfectly for staining, painting, or finishing. You can achieve professional, silky results easily with the right grit progression, gentle techniques, and safety steps—making any project look stunning and last longer.
Many beginners feel frustrated when their projects turn out rough or uneven after finishing. Rough wood hides scratches, mill marks, or old finish that show up later and ruin the look. Don’t worry—sanding is a simple skill anyone can master.
I’ll guide you step by step through choosing tools, progressing grits, and avoiding common mistakes. You’ll gain confidence quickly and create smooth, beautiful wood pieces. Let’s dive in and turn that rough lumber into something you’re proud to show off.
Why Proper Sanding Matters in Woodworking
Sanding isn’t just a chore—it’s the foundation of great craftsmanship. It removes imperfections, opens the wood grain for better finish absorption, and creates a surface that feels as good as it looks.
Good sanding prevents blotchy stains, peeling paint, or visible scratches under clear coats. It also enhances durability by helping finishes bond strongly.
Best of all, proper sanding builds your skills and confidence. You’ll see dramatic improvements in your projects right away.
Understanding Sandpaper Grits: Your Key to Smooth Wood
Sandpaper grit numbers indicate how coarse or fine the abrasive particles are. Lower numbers mean coarser paper that removes material quickly; higher numbers create finer, smoother finishes.
Always progress from coarse to fine grits. This removes deep scratches efficiently and leaves a flawless surface.
| Grit Range | Category | Best For | Common Uses in Woodworking |
|---|---|---|---|
| 60-80 | Coarse | Heavy material removal | Stripping old finishes, leveling rough lumber, removing deep scratches |
| 100-120 | Medium | Initial smoothing | Removing mill marks, preparing raw wood for finer sanding |
| 150-180 | Fine | General finishing | Final prep before oil-based finishes or paint |
| 220+ | Very Fine | Ultra-smooth results | Before staining, between finish coats, or for glass-like clarity |
For most beginner projects, start with 120 grit on prepared lumber and progress to 220. This sequence works well for beautiful, achievable results.
Types of Sandpaper for Woodworking
Different abrasive materials perform best on wood. Aluminum oxide is the go-to choice for most hobbyists—it’s durable, affordable, and effective.
- Aluminum Oxide: Versatile and long-lasting; great for hand and power sanding wood.
- Garnet: Natural abrasive that sands smoothly; excellent for final hand sanding.
- Silicon Carbide: Very sharp; useful for wet sanding or between finish coats.
Look for open-coat sandpaper to reduce clogging with wood dust.
Hand Sanding vs. Power Sanding: Pros and Cons
Both methods have their place in the workshop. Many woodworkers use a combination for best results.
| Method | Pros | Cons | Best For |
|---|---|---|---|
| Hand Sanding | Excellent control, no swirl marks, quiet, inexpensive | Slower, more physical effort | Final smoothing, contours, small projects, avoiding power tool damage |
| Power Sanding | Fast, consistent on large areas, less effort | Can leave swirls if misused, dusty, more expensive tools | Rough stock removal, flat surfaces, large projects |
A random orbital sander is beginner-friendly and reduces visible scratches.
Essential Tools and Safety Gear
Start with basic, affordable items.
- Sandpaper sheets or discs in 120, 150, 180, and 220 grit
- Sanding block (rubber or foam for comfort)
- Random orbital sander (optional but helpful)
- Dust mask or respirator
- Safety glasses
- Shop vacuum or dust collection
- Tack cloth or microfiber for dust removal
Wood dust can irritate lungs and is combustible. Always wear a dust mask and work in a ventilated area. According to safety guidelines, proper dust collection is essential in woodworking shops.
Step-by-Step Guide: How to Sand Wood Properly
Follow these steps for professional results every time.
- Prepare your workspace: Work in a clean, well-lit area. Secure the wood piece.
- Start coarse if needed: For rough lumber, begin with 80-120 grit to remove mill marks.
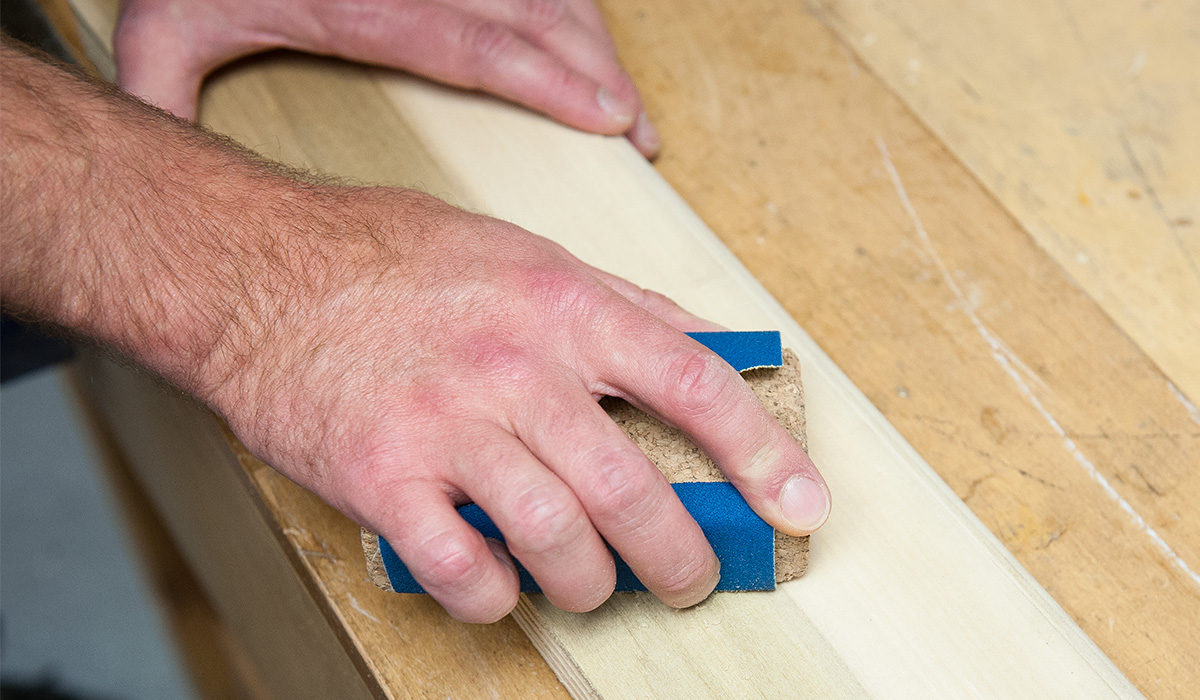
- Sand with the grain: Always move parallel to the wood fibers to avoid cross-grain scratches.
- Use light, even pressure: Let the sandpaper do the work—pressing hard causes uneven spots.
- Progress through grits: Move to 150, then 180, then 220. Clean dust between each grit.
- Check your progress: Feel the surface and inspect under light for scratches.
- Final hand sand: Finish with 220 grit by hand for the smoothest feel.
- Clean thoroughly: Vacuum and wipe with a tack cloth before finishing.
Raising the grain (wiping with a damp cloth and light sanding after drying) creates an extra-smooth surface before staining.
Common Sanding Mistakes and How to Avoid Them
Even experienced woodworkers make these errors—learn to skip them.
- Skipping grits: Jumping from 80 to 220 leaves visible scratches. Progress gradually.
- Sanding against the grain: Creates hard-to-remove scratches that show in finish.
- Pressing too hard on power sanders: Causes swirls or gouges. Use light pressure.
- Not removing dust between grits: Old coarse particles create deeper scratches.
- Over-sanding: Too fine a grit closes pores and reduces stain absorption.
Take your time—patient sanding always pays off.
When to Stop Sanding
Most projects need sanding only to 220 grit. For oil finishes, stop at 180. Higher grits (320+) are for between-coat sanding or ultra-high-end work.
The surface should feel silky smooth with no visible scratches under raking light. If preparing for stain, test on scrap—too smooth reduces absorption and color depth.
Conclusion: Enjoy Your Beautifully Sanded Projects
Sanding wood transforms rough lumber into smooth, professional pieces you’ll love showing off. With the right grits, gentle techniques, and safety focus, anyone can achieve stunning results.
Remember: start coarse if needed, always sand with the grain, progress patiently through grits, and clean thoroughly. Your projects will look better, feel better, and last longer.
Next time you pick up sandpaper, you’ll feel confident knowing these steps. Keep practicing—the smooth finishes will come easily. Happy woodworking!
:max_bytes(150000):strip_icc()/102255120-7459e848f3124355aa4f66244f2fb18a.jpg)
Frequently Asked Questions
What grit should I start sanding wood with?
For most store-bought or planed lumber, start with 120 grit. Use 80-100 grit only for very rough surfaces or removing old finishes.
Do I need to sand between coats of finish?
Yes—lightly sand with 220-320 grit between coats to remove dust nibs and create better adhesion for a smoother final result.
Is hand sanding better than power sanding?
Both have advantages. Power sanding is faster for large areas, while hand sanding gives more control and avoids swirl marks—use both for best outcomes.
How do I know when the wood is smooth enough?
Run your hand over the surface—it should feel uniformly silky. Check under angled light for remaining scratches.
Can I sand wood too much?
Yes—over-sanding with very fine grits (above 220 before staining) closes pores and leads to uneven color absorption.
What’s the best way to reduce dust when sanding?
Use a shop vacuum with your sander, wear a quality dust mask, and work in a ventilated space. Dust collection keeps your shop cleaner and healthier.
Should I wet sand wood?
Wet sanding with 400+ grit and water or oil is great for final polishing between finish coats, but not necessary for most beginner projects.


