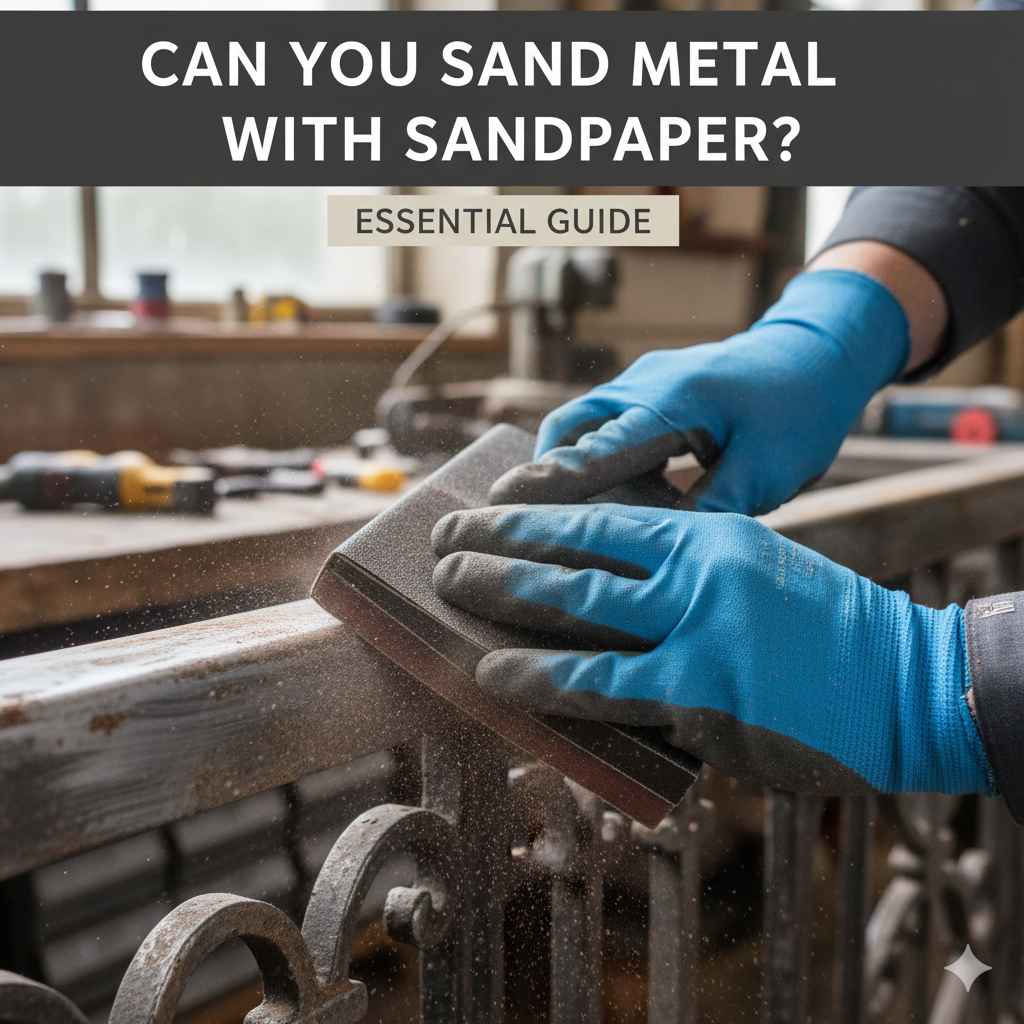
Can You Sand Metal With Sandpaper: Essential Guide
Yes, you absolutely can sand metal with sandpaper! It’s a common and effective method for cleaning, smoothing, preparing surfaces for paint, or removing rust and burrs. This guide will show you how to choose the right grit and techniques for great results.
Ever looked at a dulled piece of metal, maybe some old rust spots, or a rough edge and wondered, “Can I just use sandpaper on this?” The good news is, you sure can! Sanding metal with sandpaper is a fantastic DIY solution for many common issues. It’s not as daunting as it might seem. Think of it like giving your metal a gentle polish or a thorough cleaning. Whether you’re aiming for a perfectly smooth finish before painting or just want to get rid of some unsightly imperfections, sandpaper is often your best friend.
Many beginners find working with metal a bit intimidating, but with the right approach, it’s totally manageable. We’ll walk through everything you need to know, from picking out the best sandpaper for your job to the simple techniques that will give you professional-looking results. No need for fancy, expensive tools – just a bit of know-how and the right sandpaper will set you on your way to making your metal projects shine. Let’s get started and unlock the secrets to successfully sanding metal!
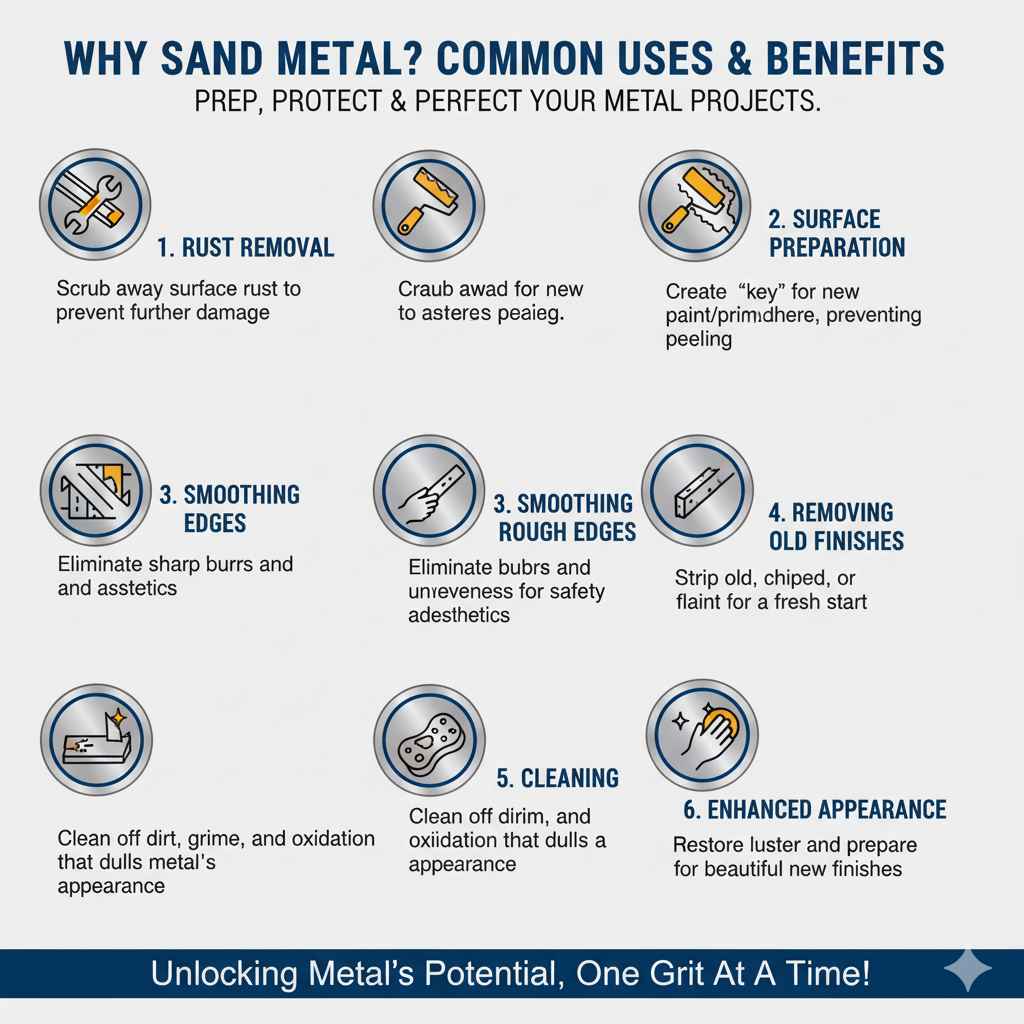
Why Sand Metal? Common Uses and Benefits
Sanding metal isn’t just about making things look pretty; it serves several practical purposes. Understanding these reasons will help you appreciate why this technique is so valuable for DIYers and homeowners.
- Rust Removal: Sandpaper is excellent for scrubbing away surface rust, preventing it from spreading and damaging the metal further.
- Surface Preparation: For painting, priming, or refinishing metal, sanding creates a slightly rough surface (called a “key”) that helps new finishes adhere better, preventing peeling later on.
- Smoothing Rough Edges: Metal parts can sometimes have sharp burrs or unevenness after being cut or formed. Sanding smooths these down for safety and a better look.
- Removing Old Finishes: If you need to repaint an item, sanding can help remove old, chipped, or flaking paint.
- Cleaning: It can clean off dirt, grime, or oxidation that dulls the metal’s appearance.
Choosing the Right Sandpaper for Metal
Not all sandpaper is created equal, and using the wrong type on metal can be frustrating. For sanding metal, you’ll typically want sandpaper specifically designed for harder surfaces. Look for sandpaper with these abrasive grains:
- Aluminum Oxide: This is a very common and durable abrasive that works well on metal for general-purpose sanding, rust removal, and paint prep. It’s a good all-rounder.
- Silicon Carbide: This is harder and sharper than aluminum oxide, making it excellent for very hard metals and for achieving a finer finish. It’s often used for wet sanding, which can help keep dust down and provide a smoother result.
- Ceramic or Zirconia: These are premium, long-lasting abrasives that are great for heavy-duty sanding and removing tough materials. They tend to be more expensive but last longer, especially on tough jobs.
When buying sandpaper, pay close attention to the “grit” number. Grit refers to the size of the abrasive particles. Lower numbers mean coarser grit (larger particles) for aggressive material removal, and higher numbers mean finer grit (smaller particles) for smoothing. Here’s a general guideline:
Sandpaper Grit Guide for Metal
| Grit Number | Grit Type | Best Use on Metal | Result |
|---|---|---|---|
| 24-60 | Coarse | Heavy rust removal, removing thick paint or coatings, shaping rough edges. Use with caution as it can scratch metal deeply. | Aggressive material removal, leaves a rougher surface. |
| 80-120 | Medium | Removing light rust, smoothing out coarse sanding marks, preparing for primer. A good starting point for many projects. | Moderate material removal, prepares for finer sanding. |
| 150-220 | Fine | Smoothing surfaces, removing minor imperfections, preparing for paint. Good for general finishing. | Light material removal, creates a smooth surface. |
| 240-400 | Very Fine | Final smoothing before painting or coating, removing light scratches, achieving a satin finish. | Minimal material removal, polishes and refines. |
| 600+ | Extra Fine/Polishing | Wet sanding for a mirror finish, final polishing, preparing clear coats. | Polishing, very smooth, sometimes glossy finish. |
For most DIY tasks involving metal, you’ll likely be working with grits from 80 up to 220. It’s often best to start with a medium grit and progressively move to finer grits to achieve the desired smoothness.
Essential Tools and Materials
Before you start sanding, gather what you’ll need. This simple setup will make the job much easier and safer.
- Sandpaper: As discussed, choose your grits based on the task. Get a variety if you’re unsure. Consider sandpaper sheets, sanding blocks, or even sanding discs if you have a tool.
- Safety Glasses: Absolutely essential! Metal particles and dust can easily fly into your eyes. Don’t skip this!
- Gloves: Protect your hands from rough edges and fine metal dust.
- Dust Mask or Respirator: Especially when sanding larger areas or working with older, painted metal, a mask prevents you from inhaling dust and fumes. For more information on respiratory protection, the Occupational Safety and Health Administration (OSHA) offers great resources.
- Work Surface: A sturdy table or workbench is ideal. If working outdoors, a drop cloth can protect the ground.
- Cleaning Supplies: Rags and a degreaser or soap and water to clean the metal before and after sanding.
- Optional: Sanding Block: A rubber or cork sanding block can help you apply even pressure and conforms slightly to surfaces, leading to a more uniform finish.
- Optional: Water or Lubricant: For wet sanding (especially with silicon carbide sandpaper), you’ll need water, mineral spirits, or a specialized lubricant.
How to Sand Metal With Sandpaper: A Step-by-Step Guide
Now that you have your materials, let’s walk through how to sand metal effectively. We’ll start with a common scenario: removing light rust and preparing for paint.
Step 1: Safety First!
Before you pick up any sandpaper, put on your safety glasses, gloves, and dust mask. Make sure you’re in a well-ventilated area. This is non-negotiable for your well-being.
Step 2: Clean the Metal Surface
Wipe down the metal with a clean rag and a degreaser or soapy water. This removes dirt, grease, and grime. Contaminants can clog your sandpaper and create an uneven finish. Let it dry completely.
Step 3: Start with the Right Grit
Choose your starting grit. For light rust and general preparation, an 80-grit or 120-grit sandpaper is usually a good choice. If you have heavier rust, you might need to start with a 60-grit, but be prepared to move up to finer grits quickly to smooth the surface.
Step 4: Sanding Technique
For Hand Sanding:
- If using a sheet, fold it into a pad or wrap it around a sanding block.
- Apply gentle, even pressure. You don’t need to lean heavily; let the sandpaper do the work.
- Sand in one direction, ideally with the “grain” of the metal if there is one (like brushed stainless steel). If there’s no clear grain, use long, straight strokes. Avoid circular motions, which can leave swirl marks.
- Work in sections.
For Power Sanding (using a drill with a sanding attachment or a dedicated orbital sander):
- Attach the appropriate sanding disc to your tool.
- Hold the tool at a slight angle to the surface.
- Move the sander in long, overlapping strokes. Don’t let the sander sit in one spot, as it can create an uneven surface or heat up the metal.
- Let the tool’s weight do the work. Forcing it can damage the surface and the sandpaper.
Step 5: Check Your Progress
Periodically stop and wipe away the dust to see how the sanding is progressing. Are the rust spots gone? Is the surface looking more uniform? If you’re still seeing imperfections, continue with the current grit.
Step 6: Move to Finer Grits
Once you’ve removed the rust or achieved the desired level of material removal with your starting grit, it’s time to smooth. Move to the next finer grit (e.g., from 80 to 150, or 120 to 220). Repeat the sanding process, using the same techniques.
This step-by-step process of moving through progressively finer grits is key to achieving a smooth, ready-to-finish surface. It’s like peeling back layers to reveal a cleaner, smoother surface underneath. Each finer grit removes the scratches left by the previous, coarser grit.
Step 7 (Optional): Wet Sanding
For a super-smooth finish or when working with very fine grits (like 600+ for polishing), wet sanding can be beneficial. Lightly mist the surface with water or your chosen lubricant. This helps:
- Keep dust down.
- Prevent sandpaper from clogging quickly.
- Provide a cooler sanding temperature, reducing the risk of heat distortion.
- Achieve a finer, swirl-free finish.
When wet sanding, continue with the same directional strokes. Wipe the surface clean frequently to check progress. Be sure to dry the metal thoroughly afterward.
Step 8: Final Clean-Up
Once you’ve finished sanding with your finest grit, wipe the metal down thoroughly with a clean rag to remove all residual dust. You can use a tack cloth for an extra-clean surface, especially if you plan to paint.
Sanding Different Types of Metal
While the basic process is similar, different metals might require slight adjustments. Here’s a quick rundown:
Steel and Iron
These are common metals that sand relatively well. They can rust, so rust removal is a frequent use case. Start with coarser grits (like 60-80) for heavy rust and work your way up. Steel can handle a good amount of abrasion.
Aluminum
Aluminum is softer than steel. It can clog sandpaper quickly because it’s a bit “gummy.”
- Use sharp abrasives.
- Consider wet sanding to prevent clogging and keep temperatures down.
- Avoid overly coarse grits unless absolutely necessary, as they can deeply scratch the soft metal.
- Aluminum oxide sandpaper is generally a good choice.
Stainless Steel
Stainless steel is tougher and often has a brushed finish.
-
- If you want to maintain the brushed look, sand in the direction of the existing brush marks.
- Use aluminum oxide or silicon carbide sandpaper.
- Finer grits (220 and above) are often used to restore or maintain the finish without creating too much visible abrasion.
- Be aware that aggressive sanding can change the finish of stainless steel.
Copper and Brass
These softer metals are prone to scratching. They are often polished rather than aggressively sanded.
-
-
- Start with finer grits (220 and higher) for general cleaning or removing tarnish.
- For polishing, use extremely fine grits (600-1000+) or specialized metal polishes.
- Wet sanding is highly recommended for these metals to prevent clogging and achieve a smooth polish.
-
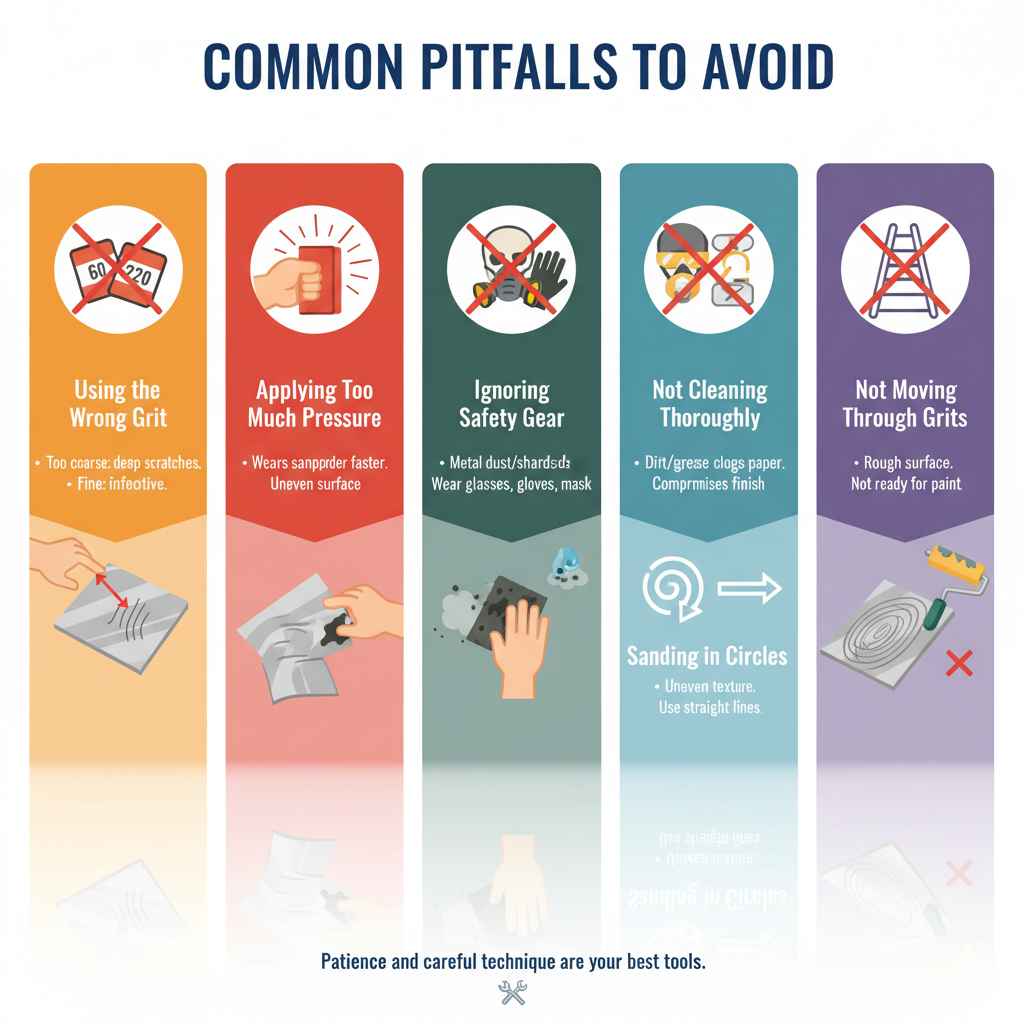
Common Pitfalls to Avoid
Even with a good guide, a few common mistakes can lead to frustration. Here’s what to watch out for:
-
-
- Using the Wrong Grit: Starting too coarse can cause deep scratches that are hard to remove. Starting too fine won’t be effective for rust or heavy imperfections.
- Applying Too Much Pressure: Let the sandpaper do the work. Excessive force can wear out your sandpaper faster and lead to an uneven surface.
- Ignoring Safety Gear: Metal dust and shards are dangerous. Always wear safety glasses, gloves, and a mask.
- Not Cleaning Thoroughly: Dirt and grease left on the surface will clog your sandpaper and compromise your finish.
- Sanding in Circles: Unless you’re trying to create a specific distressed look, sanding in consistent, straight lines is best.
- Not Moving Through Grits: Skipping finer grits after using a coarse one will leave a rough surface that won’t be ready for paint or a smooth finish.
-
Proper preparation and careful technique are your best tools for a successful metal sanding project. It’s about being patient and letting the process work.
Frequently Asked Questions (FAQ)
Q1: Can I use sandpaper on painted metal?
Yes, you can. For removing old paint, start with a coarser grit (like 80-100). For scuffing up existing paint to prepare for a new coat, use a finer grit (like 150-220). Always wear a dust mask as old paint can contain harmful substances.
Q2: How do I get a mirror finish on metal?
Achieving a mirror finish involves meticulous sanding with a progression of very fine grits, typically starting around 400 and going up to 1500-2000 or even higher, often with wet sanding and a lubricant. After the finest grit sanding, you’ll need to use metal polishing compounds.
Q3: How often should I replace my sandpaper?
Replace sandpaper when it feels smooth and is no longer cutting effectively, or when it becomes clogged with metal dust. For metal, clogging can happen quickly, especially with softer metals or gummy materials.
Q4: Can I use sandpaper underwater?
Yes, this is called wet sanding. It’s especially effective for creating a smooth finish on metals like aluminum or stainless steel, preventing dust, and keeping the sandpaper from clogging as fast. Ensure your sandpaper is rated for wet use (often silicon carbide). Remember to dry the metal thoroughly afterward.
Q5: What grit should I use to remove welding spatter?
Welding spatter is essentially hardened metal. You’ll likely need a coarser grit to start, such as 60 or 80, to grind it away. Once the spatter is removed, you’ll need to progressively use finer grits (120, 220, etc.) to smooth the area and blend it with the surrounding metal.
Q6: How do I avoid damaging delicate metal items when sanding?
For delicate items, use very fine grits (220+) and apply minimal pressure. Consider using a sanding block to distribute pressure evenly. For very fine work or highly polished finishes, using specialized metal polishing cloths or compounds might be a gentler alternative to sandpaper.
—
Conclusion
So, can you sand metal with sandpaper? Absolutely! It’s a versatile and accessible technique that can revive old items, prepare surfaces for new finishes, and improve the overall look and feel of metal projects. By understanding the different grits, choosing the right sandpaper for the job, and employing careful, progressive sanding techniques, you can achieve fantastic results.
Remember to always prioritize safety by wearing your protective gear. Start with a moderate grit and work your way up to finer ones, cleaning the surface thoroughly at each stage. This methodical approach ensures you remove imperfections effectively while building a smooth, ready surface. Whether you’re a seasoned DIYer or just starting out, mastering the art of sanding metal will add another valuable skill to your toolkit, empowering you to tackle a wider range of projects with confidence.