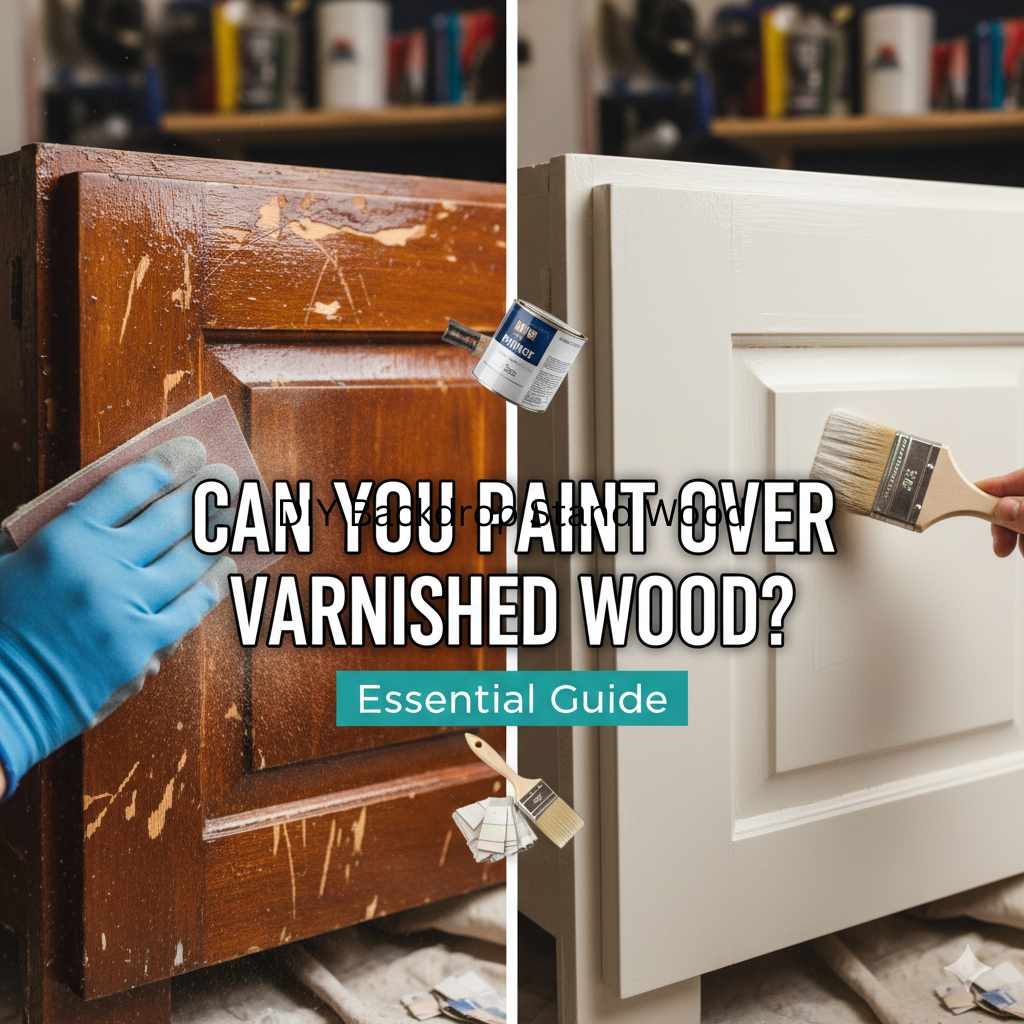
Can You Polyurethane Over Varnish: Essential Guide
Yes! You can absolutely polyurethane over varnish, but success depends on preparing the surface properly. This guide will show you how to safely and effectively topcoat your varnished wood project for a durable, beautiful finish.
Can You Polyurethane Over Varnish? Your Essential Guide
Staring at a piece of furniture or woodwork you’ve meticulously varnished, only to wonder if there’s a way to add an extra layer of protection or a different sheen? You’re not alone! Many DIYers and homeowners face this very question. It’s a common concern: can you put polyurethane over an existing varnish finish without causing a mess or ruining your hard work? The good news is, the answer is a resounding yes, but with a crucial caveat. Like most things in woodworking, preparation is key. Getting this right means you can enhance durability, change the look, or simply reinforce a finish on your treasured items.
This guide is designed to walk you through the entire process, breaking down the steps into simple, manageable actions. We’ll cover why you might want to do this, what you need to consider, and the exact techniques to ensure a flawless result. So, let’s dive in and give your varnished pieces the ultimate protective upgrade!
Why Topcoat Varnish with Polyurethane?
It might sound like overkill, but there are several excellent reasons why you might want to apply polyurethane over an existing varnish. Understanding these benefits can help you decide if this is the right step for your project.
- Enhanced Durability: Polyurethane, especially oil-based varieties, offers exceptional protection against wear and tear, moisture, and abrasion. Adding a layer over varnish can significantly extend the life and resilience of your wood finish.
- Changing Sheen: If your current varnish has a high gloss and you prefer a more matte or satin look (or vice versa), polyurethane is a fantastic way to achieve this without stripping the original finish.
- Repair and Reinforcement: Over time, even the best varnish can develop minor scratches or dull spots. A coat of polyurethane can even out the surface, hide small imperfections, and provide a fresh, uniform look.
- Matching Finishes: When refinishing parts of a piece of furniture or a room where existing woodwork has a different finish, you might use polyurethane to match or complement the current look.
- Increased Water Resistance: For items like tabletops, bar tops, or outdoor furniture, an extra layer of polyurethane can boost resistance to spills and water damage.

Understanding Varnish vs. Polyurethane
Before we get into the ‘how-to,’ it’s helpful to know a bit about the finishes themselves. Both varnish and polyurethane are protective topcoats, but they have differences.
Varnish is a general term, often referring to oil-based finishes made from resins, oils, and solvents. Traditional varnishes can be durable but may be more prone to yellowing over time than some modern polyurethanes. They can also be slower to dry.
Polyurethane is a synthetic organic compound that forms a hard, protective plastic-like layer when dried. It’s known for its excellent durability, scratch resistance, and water-repellency. Polyurethane comes in two main types:
- Oil-Based Polyurethane: Offers superior durability and a warm, amber tone that deepens over time. It’s great for high-traffic areas but can have strong fumes and requires mineral spirits for cleanup. It tends to yellow more than water-based options.
- Water-Based Polyurethane: Dries clear, has low odor, and cleans up with water. It’s less prone to yellowing and dries faster but might not be quite as durable as oil-based versions for extreme wear.
The good news is that, generally, polyurethane can be applied over most types of cured varnish with proper preparation. Think of it as adding a super-powered shield to an already good one!
Can You Apply Polyurethane Over Any Varnish?
In most cases, yes! However, there are a few things to consider:
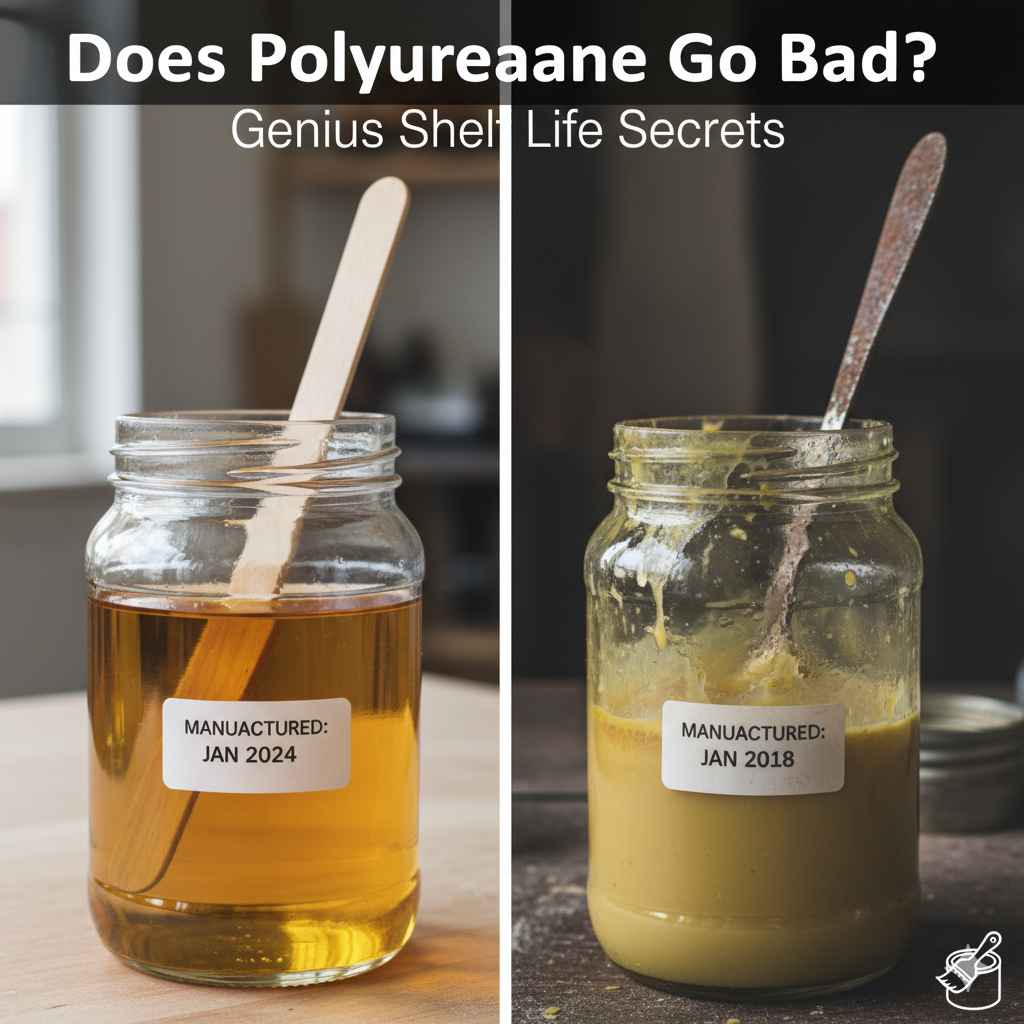
- Cured Finish: The most critical factor is that the original varnish must be fully cured. If it’s still soft or tacky, applying polyurethane can create a mess, pulling up the varnish or creating an uneven, gummy surface. Curing times vary greatly depending on the type of varnish and environmental conditions (temperature, humidity). Always check the manufacturer’s recommendations, but a safe bet is often a week or more.
- Type of Varnish: While polyurethane is compatible with most oil-based and some water-based varnishes, extremely old or incompatible finishes (like certain lacquers or shellacs that may have yellowed significantly or degraded) could present challenges. If you’re unsure what the original finish is, testing in an inconspicuous spot is always a wise move.
- Recoating Windows: Some finishes have specific recoating windows – periods where they are ideal for recoating. Exceeding these can sometimes require more aggressive surface prep.
Pro Tip: If you’re dealing with a very old piece, especially one with potential lead paint or unknown finishes, always prioritize safety. Research lead paint testing and handle with care. For unknown finishes, a test patch is your best friend.
Gathering Your Supplies
Before you start, ensure you have everything you need. Having your tools and materials at hand makes the process smoother and more enjoyable.
Essential Tools and Materials:
- Your chosen Polyurethane: Water-based or oil-based.
- Fine-grit Sandpaper: 220-grit to 320-grit is usually ideal for scuff-sanding.
- Sanding Sponges: Flexible and great for curved surfaces.
- Tack Cloths: Essential for removing dust after sanding.
- Clean, Lint-Free Rags: For wiping down and applying some finishes if you choose that method.
- Good Quality Brushes or Foam Applicators: Specific to the type of polyurethane you’re using (natural bristles for oil-based, synthetic for water-based).
- Disposable Gloves: To protect your hands.
- Safety Glasses: Always protect your eyes.
- Respirator Mask: Especially important for oil-based polyurethane or if sanding creates dust. Check out OSHA’s guidance on respiratory protection for woodworking. OSHA Chemical Data
- Drop Cloths or Protective Sheeting: To shield your work area.
- Mineral Spirits (for oil-based poly cleanup) or Water (for water-based poly cleanup).
- Denatured Alcohol (optional, for initial cleaning).
The Step-by-Step Process: Polyurethane Over Varnish
Now, let’s get down to business. Follow these steps carefully for the best results.
Step 1: Prepare Your Workspace
Choose a well-ventilated area, free from dust and drafts. Lay down drop cloths to protect your floor and surrounding items. Ensure the temperature is within the range recommended by your polyurethane manufacturer (usually between 65-85°F or 18-29°C). Good ventilation is crucial, especially if using oil-based polyurethane. The EPA discusses VOCs and their impact on indoor air quality, making ventilation a key safety step.
Step 2: Clean the Surface Thoroughly
Dirt, grease, or wax can prevent the new polyurethane from adhering properly.
- Start by dusting the piece thoroughly with a dry cloth or brush.
- If there’s any greasy residue, gently clean the surface with a mild detergent and water, or a mineral spirits wipe-down (for oil-based finishes). Allow it to dry completely.
- For a really clean surface, especially if you suspect wax buildup, a light wipe with denatured alcohol can be very effective.
The goal is a perfectly clean surface, free from any contaminants.
Step 3: Lightly Scuff-Sand the Surface
This is arguably the most important step when applying a new finish over an old one. You aren’t trying to remove the old varnish; you’re just creating a slightly rough surface so the new polyurethane has something to grip onto. This process is called “scuff-sanding.”
- Use your 220-grit to 320-grit sandpaper or sanding sponge.
- Work in the direction of the wood grain.
- Apply very light, even pressure. You want to dull the sheen of the existing varnish, not sand through it.
- Pay attention to corners and edges. If your piece has intricate details, a sanding sponge is invaluable.
- For very large flat areas, an orbital sander with a fine-grit pad can save time, but use extreme caution to avoid oversanding or creating swirl marks.
Don’t overdo it! The surface should feel slightly rough to the touch, not perfectly smooth.
Step 4: Remove All Sanding Dust
After sanding, you’ll have a fine layer of dust. Removing this completely is critical for a smooth finish.
- First, vacuum as much dust as possible from the surface.
- Then, use a tack cloth. Gently wipe the entire surface with the tack cloth, following the wood grain. The tack cloth will pick up microscopic dust particles that vacuuming and brushing miss.
- Be sure to work in one direction and don’t press too hard, as you don’t want to leave any residue from the tack cloth itself. Allow any residue a moment to dissipate, then lightly wipe again with a clean, dry lint-free cloth if needed.
Step 5: Apply the First Coat of Polyurethane
Now you’re ready for the first coat of polyurethane.
- Stir, Don’t Shake: If using a can of polyurethane, gently stir it to mix. Shaking creates air bubbles that will transfer to your finish.
- Pour into a Tray: Pour a small amount into a paint tray or a disposable cup.
- Use the Right Applicator: Dip your high-quality brush or foam applicator into the polyurethane. For oil-based, use a natural bristle brush. For water-based, use a synthetic bristle brush.
- Apply Thin, Even Coats: Apply the polyurethane in long, even strokes, following the direction of the wood grain. Work relatively quickly but avoid over-brushing, which can cause streaks or bubbles.
- Maintain a Wet Edge: Overlap your strokes slightly to maintain a “wet edge,” which helps prevent lap marks.
- Wipe Off Excess: If any significant drips or puddles form, gently wipe them away with your brush as you go.
- Allow to Dry: Let the first coat dry completely according to the manufacturer’s instructions. Drying times can range from 2 to 12 hours or more, depending on the type of poly, humidity, and temperature.
Step 6: Lightly Sand Between Coats
Once the first coat is dry, it’s time for another light scuff-sand. This is crucial for adhesion between coats and for achieving a silky-smooth final finish.
- Use a brand new piece of 220-grit to 320-grit sandpaper or a fine-grit sanding sponge.
- Again, apply minimal pressure and sand lightly over the entire surface, following the grain. You’re just knocking down any tiny imperfections, dust nibs, or slight unevenness from the first coat.
- Don’t sand too aggressively, as you don’t want to expose the existing varnish or the wood beneath.
- Vacuum all dust, then use a tack cloth to remove all remaining particles.
Step 7: Apply Subsequent Coats
Repeat Steps 5 and 6 for each additional coat of polyurethane. Most projects will benefit from at least 2-3 coats, while high-wear surfaces like tabletops might need 4 or more.
Important Note: Check the manufacturer’s instructions for the recommended recoat window. If you apply the next coat too soon, you risk lifting the previous coat. If you wait too long (sometimes exceeding 24-48 hours), the surface can become too hard for the next coat to bond properly, and you might need to do a more thorough sanding. If you pass the recommended recoat window, always lightly sand and tack cloth before applying the next coat.
Step 8: The Final Coat and Curing
Apply your final coat with the same care as the previous ones. Once complete, allow the finish to cure. Curing is the process where the polyurethane hardens completely, which can take several days to a few weeks, depending on the product and conditions. While you can usually use the item gently after 24-48 hours, avoid placing heavy objects on it or exposing it to moisture until it’s fully cured to prevent any damage.
Choosing the Right Polyurethane for Your Project
The type of polyurethane you choose can impact the look, durability, and application process. Here’s a quick comparison:
| Feature | Oil-Based Polyurethane | Water-Based Polyurethane |
|---|---|---|
| Durability | Excellent, very hard and resistant to abrasion and chemicals. | Very good, but generally not quite as hard as oil-based. |
| Appearance | Adds a warm, amber tone that deepens over time. | Dries clear, remains clear, ideal for light-colored woods. |
| Odor/Fumes | Strong, requires good ventilation and a respirator. | Low odor, much easier to work with indoors. |
| Drying Time | Slower drying and curing. Recoat typically 6-24 hours. | Faster drying and curing. Recoat typically 2-4 hours. |
| Cleanup | Requires mineral spirits. | Cleans up with soap and water. |
| Application | Can be trickier; requires care to avoid brush marks. | Easier to apply; flows out well. |
| Yellowing | Will yellow slightly over time. | Resists yellowing. |
When to choose Oil-Based: For maximum durability on high-traffic items like tabletops, bar tops, or heavily used furniture where a warm tone is desired. It’s also excellent for exterior projects if specified by the manufacturer.
When to choose Water-Based: For pieces where you want to maintain the original wood color (especially lighter woods), if you’re sensitive to fumes, or if you need faster drying times for multiple coats in a day. It’s a great all-around choice for furniture and cabinetry.

Troubleshooting Common Issues
Even with the best intentions, you might encounter a hiccup. Here are a few common problems and how to solve them:
- Sticky Finish: This usually means the varnish wasn’t fully cured, or you applied the polyurethane too thickly. If it’s still wet, try wiping off as much as possible with a rag dampened with the appropriate solvent (mineral spirits for oil-based, water for water-based). If it’s partially cured and gummy, you may need to let it air out longer or even resort to sanding it off and starting over. Always err on the side of letting varnish cure fully.
- Brush Marks or Streaks: Often caused by over-brushing, not maintaining a wet edge, or using the wrong type of brush. If the finish is still wet, try to gently smooth them out. If dry, you’ll need to sand them down and reapply.
- Bubbles: Shaking the can, brushing too vigorously, or applying in direct sunlight (causing the surface to dry too quickly) can cause bubbles. Gentle stirring, proper application, and avoiding direct sun are key. If you have bubbles, let the coat dry, sand them smooth, and reapply.
- Poor Adhesion/Peeling: This is almost always due to inadequate surface preparation – either the original varnish wasn’t cured, or the surface wasn’t properly scuff-sanded and cleaned. You’ll likely need to sand down to remove the affected coats and reapply carefully, ensuring proper prep.
Remember, patience and gentle execution are your best tools when finishing wood.
Frequently Asked Questions (FAQ)
Q1: Will polyurethane change the color of my existing varnish?
Oil-based polyurethane will add an amber tone, deepening the color of the existing varnish, especially if the varnish is light or clear. Water-based polyurethane dries clear and should not significantly alter the color.