A Vintage Buffet Makeover: Stunning & Affordable Results
A vintage buffet makeover can dramatically transform your dining space with stunning, budget-friendly results. This guide provides simple, step-by-step instructions for updating an old buffet, proving that beautiful furniture transformations are achievable for any beginner.
Finding a beautiful piece of furniture that fits your style and budget can feel like a treasure hunt. Often, the perfect candidate is hiding in plain sight – a discarded vintage buffet! With a little love and a few simple steps, you can turn that forgotten piece into a stunning focal point in your home. Many people struggle with where to start, worrying about complicated techniques or expensive supplies. But don’t worry, I’m here to guide you through making a vintage buffet makeover that will impress everyone, without breaking the bank. Let’s get started on creating something truly special!
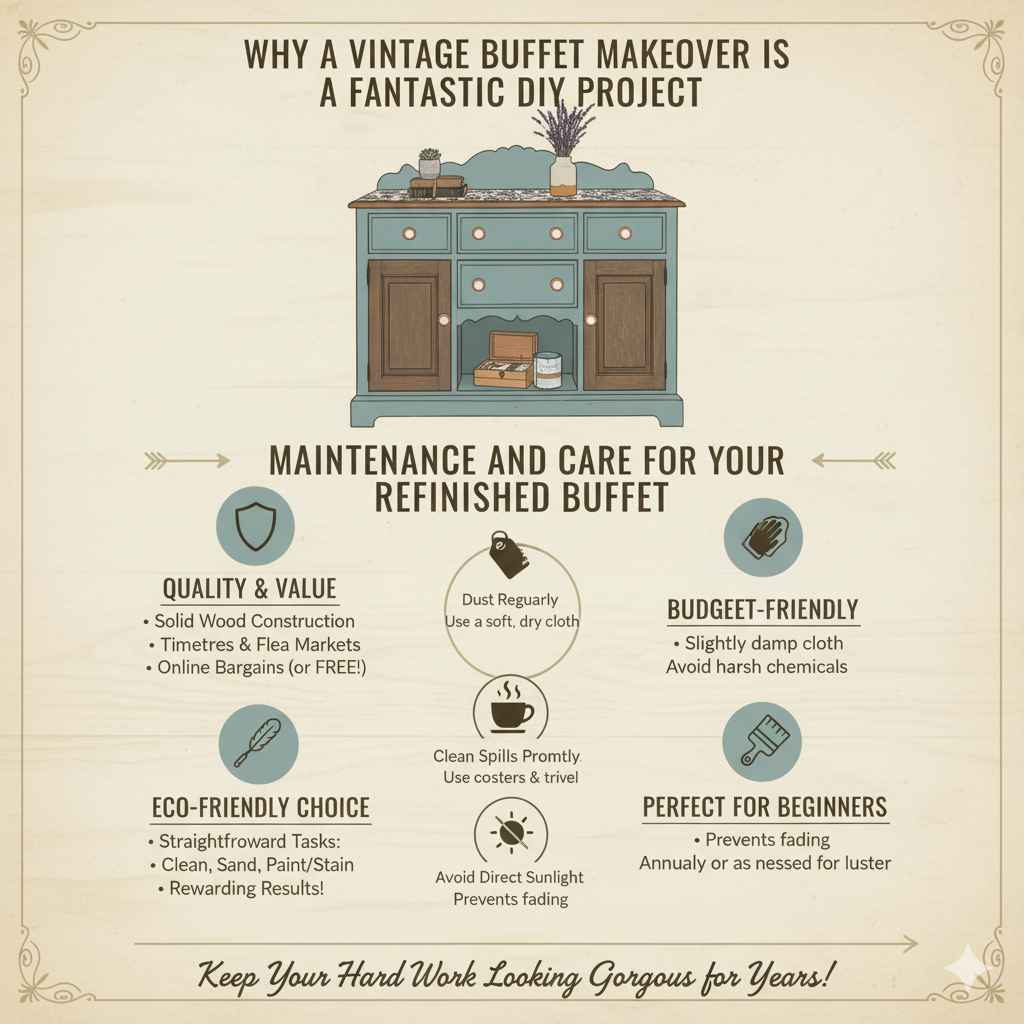
Why a Vintage Buffet Makeover is a Fantastic DIY Project
Vintage buffets, also known as sideboards or dressers, are fantastic candidates for a makeover. They are often built with solid wood, have great construction, and possess a timeless charm that modern furniture can’t always replicate. Plus, you can often find them for a steal at antique shops, thrift stores, flea markets, or even for free on online marketplaces. Breathing new life into one of these pieces is not only incredibly rewarding but also an environmentally friendly choice, giving quality furniture a second life.
This project is perfect for beginners because the core tasks – cleaning, sanding, and painting or staining – are straightforward. With clear guidance and a bit of patience, you can achieve professional-looking results that will make you proud.
Gathering Your Supplies: What You’ll Need
Before you dive in, it’s essential to have all your tools and materials ready. This will make the process smooth and efficient. Here’s a comprehensive list, broken down by category:
Essential Tools
- Screwdriver set (for removing hardware)
- Putty knife or scraper
- Orbital sander (optional, but highly recommended for efficiency)
- Sanding blocks or sandpaper (various grits: 80, 120, 220)
- Tack cloth or damp microfiber cloths
- Paint brushes (various sizes, including angled brushes for detail)
- Foam rollers (for smooth surfaces)
- Paint tray or bucket
- Drop cloths or old newspapers
- Safety glasses
- Dust mask
- Gloves
Cleaning and Repair Supplies
- Mild soap and water
- Degreaser (like Krud Kutter or TSP substitute)
- Wood filler or putty
- Small putty knife (for filler)
- Mineral spirits (for cleaning certain finishes or residue)
Finishing Supplies (Choose based on your desired look)
For Painting:
- Primer (e.g., Zinsser B-I-N or Kilz)
- Paint (chalk paint, latex, acrylic, or oil-based – choose based on durability and desired finish)
- Topcoat sealant (polyurethane, polycrylic, clear wax, or varnish – for protection)
For Staining:
- Wood stain (oil-based or water-based)
- Pre-stain wood conditioner (optional, but recommended for even color)
- Satin or matte polyurethane/varnish
Hardware (Optional)
- New knobs or drawer pulls
Step-by-Step Guide to Your Vintage Buffet Makeover
Let’s break down the process into manageable steps. Remember, pace yourself and enjoy the transformation!
Step 1: Inspect and Clean Your Buffet
First, give your buffet a thorough inspection. Look for any loose joints, damaged veneer, or large gouges. Note any areas that might need repair.
Next, clean it really well. Vintage furniture can have layers of grime, wax, or old polish. Use mild soap and water to start, then move to a degreaser if needed. This ensures your new finish adheres properly. For stubborn buildup, a product like TSP substitute is effective.
Step 2: Remove Hardware and Prep for Repair
Carefully remove all the existing hardware – knobs, pulls, hinges, and any decorative elements. Store them in a safe place if you plan to reuse them, or in a baggie if they’re going to be replaced.
Now it’s time for basic repairs.
- Loose Joints: If any parts of the buffet are wobbly, try to tighten screws or use wood glue and clamps to secure them.
- Gouges and Dents: For minor imperfections, wood filler is your best friend. Apply it with a putty knife, slightly overfilling the damaged area. Let it dry completely according to the product’s instructions.
- Veneer Issues: Small chips or peels of veneer can be glued down with wood glue and clamped. For larger damaged areas, you might need to remove the loose veneer entirely or consider covering it with a new piece of wood or decorative molding later.
Step 3: Sanding – The Key to a Smooth Finish
Sanding is crucial for a lasting finish, whether you’re painting or staining.
- Rough Sanding (if needed): If the existing finish is in rough shape, or if you plan to stain, start with a coarser grit sandpaper, like 80 or 120. This removes the old finish and smooths out imperfections. Work in the direction of the wood grain.
- Smooth Sanding: If you’re painting over a decent existing finish, or after your initial rough sanding, move to a finer grit, like 150 or 180. This will further smooth the surface. For a buttery smooth finish, especially for painting, I often go up to 220 grit.
- Sanding Between Coats: Lightly sanding with a very fine grit (220+) between paint or topcoat layers will give you an even smoother, more professional feel.
After sanding, wipe down the entire buffet with a tack cloth or a slightly damp microfiber cloth to remove all dust. Dust is the enemy of a smooth finish!
Step 4: Priming (Essential for Painting)
If you are painting your buffet, applying a primer is essential. Primer helps your paint adhere better, covers any residual stains from the old finish, and ensures a more uniform color.
- Choose a good quality primer. For dark wood, a stain-blocking primer is a wise investment.
- Apply one or two thin, even coats, allowing each coat to dry thoroughly according to the manufacturer’s instructions.
- Lightly sand with 220 grit sandpaper after the primer is dry and wipe away dust with a tack cloth.
If you are staining, you will skip the primer and may opt for a pre-stain wood conditioner.
Step 5: Applying Your Chosen Finish
This is where your buffet starts to really come alive!
Option A: Painting Your Buffet
- First Coat: Apply your chosen paint in thin, even coats. Use a high-quality brush for edges and details, and a foam roller for flat surfaces to avoid brush marks. Work in the direction of the wood grain.
- Drying Time: Allow adequate drying time between coats. Rushing this step can lead to sticky surfaces and poor adhesion.
- Subsequent Coats: Apply a second coat, and possibly a third, until you achieve full coverage and your desired color depth.
- Light Sanding: Between coats, once dry, you can lightly sand with a 220-grit sandpaper and wipe with a tack cloth for an ultra-smooth finish.
Chalk paint is a popular choice for vintage makeovers because it adheres well to most surfaces with minimal prep and creates a beautiful matte finish. However, chalk paint always requires a topcoat for durability.
Option B: Staining Your Buffet
- Pre-Stain Conditioner (Recommended): Apply a pre-stain wood conditioner, especially if your wood is pine or has areas with different grain patterns. This helps prevent blotchiness. Wipe off any excess after the recommended time on the can.
- Apply Stain: Using an applicator pad or a clean, lint-free rag, apply the stain evenly, working in sections. Immediately wipe off the excess stain with a clean rag, following the direction of the wood grain. The longer you leave the stain on before wiping, the darker the color will be underneath the topcoat.
- Second Coat (Optional): For a deeper color, you can apply a second coat of stain after the first has dried.
- Drying: Allow the stain to dry completely. This can take 24-48 hours, depending on the stain and humidity.
A common mistake beginners make with staining is not wiping off enough excess, leading to a sticky, uneven finish.
Step 6: Sealing and Protecting
A protective topcoat is vital to ensure your beautiful makeover lasts.
- For Painted Buffets: Apply 1-3 coats of your chosen topcoat (polycrylic, polyurethane, or clear wax). Polycrylic is water-based, dries clear, and is more durable than latex-based paints. Polyurethane (oil-based) is very durable but can yellow over time. Clear wax applied over chalk paint gives a lovely matte, antique look and protection.
- For Stained Buffets: Apply 2-3 coats of a clear topcoat like polyurethane or a durable varnish. Opt for a satin or matte finish to maintain a more natural wood look.
- Application: Apply topcoats thinly and evenly using a brush or foam applicator. Allow each coat to dry completely, and lightly sand with very fine grit sandpaper (320+) and wipe with a tack cloth between coats for the smoothest finish.
Step 7: Reattach or Replace Hardware
Once your buffet is fully dry and sealed, it’s time to put on the finishing touches. Reattach the original hardware if you cleaned and restored it, or install your brand-new knobs and pulls. This small step can dramatically change the buffet’s style and personality.
Pro Tip: If your original hardware has a dated finish, you can often spray paint it with a metallic finish (gold, brass, nickel) for a modern update! Just make sure to clean and prime it well first.
Table: Common Buffet Makeover Finishes and Their Pros/Cons
Choosing the right finish is key to achieving your desired look and ensuring durability. Here’s a quick comparison of popular options.
| Finish Type | Pros | Cons | Best For |
|---|---|---|---|
| Chalk Paint + Wax | Excellent adhesion, minimal prep, matte finish, easy to distress. | Requires wax for durability, can be prone to scratching without proper sealing. | Farmhouse, French country, distressed looks. |
| Latex/Acrylic Paint + Polycrylic | Wide color selection, easy cleanup, durable finish with polycrylic. | May require more prep (sanding/priming) for good adhesion. | Modern, traditional, any style depending on color and hardware. |
| Lacquer | Very durable, smooth finish, professional look. | Requires good ventilation, specialized application (spray gun often best), can be tricky for beginners. | Sleek, modern, high-gloss finishes. |
| Wood Stain + Polyurethane | Highlights wood grain, rich natural look, very durable finish. | Requires careful sanding and application for even color, prep time. | Traditional, rustic, natural wood looks. |
Budgeting for Your Vintage Buffet Makeover
The beauty of a DIY project like this is the potential for significant cost savings. Here’s a look at how you can keep costs down:
- The Buffet Itself: Aim for free or under $100. Thrift stores, garage sales, and online local marketplaces are your best friends.
- Paint & Primer: A quart of quality paint and primer often costs between $20-$40. Look for “oops” paint at hardware stores for discounted colors.
- Sandpaper & Brushes: These are consumables, but a good set of brushes might run $15-$30. Sandpaper is very inexpensive.
- Topcoat: $15-$30 for a quart of polyurethane or polycrylic.
- Hardware: Can range from $1-$5 per piece for basic knobs, to $10-$20+ for more decorative pulls.
- Cleaning Supplies: Mostly soap and water, but a degreaser might be $10-$15.
Average Estimated Cost (if buying most supplies new): $70 – $150
Potential Savings: If you find a free buffet, already own some tools/supplies, or buy reduced-price paint, you can complete a makeover for under $50!
This is significantly less than a new buffet, which can easily cost several hundred dollars or more.
Adding Personality: Beyond the Basic Makeover
Once you’ve got the basic finish down, you can take your buffet to the next level with a few extra touches:
- Two-Tone Finish: Paint the body one color and the drawer fronts or top in a contrasting color, or stain the top and paint the body.
- Stenciling: Add a decorative stencil pattern to the top, sides, or drawer fronts for a custom look. Use a stencil brush for the best results.
- Lining the Drawers: Apply wallpaper or decorative contact paper to the inside of the drawers.
- Updated Legs: Consider adding decorative furniture feet or bun feet for a more elaborate style.
- Adding Molding: Thin decorative molding can be applied to drawer fronts or the buffet’s frame to add architectural detail. You can find tutorials from resources like This Old House on installing decorative trim.
These additions can elevate your buffet from a nicely painted piece to a truly unique, statement furniture item.
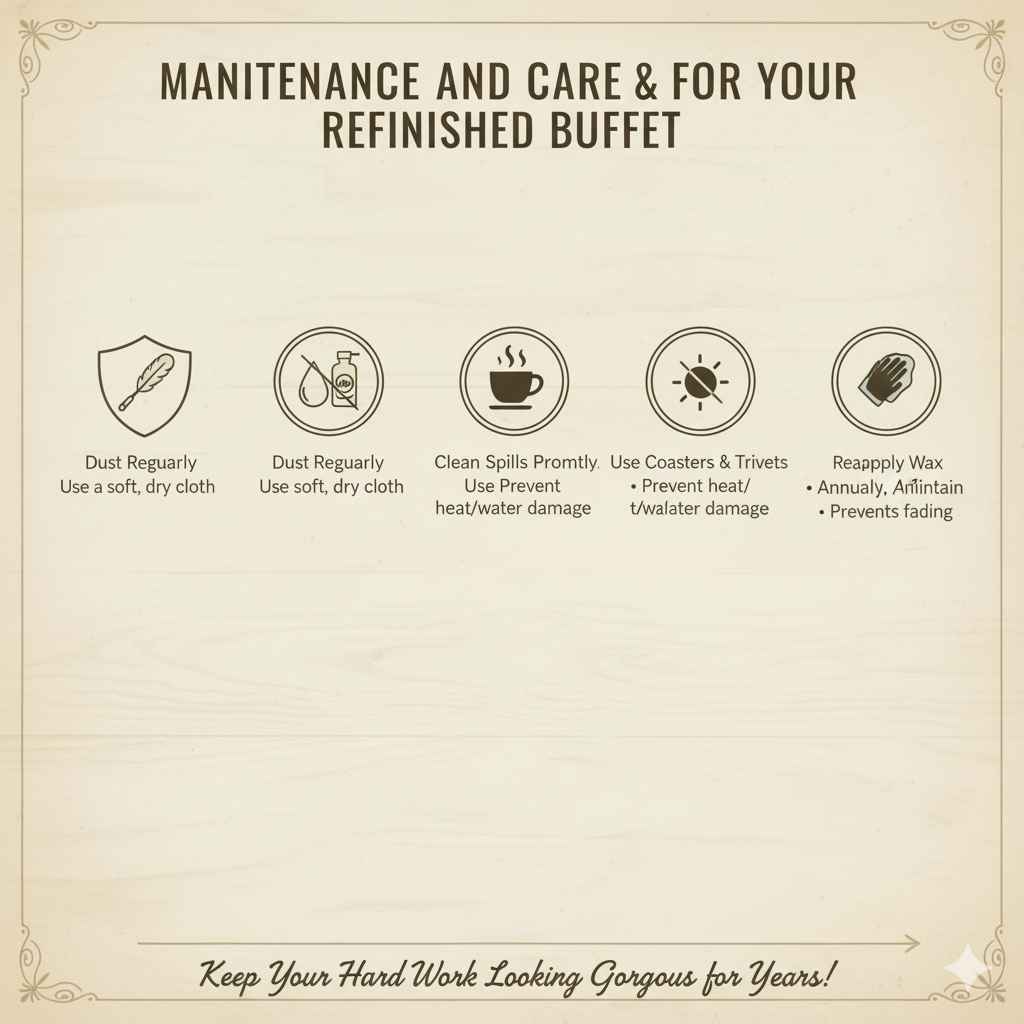
Maintenance and Care for Your Refinished Buffet
To keep your beautiful vintage buffet looking its best for years to come, follow these simple care tips:
- Dust regularly with a soft, dry cloth.
- Clean spills immediately with a slightly damp cloth. Avoid harsh chemicals or abrasive cleaners, which can damage the finish.
- Use coasters or trivets under drinks and hot dishes to prevent rings or heat damage.
- Avoid direct sunlight for extended periods, as this can cause fading.
- Reapply wax (if used) annually or as needed to maintain its protective luster.
Proper care ensures that your hard work continues to pay off, keeping your buffet gorgeous and functional.
Frequently Asked Questions About Vintage Buffet Makeovers
Q1: My vintage buffet has a lot of dark, old wax on it. Can I paint over it?
A1: It’s best to remove as much of the old wax as possible. You can use mineral spirits and a cloth to help dissolve and wipe away wax buildup before cleaning and priming. This ensures your new paint adheres properly.
Q2: Do I really need to sand? I want to paint it quickly.
A2: While some paints (like certain chalk paints) require minimal sanding, for most paints, a light sanding (even scuff-sanding with 150-220 grit) creates a surface the paint can grip. Skipping this means your paint might chip or peel easily. It’s worth the extra step for durability!
Q3: What’s the best way to get a smooth, brush-mark-free painted finish?
A3: Use high-quality brushes and synthetic bristles for latex/acrylic paints. Apply paint in thin, even coats, working in one direction. Allow each coat to dry thoroughly. Lightly sanding with fine-grit sandpaper (220+) between coats and wiping with a tack cloth also makes a huge difference. Using a foam roller on large flat areas can also help minimize brush marks.
Q4: Can I change the look of the wood without staining?
A4: Yes! You can use a technique called ‘whitewashing’ which is a diluted white paint applied and then wiped off to leave a subtle white tone in the grain. Or, you can use ‘pickling’ stains for a similarly light, aged look. Another option is to use a glaze over a base coat for an antiqued effect.
Q5: My buffet has some peeling veneer. What’s the easiest fix for a beginner?
A5: For small chips, you can often glue them down with wood glue and clamp firmly until dry. If large areas are peeling, you might need to carefully remove the loose pieces with a putty knife and then either re-glue them or fill the area with wood filler. Sometimes, distressing the edges can also hide minor veneer issues. For more extensive veneer damage, consider a bold paint color or decorative hardware to draw attention away.